

Rules? Downloaded.
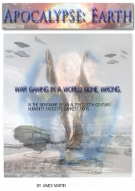
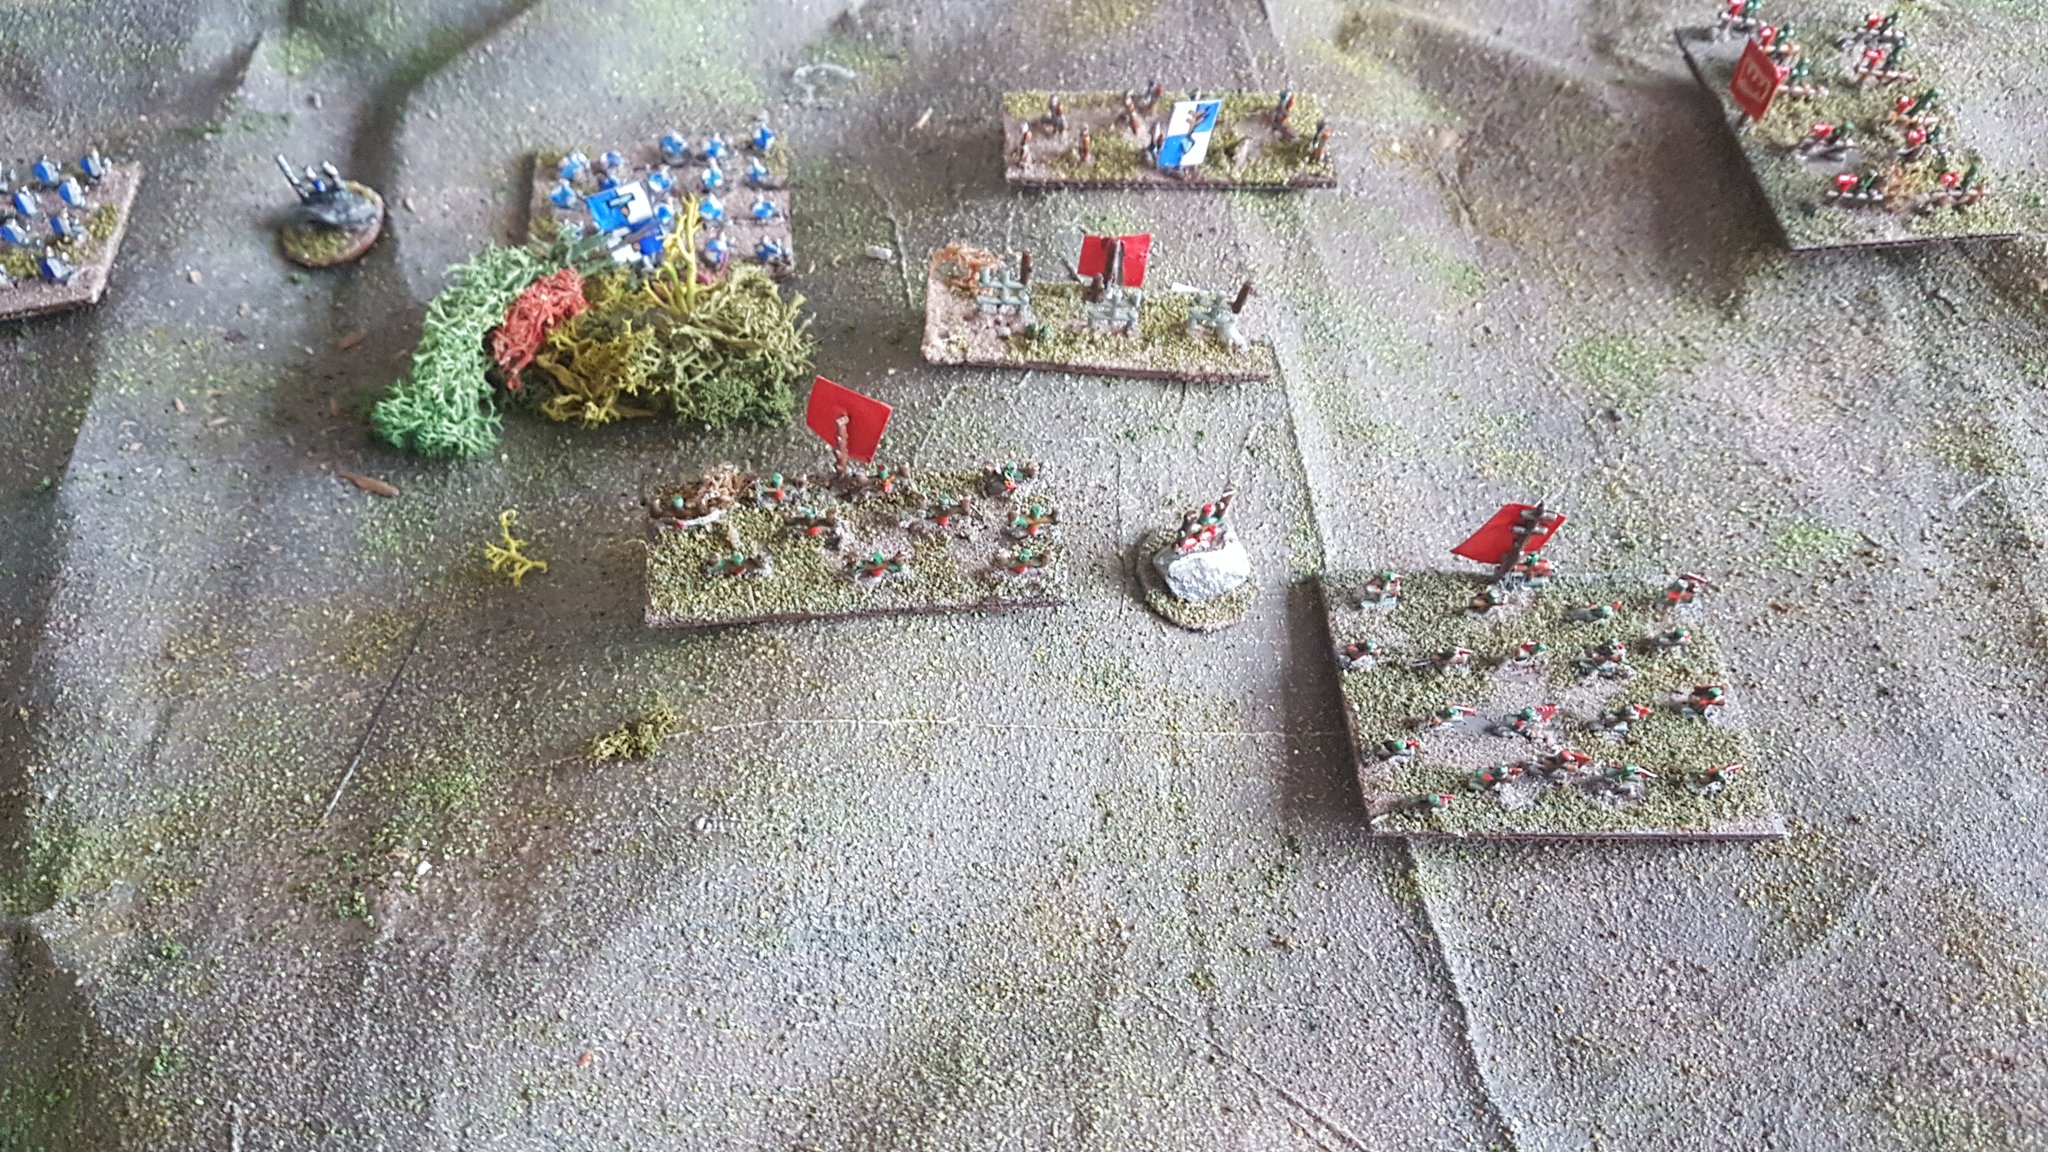
Terrain? Flexible battlemat built and with the old standby of books placed underneath to create valleys and hills, so yeah, check.
And thus – TO BATTLE!
I gave the youngling the choice and he picked Orcs, I think more influenced by colour choice than anything else… well, I hope so at least, he has a slightly unnerving predilection for the “Baddies” in most films. We’d had a couple of practice games so the basics of the rules were relatively familiar – plus he had his mum on his side as the power behind the throne!
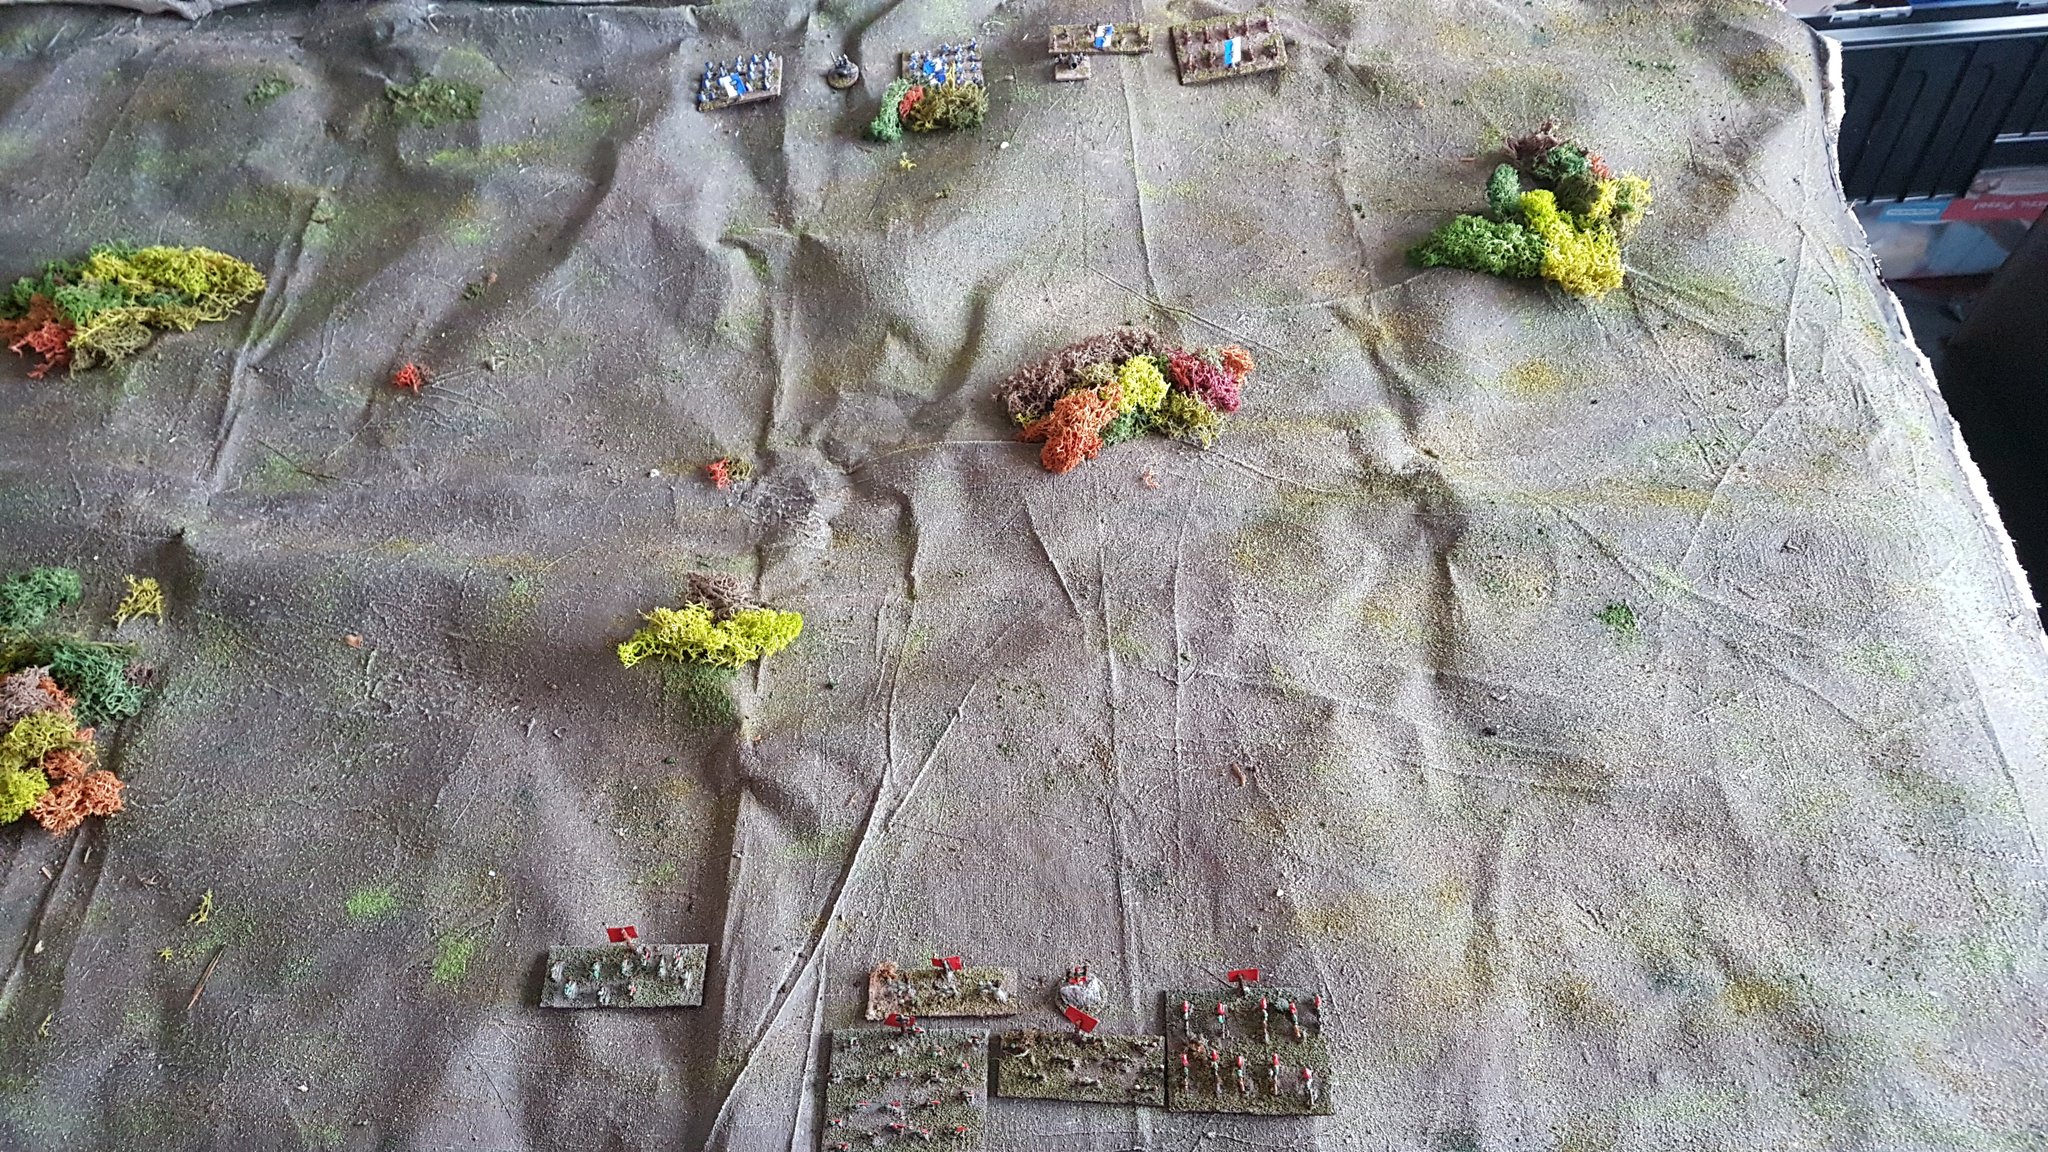
We shook hands and rolled for fits turn – which the Orcs won.
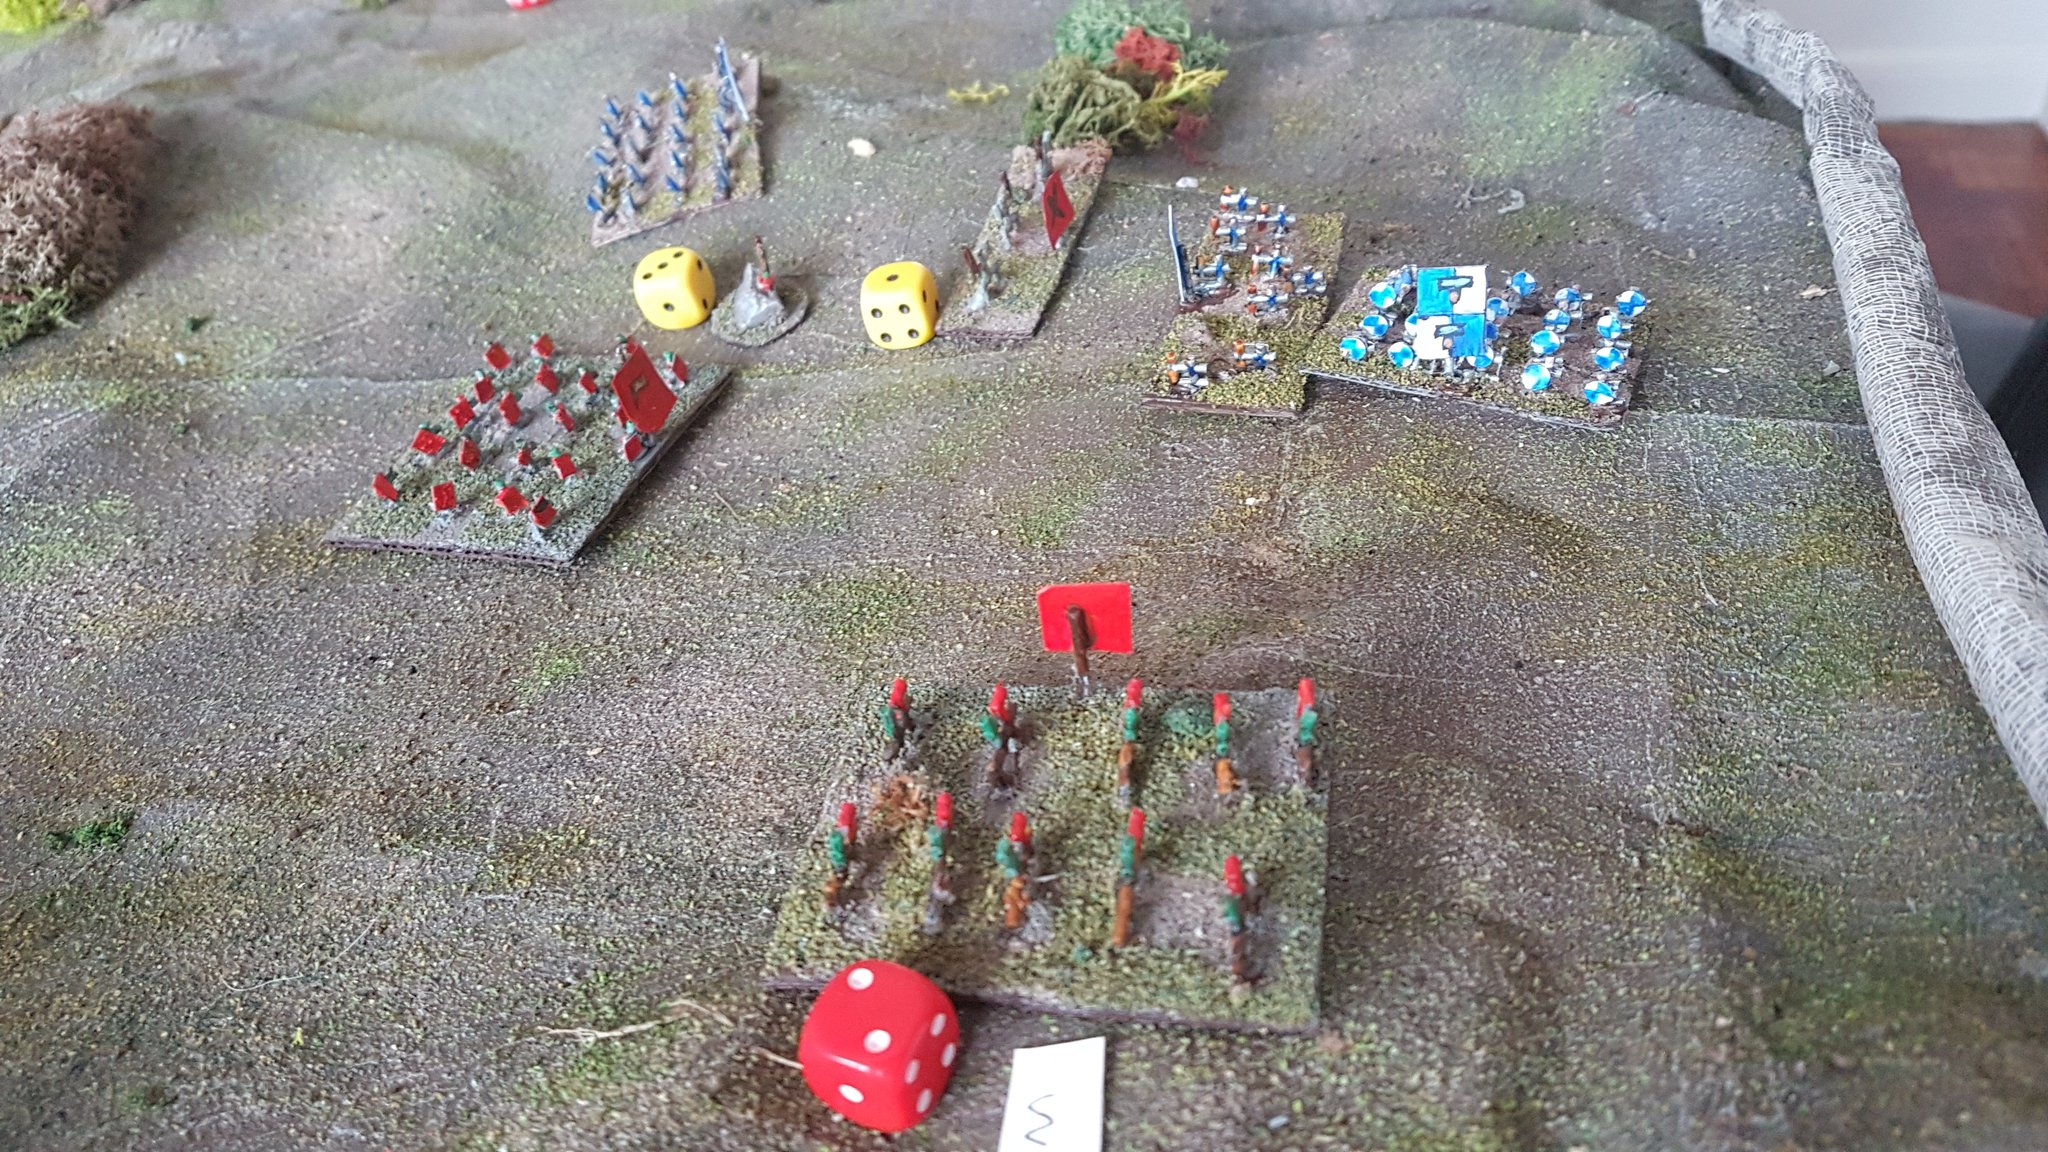
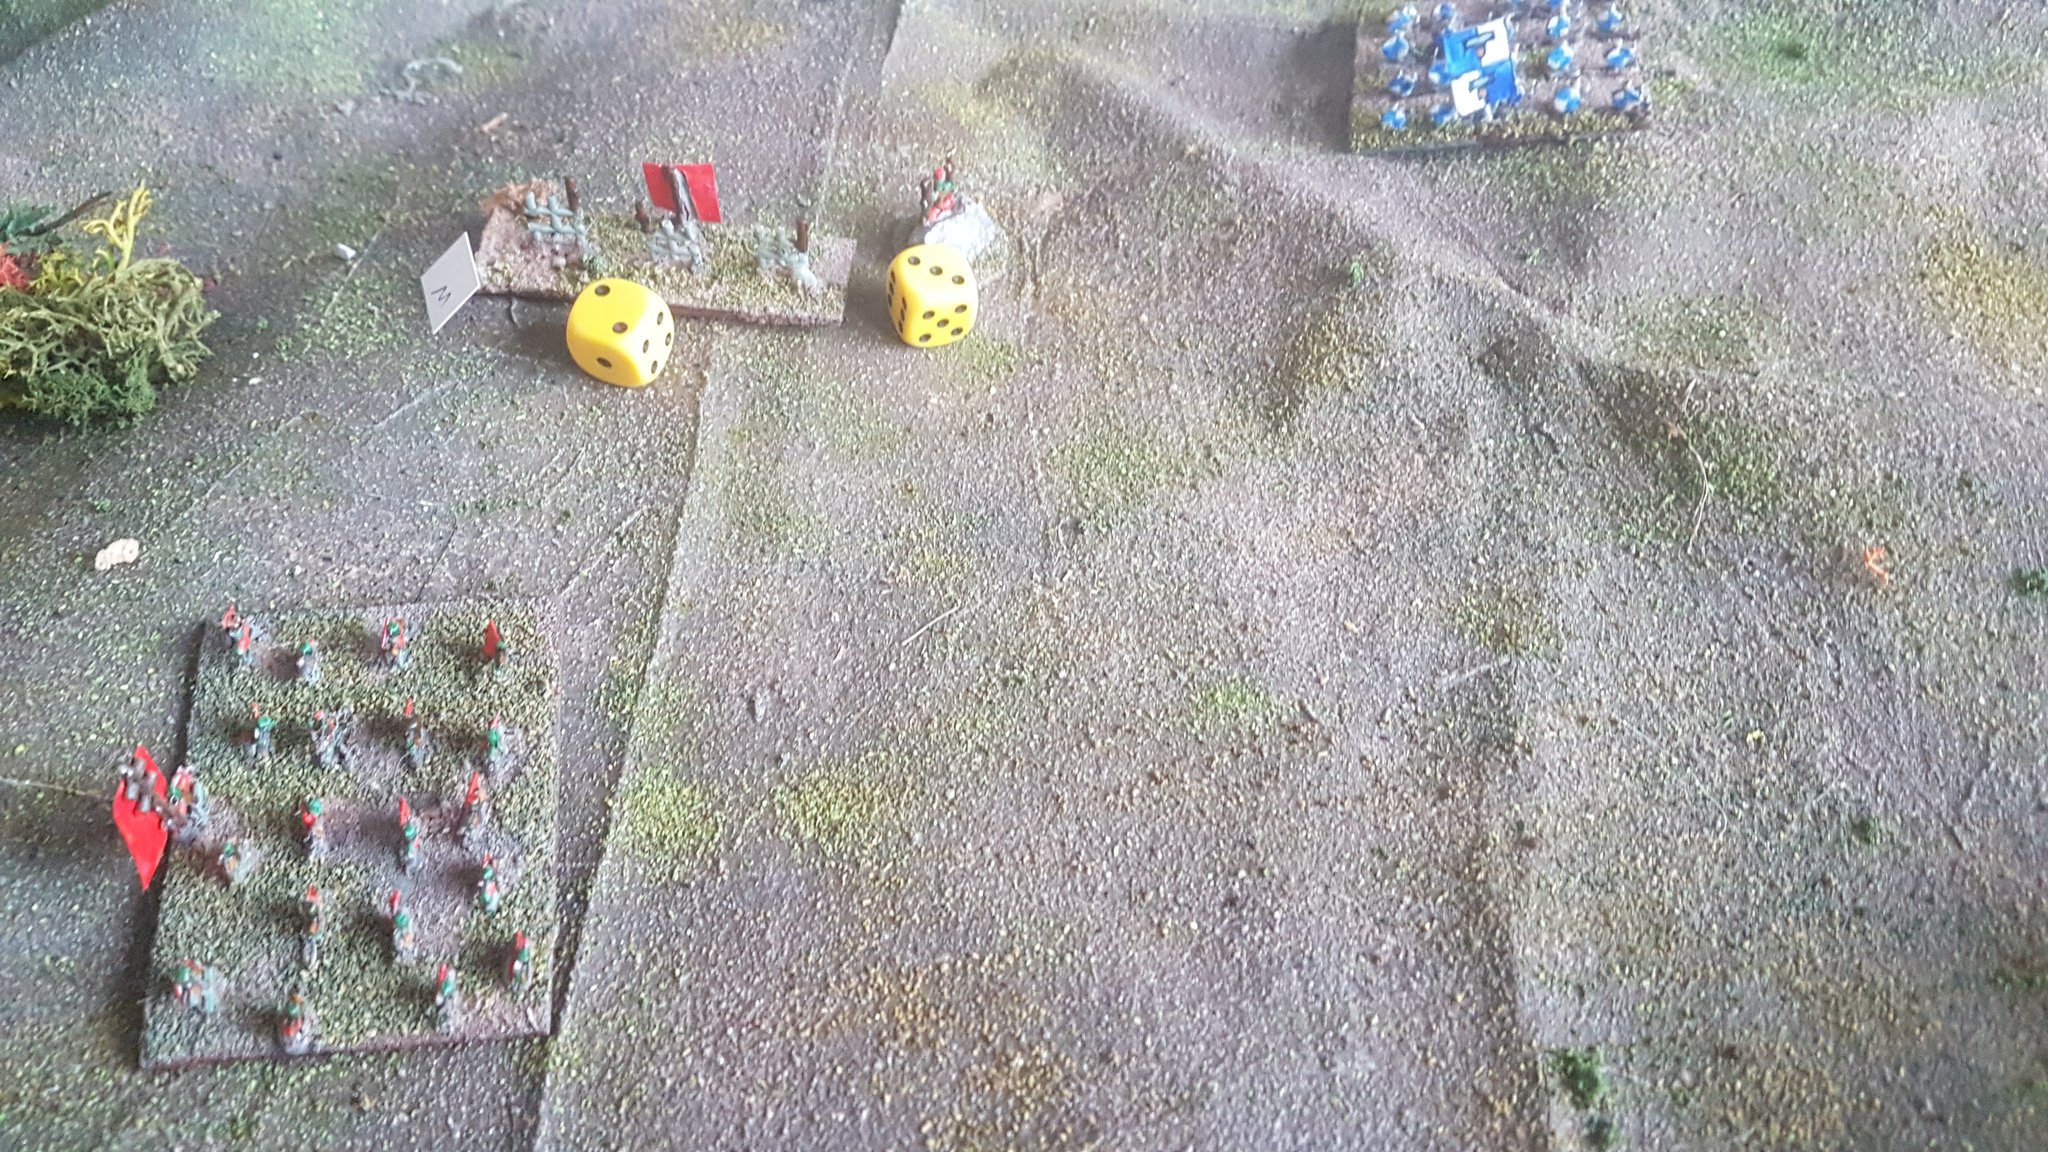
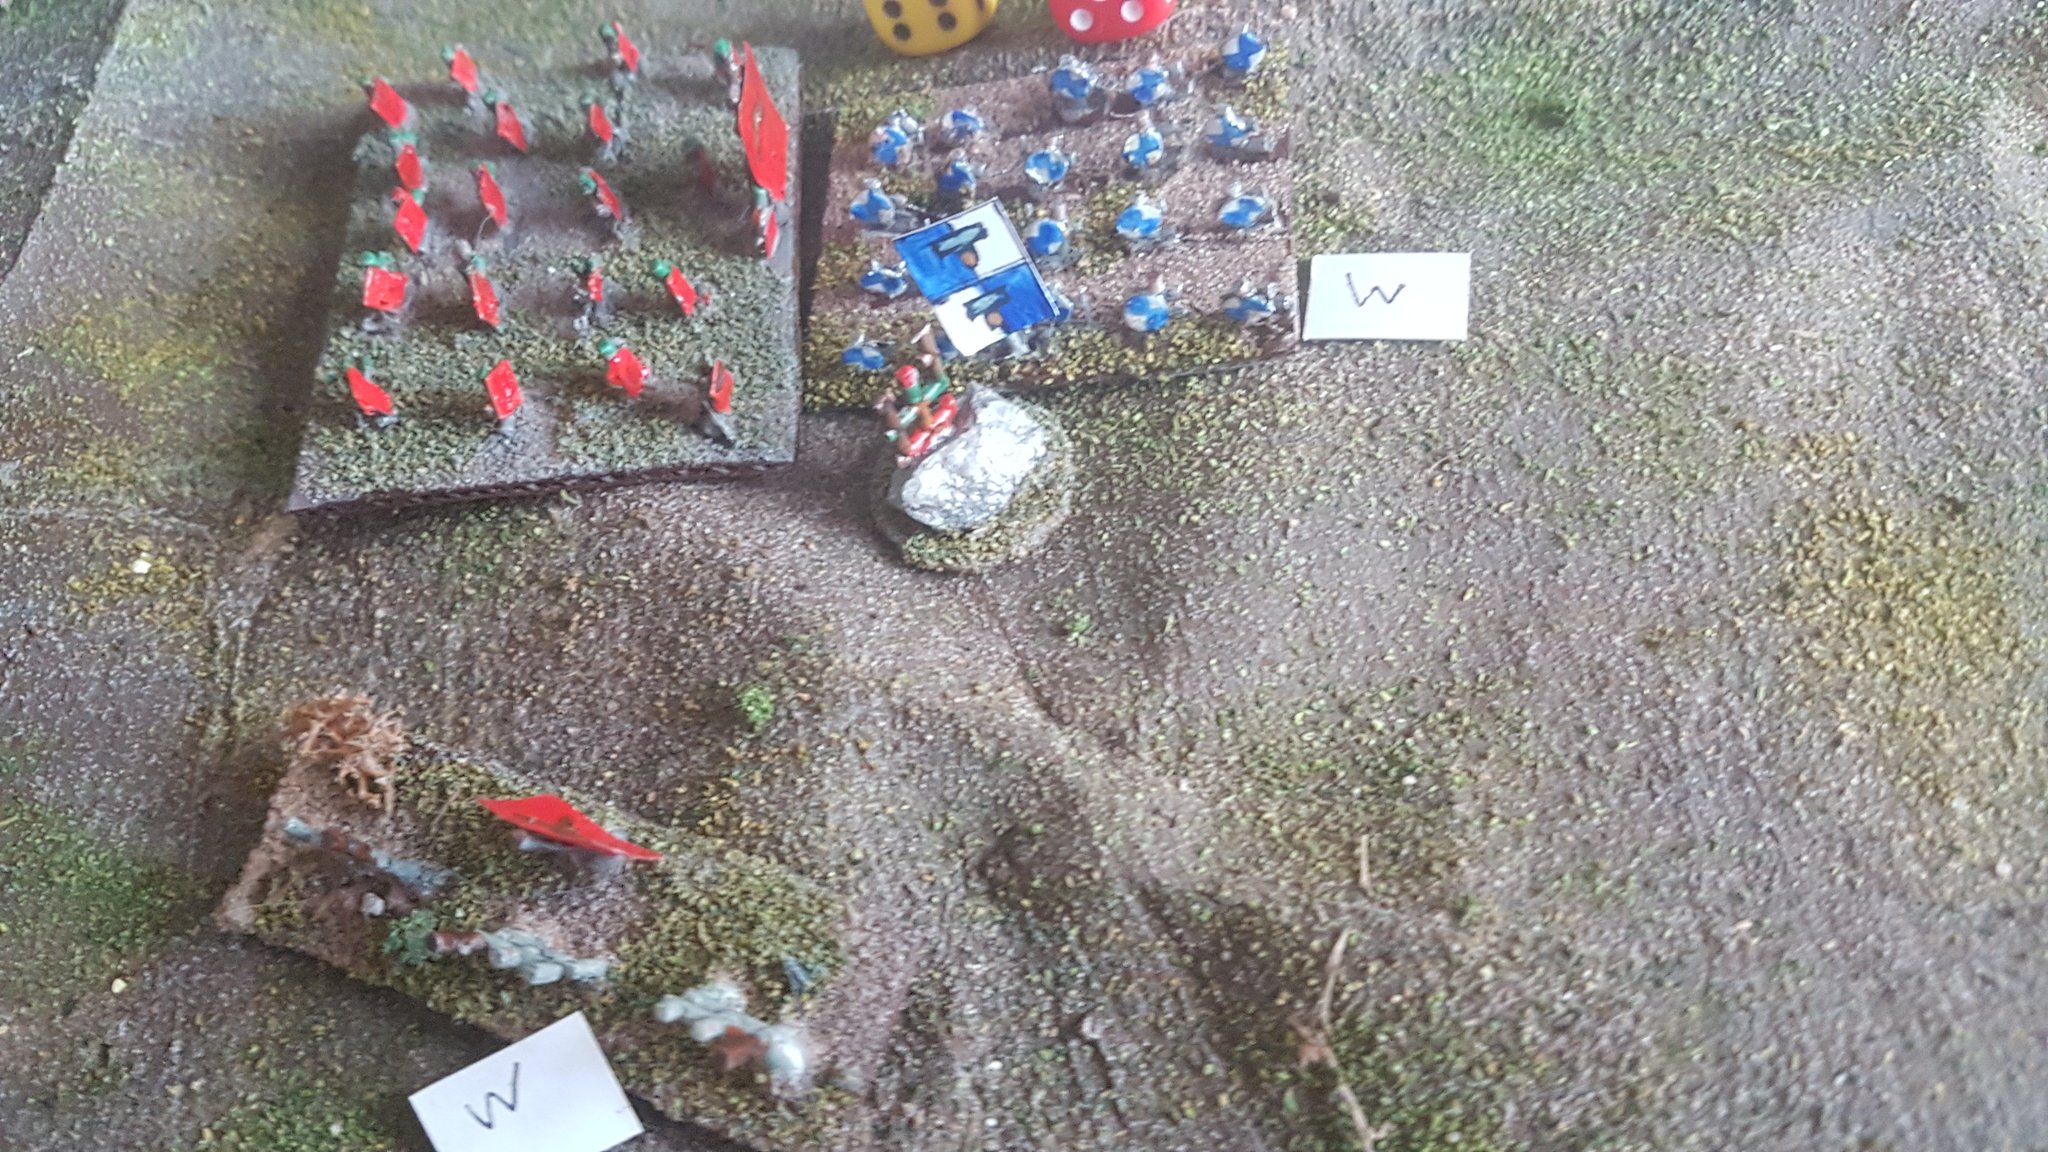
The dice were against me, that’s all I’m saying! In all fairness, although I did roll abysmally, I also made stupid mistakes and completely underestimated my enemy commander (and his “advisor”) – leaving units open to flanking manoeuvres, not concentrating forces properly and while I wasn’t able to capitalise on my enemy’s mistakes, they sure went to town on mine!
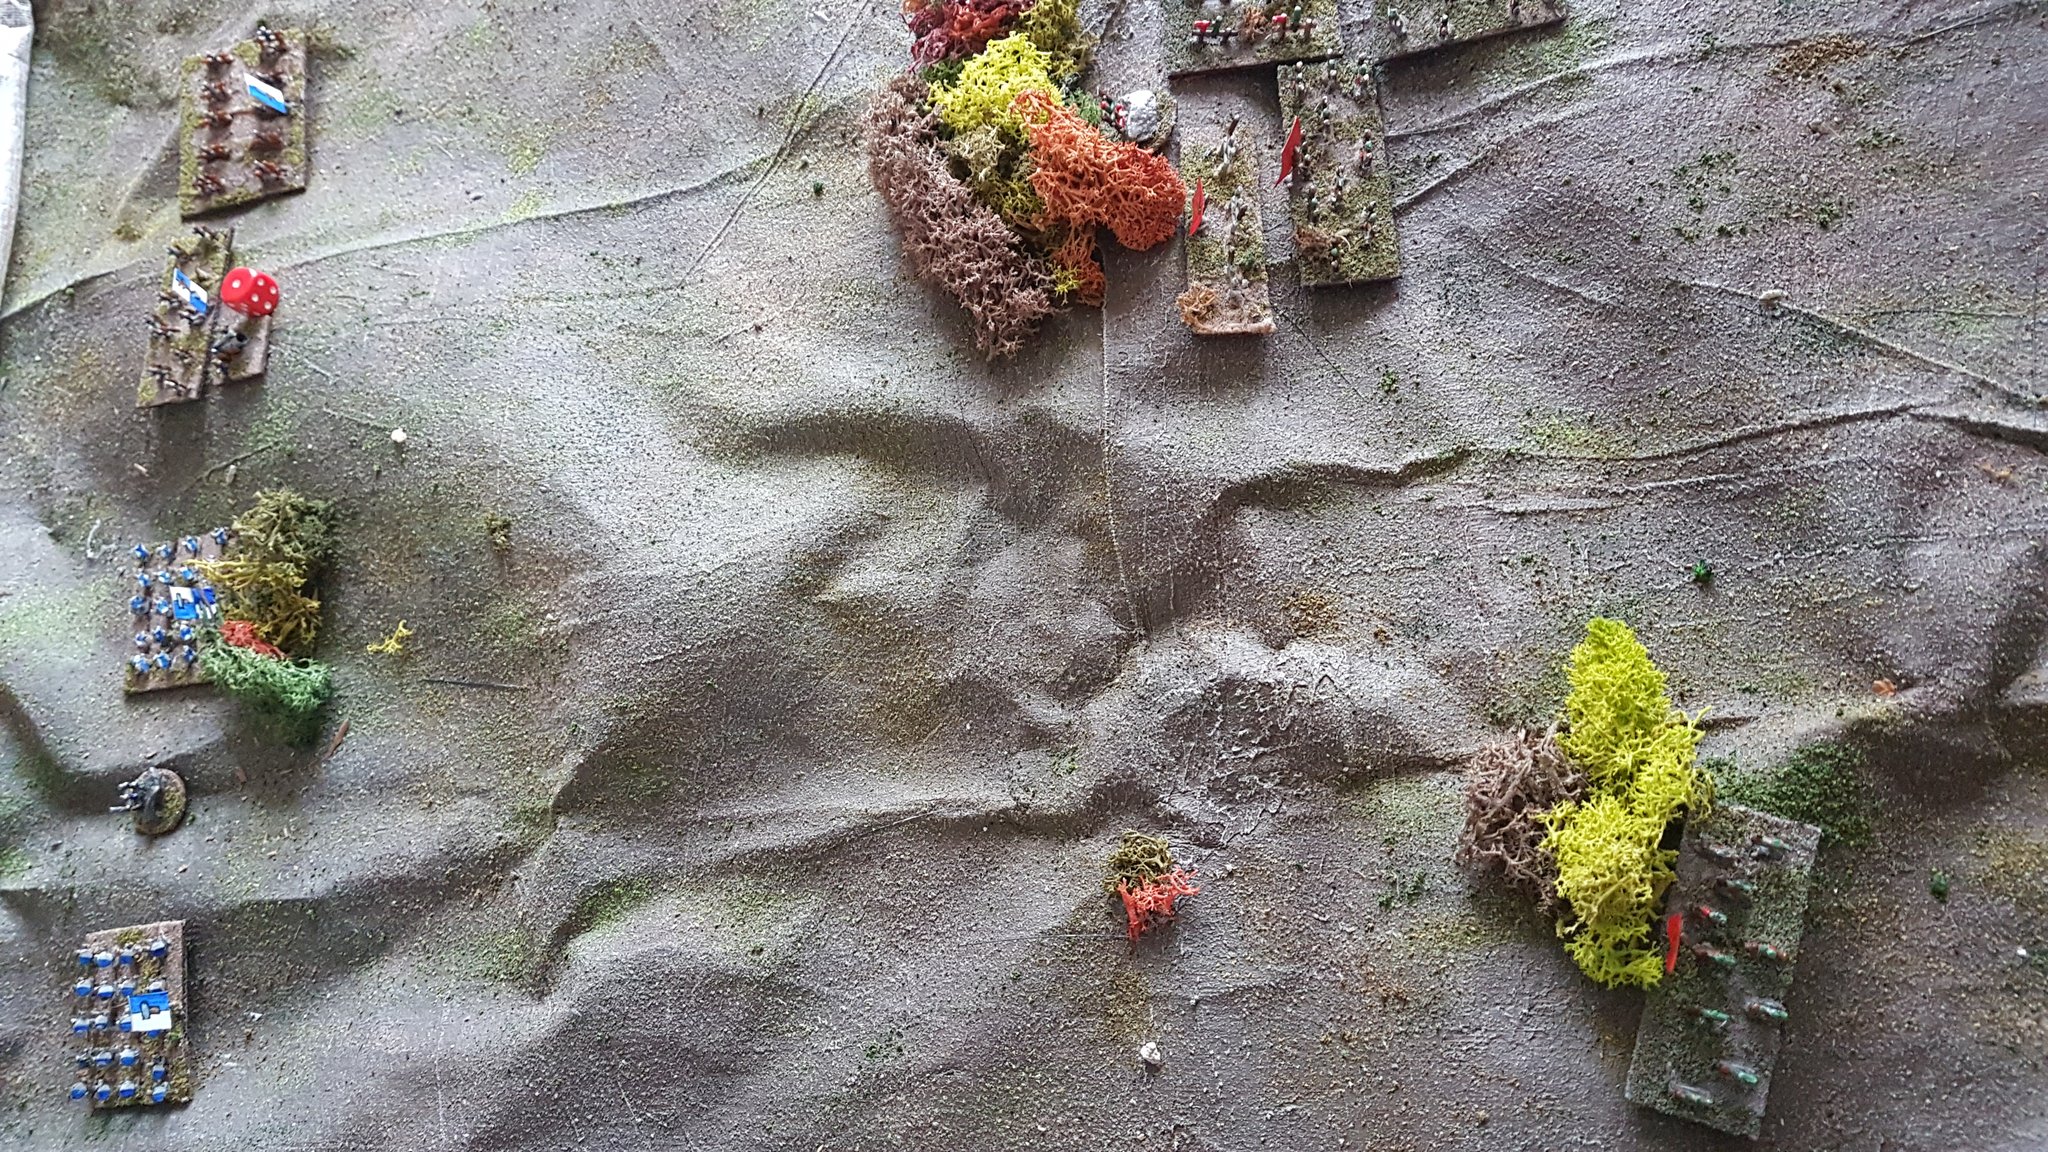
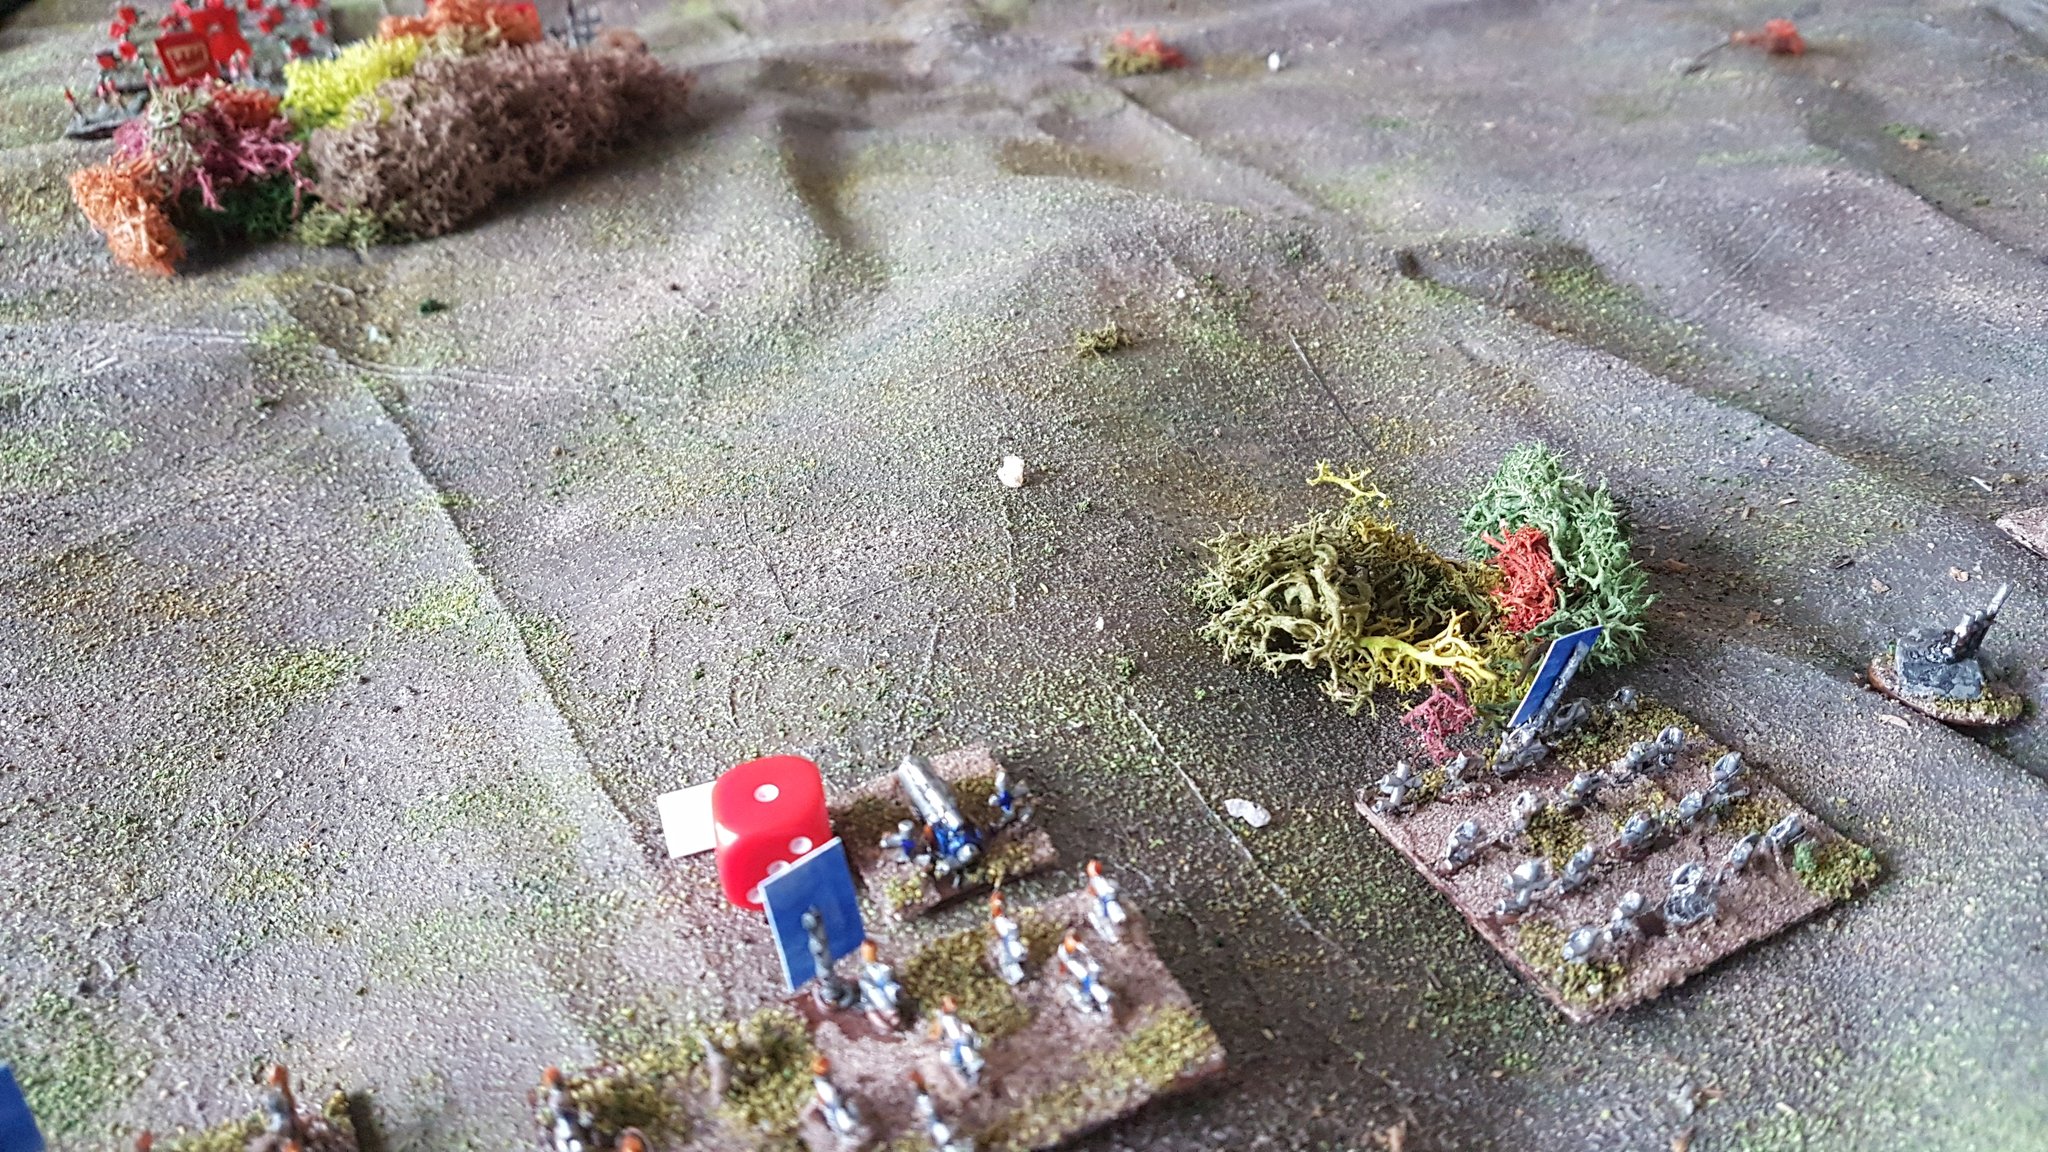
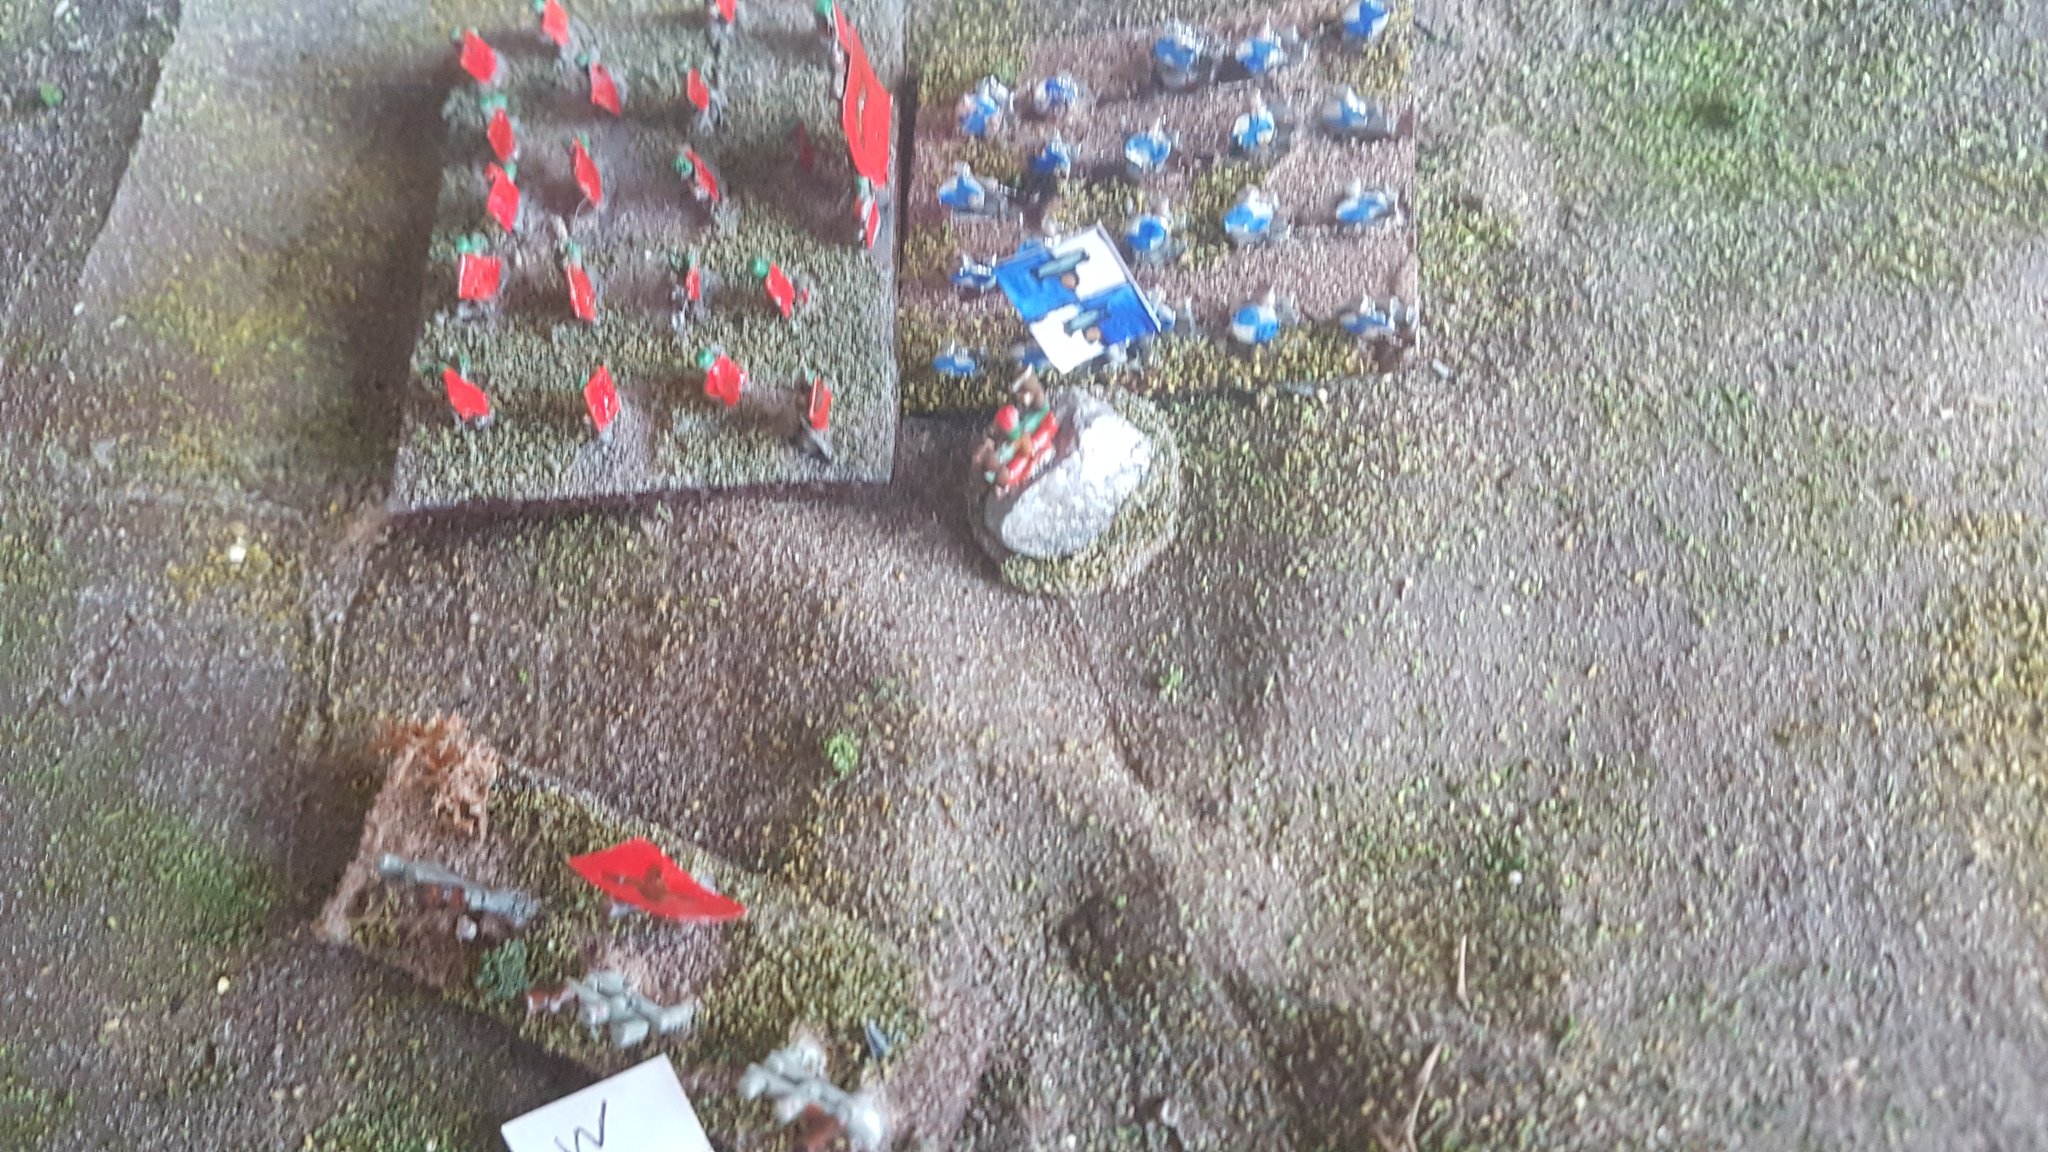
Overall verdict on KoW as a system though? Fun! I wasn’t sure how I would feel about the lack of casualty removal in this system, but by Turn 2 I was used to it. It really does suit 6mm scale as well. Easily learned, and although there are a couple of rules that were less than clear in the rulebook, it’s largely very intuitive and I do like how much it rewards tactical positioning, flanking and so forth. Charging your opponent’s rear, for example gives you DOUBLE the normal attacks.. all of a sudden, mobility is worth something serious on the battlefield!
I know you’re all hungering for something non-granny grating related, but it was fun bringing this project to a conclusion (if any wargaming project can ever be said to be truly done) -and as the COVID Restrictions start to lift in dear old Blighty we’ve got something BIG planed once again, so stay tuned as we get everything prepared to Throw Down In Style!
Stay safe and sane out there… we’re nearly there folks!

More than a bit of bad luck for the Dwarves there! 🙂 Sounds like it was a good game despite that!
LikeLiked by 1 person
Was a blast, even though it didn’t go my way- turns out those two are genius strategists 🤣🤣
LikeLiked by 1 person
There is nothing more annoying than losing to Orc’s! (except perhaps losing to your wife!) 😉
Cheers Roger.
LikeLiked by 1 person
She proved to be a worthy foe! 🤣 was really fun actually, nice to get her and the wee one into it too 👍
LikeLike