


With the Teeny Weeny Kings Of War project starting to come to fruition, I’ve hit the point where the lads need somewhere to do battle – the kitchen table will have to do for now, but it doesn’t exactly lend itself to any beauty shots. Realistically, it’s still a couple of months before we can regularly get back to face to face gaming, and Jim has custody of the big 6×4, so I’ve taken a different approach.
Now, full disclosure – this whole project was made possible by the genius of Mel The Terrain Tutor, and pretty much everything I needed to know I gleaned from this video, so I urge you to go check this out if you’re considering making one of these yourself (and I recommend you do, it’s actually not too tricky and very satisfying).
You’re going to need the following:
A plastic backed painters drop cloth/ dust sheet (terminology may vary from place to place – this is what I got off eBay). The good news here is that these things are frickin’ HUGE, 12′ x 9′, so that’s plenty of 6’x4′ surfaces you can cook up – desert, snow etc. (EDIT – make sure it is plastic backed, otherwise the caulk will permeate through and stick your cloth to whatever surface you’re working on)
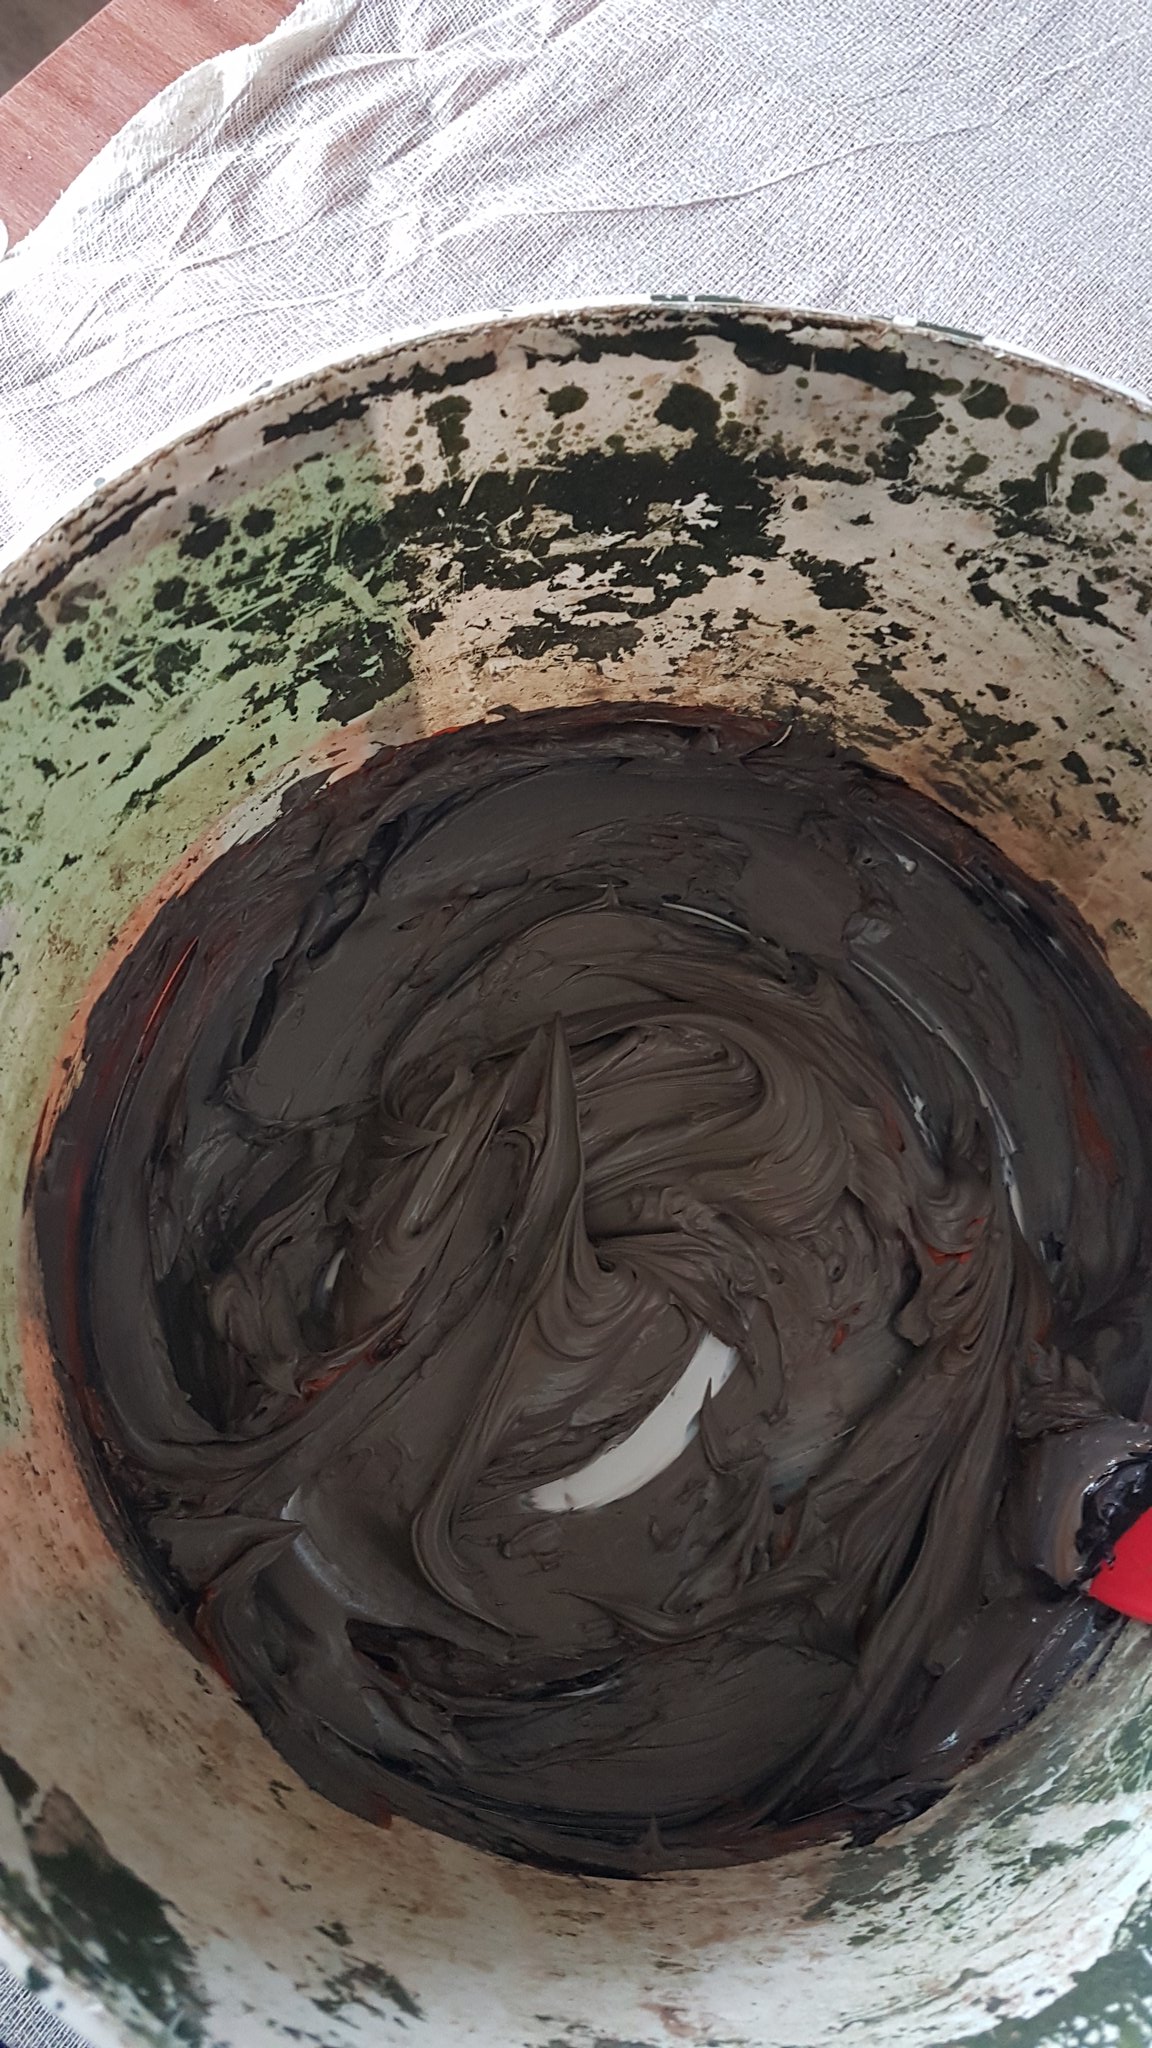
Acrylic decorators caulk – I got through two tubes making this cloth.
Acrylic paint – I used black and brown for this. You want cheap acrylic craft paint here as this stuff will stay flexible and bend.
Sand and grit.
A plaster spreader (decorator’s tool – here’s an eBay link)
Flock and PVA glue.
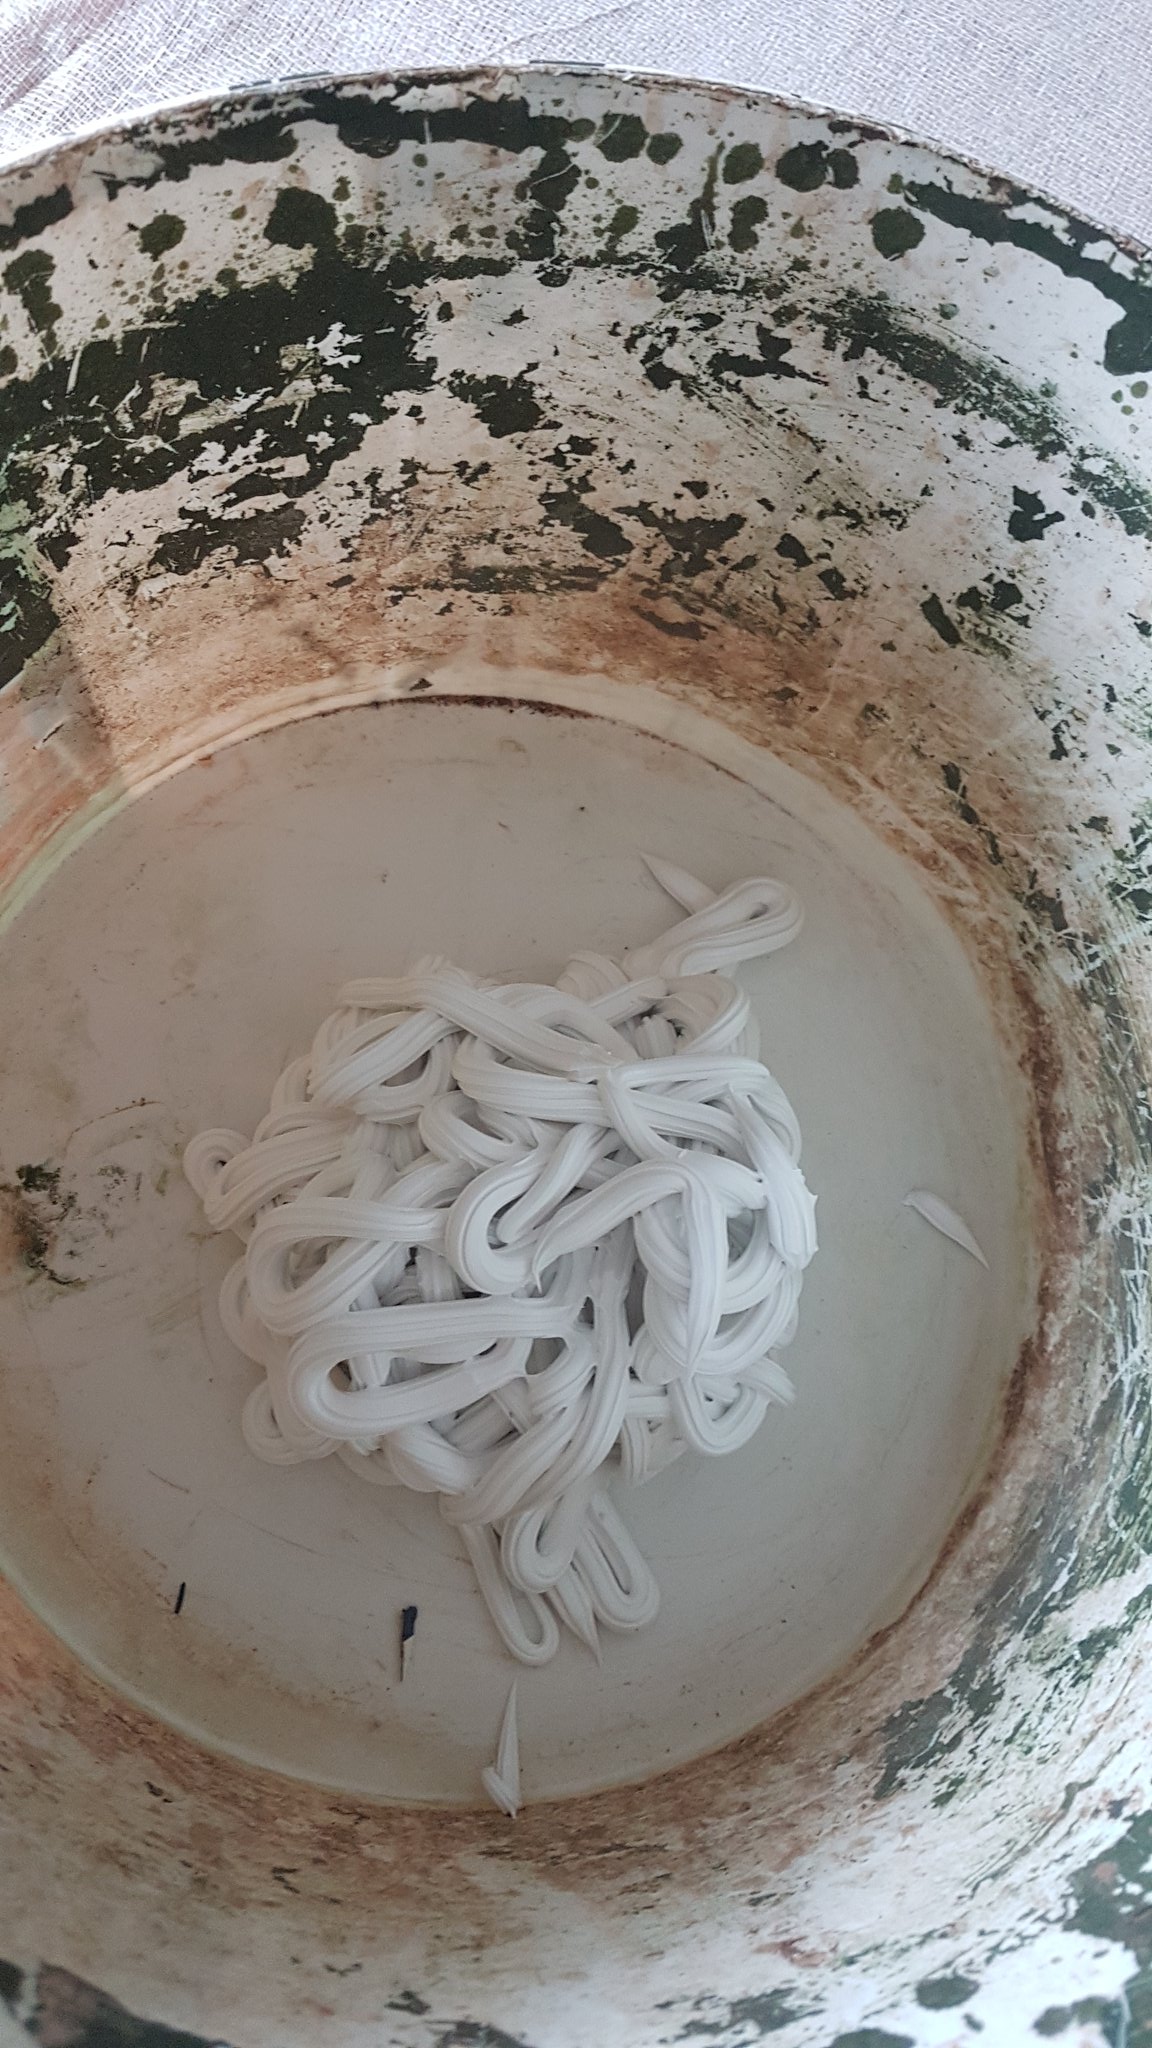
A bucket or similar (I used an old paint pot)
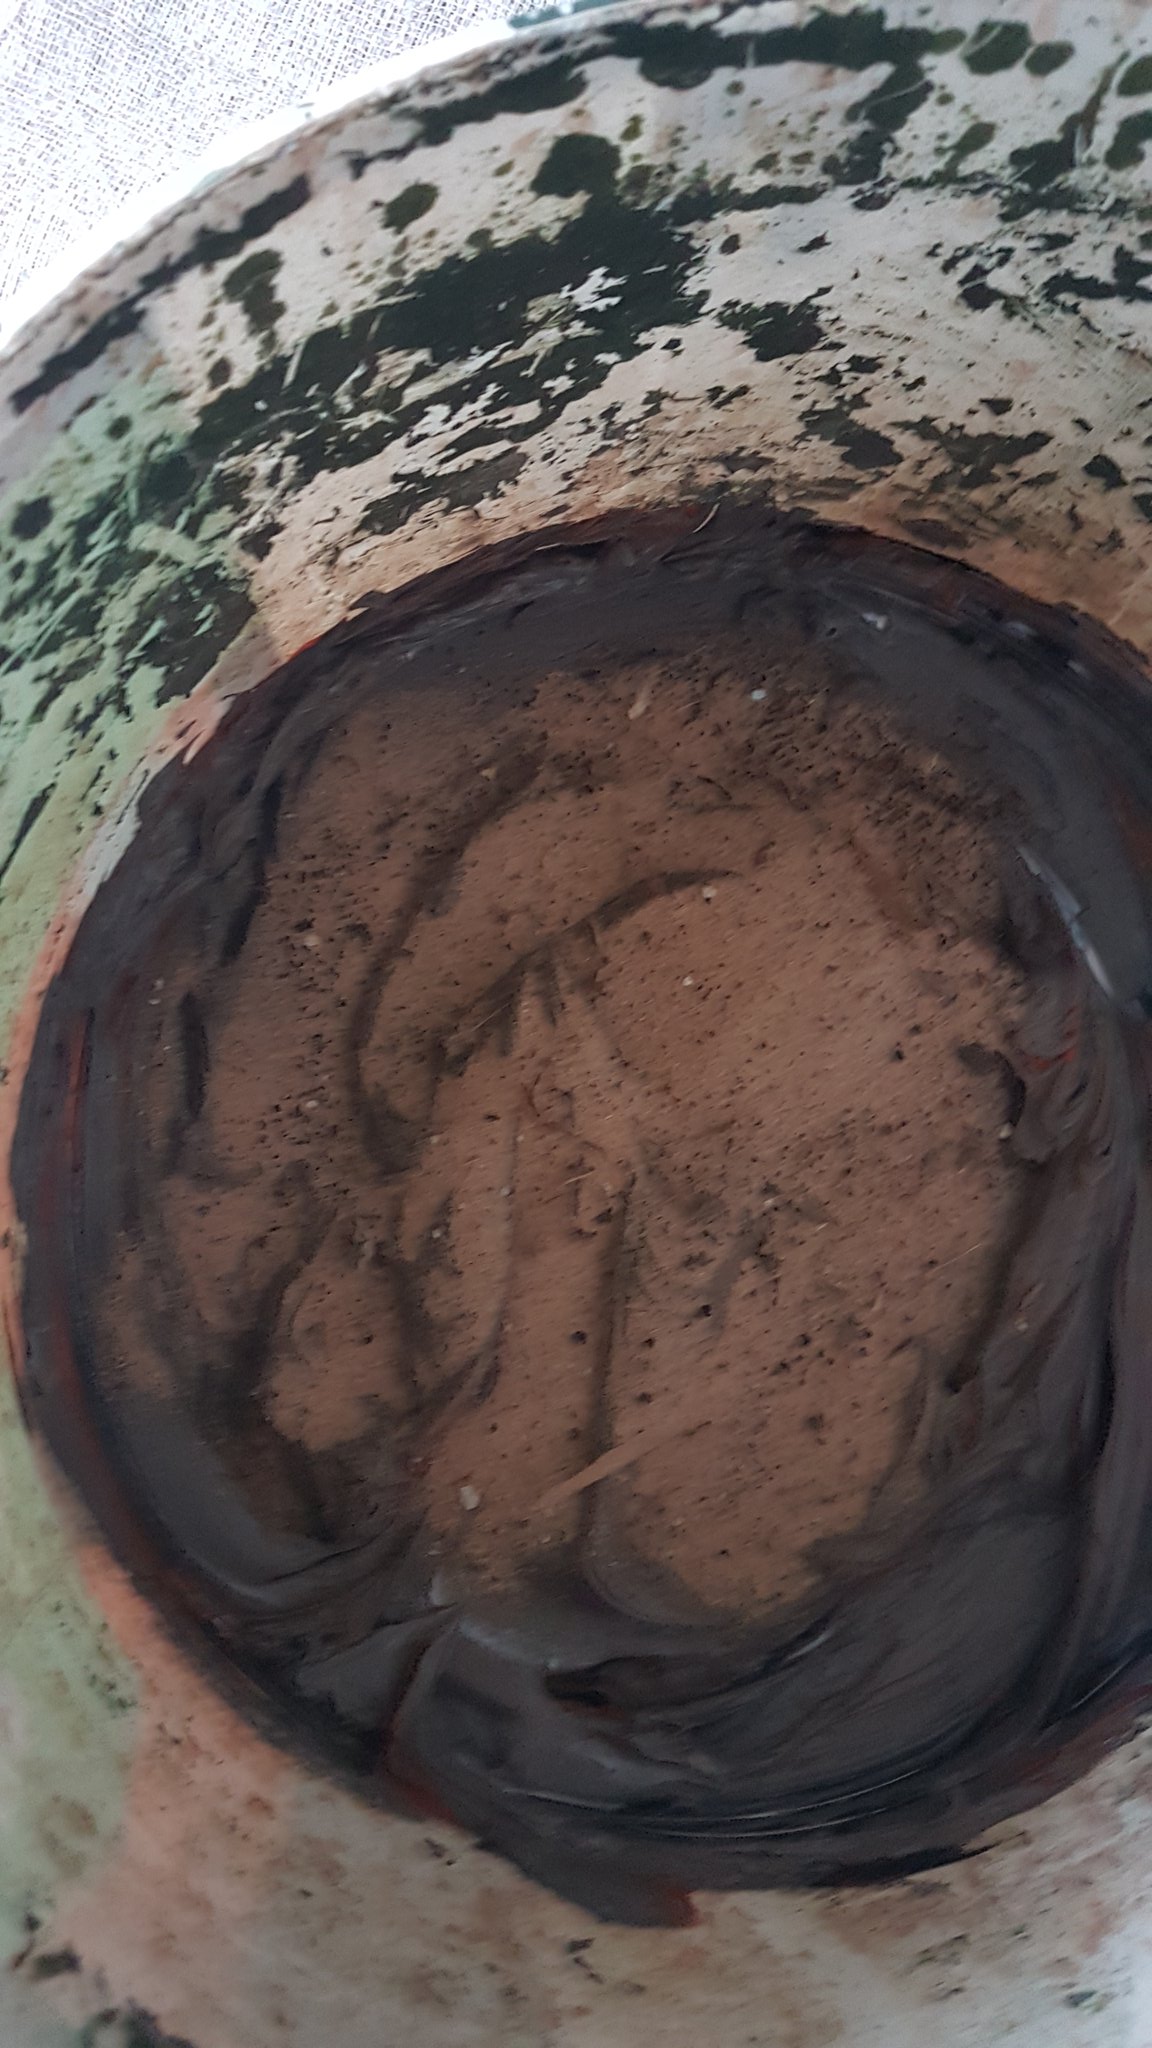
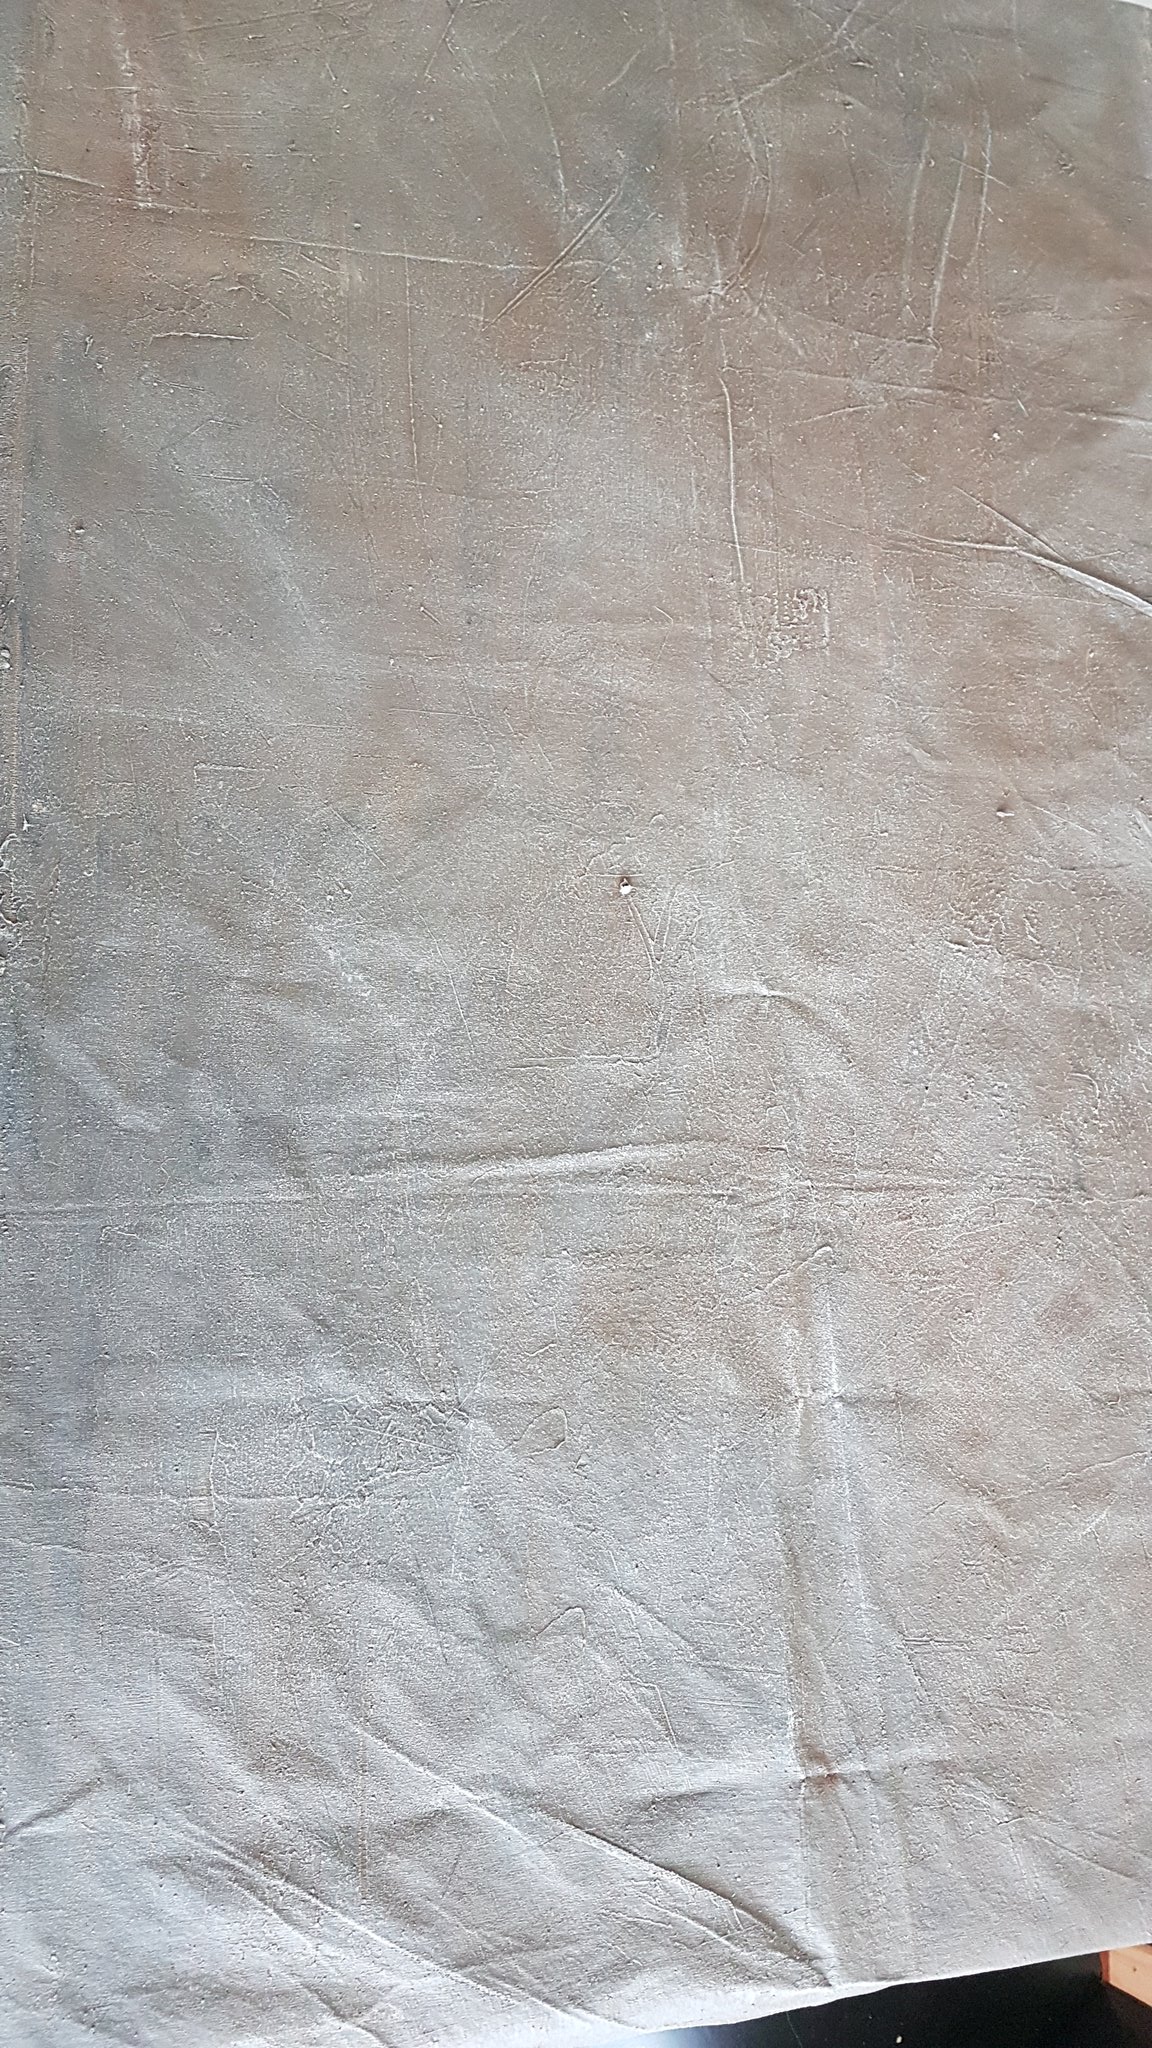
I began by cutting out a 4’x 3′ shape to cover the dining table. and then gaffa taped that down firmly to keep it flat, and then emptied two tubes of caulk into an empty paint pot, and then squirted a tube of black and brown cheap acrylic craft paint in to make sure that I wasn’t going to have any patches of white coming through.

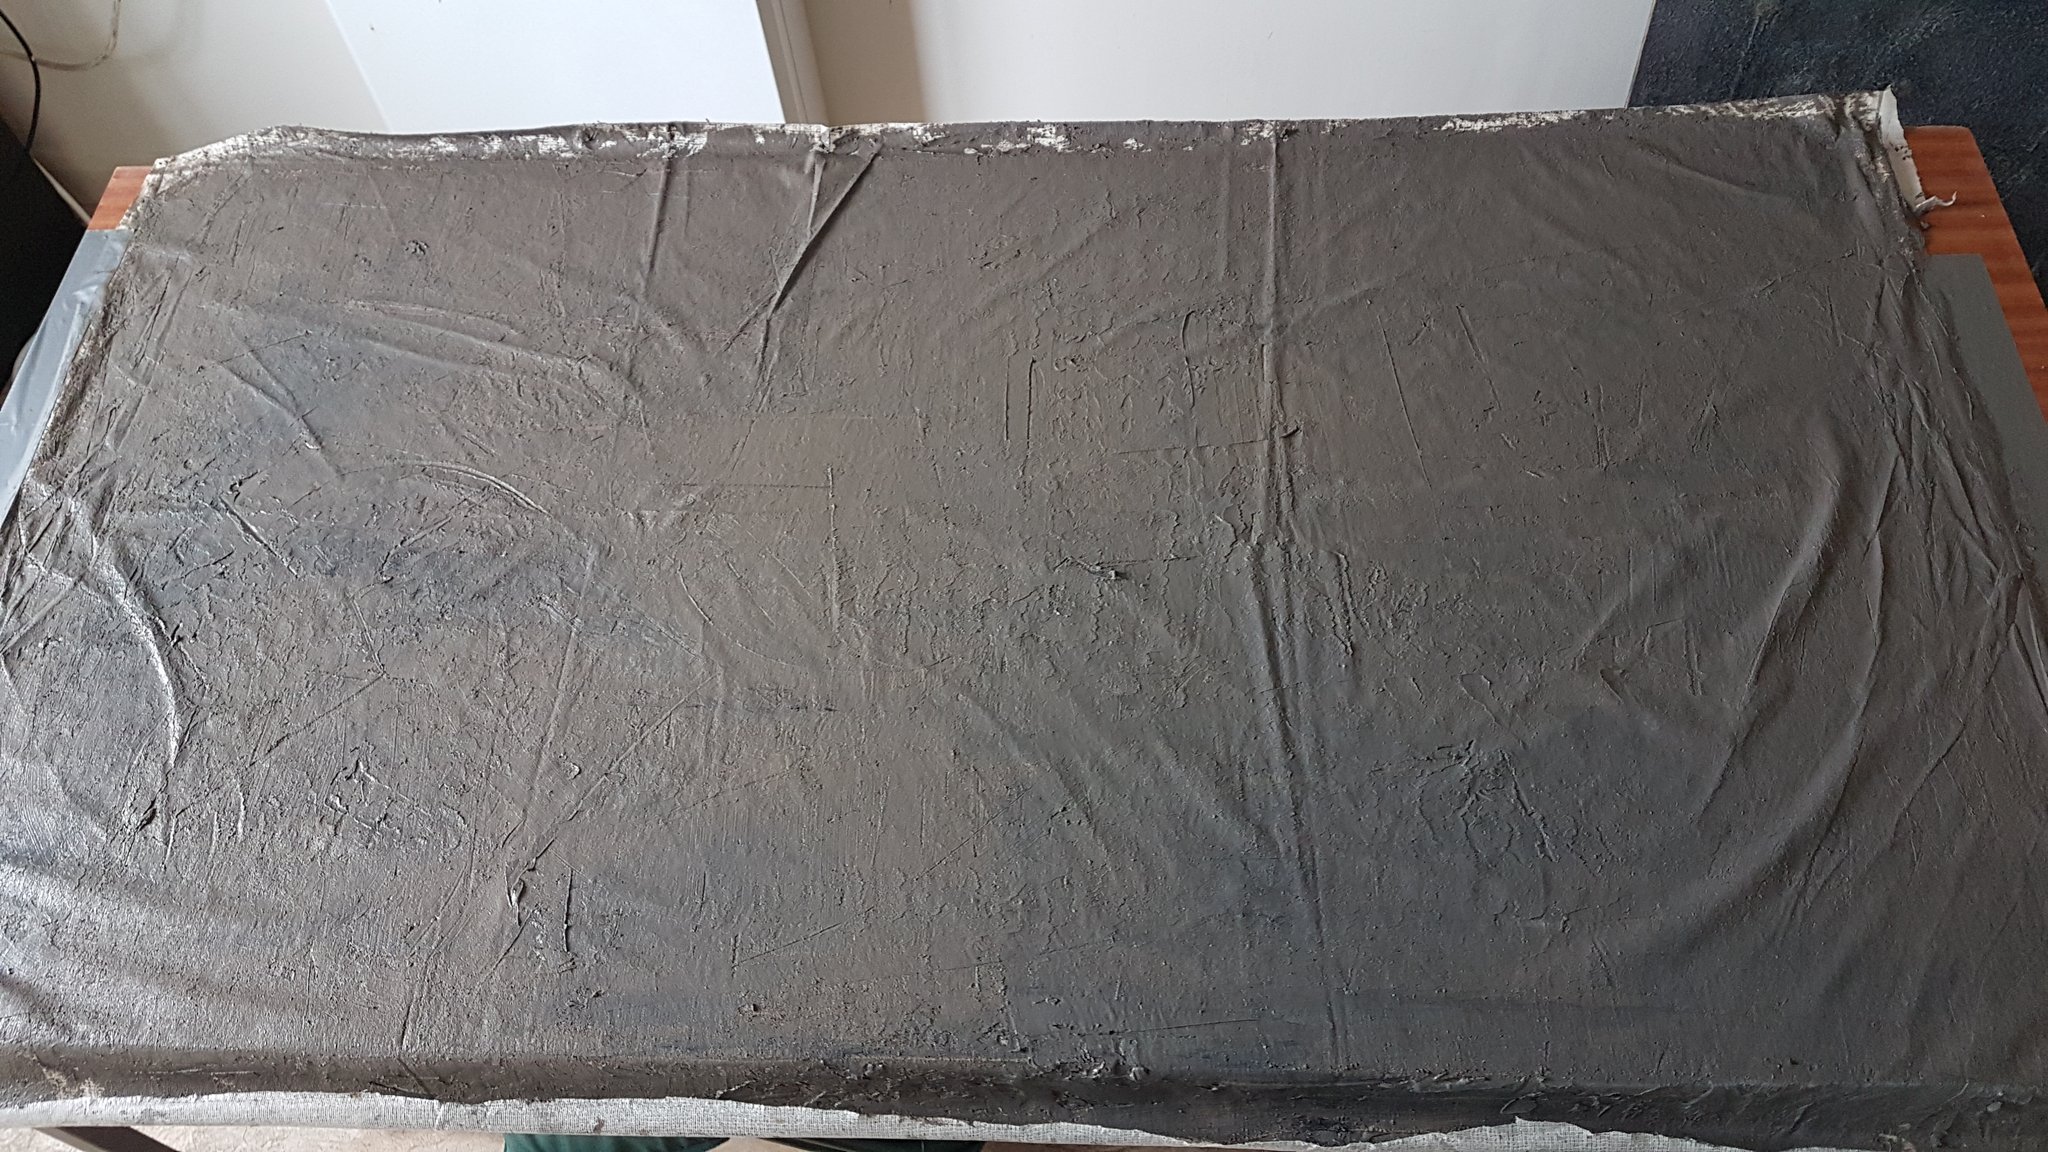
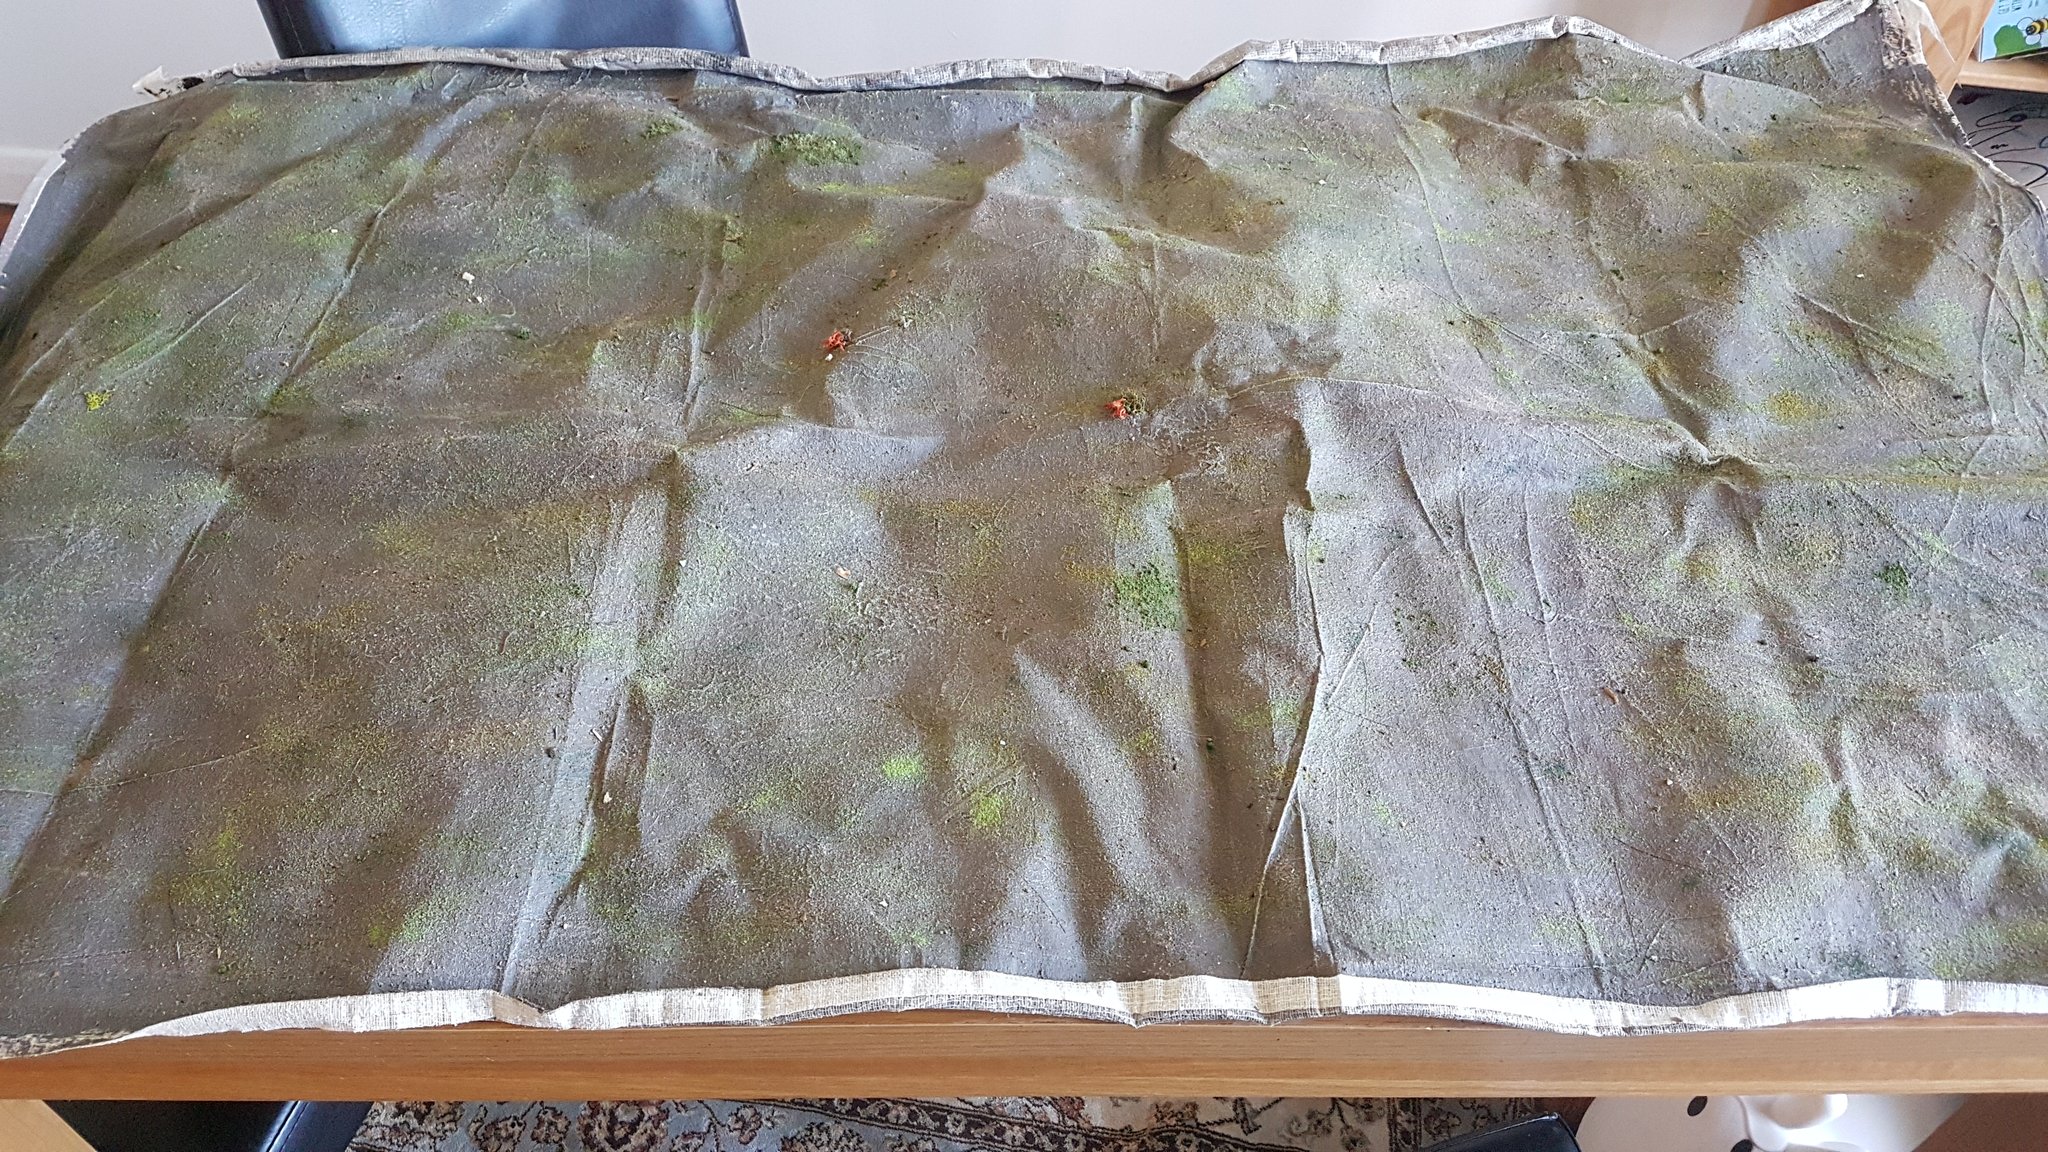
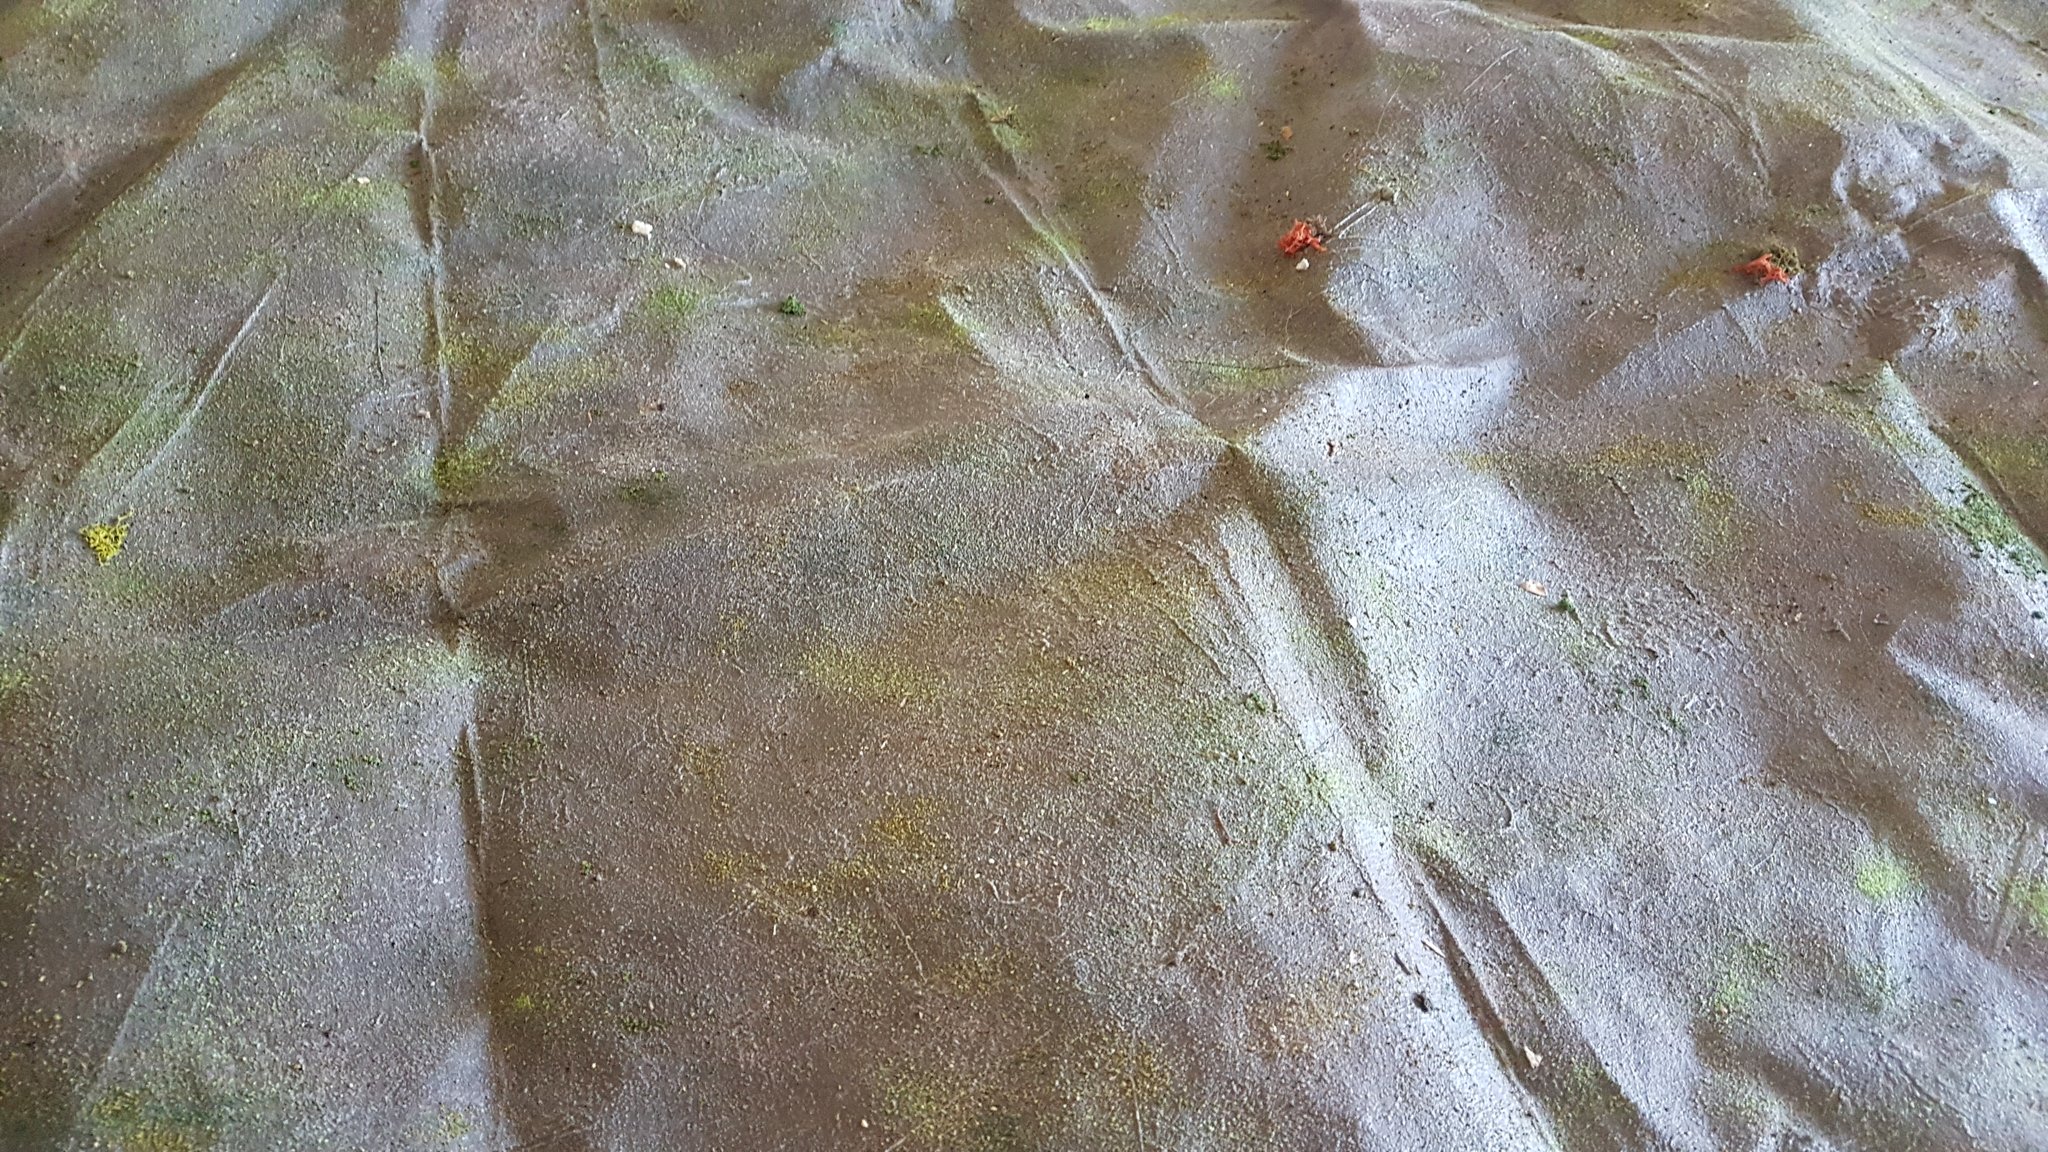
After leaving that to dry for a couple of days, it was time to drybrush – I used two or three layers of brown mixed with bone, each time adding lightening the mix with bone and using less paint on the brush:
 but I can live with it, and not bad for a first attempt.
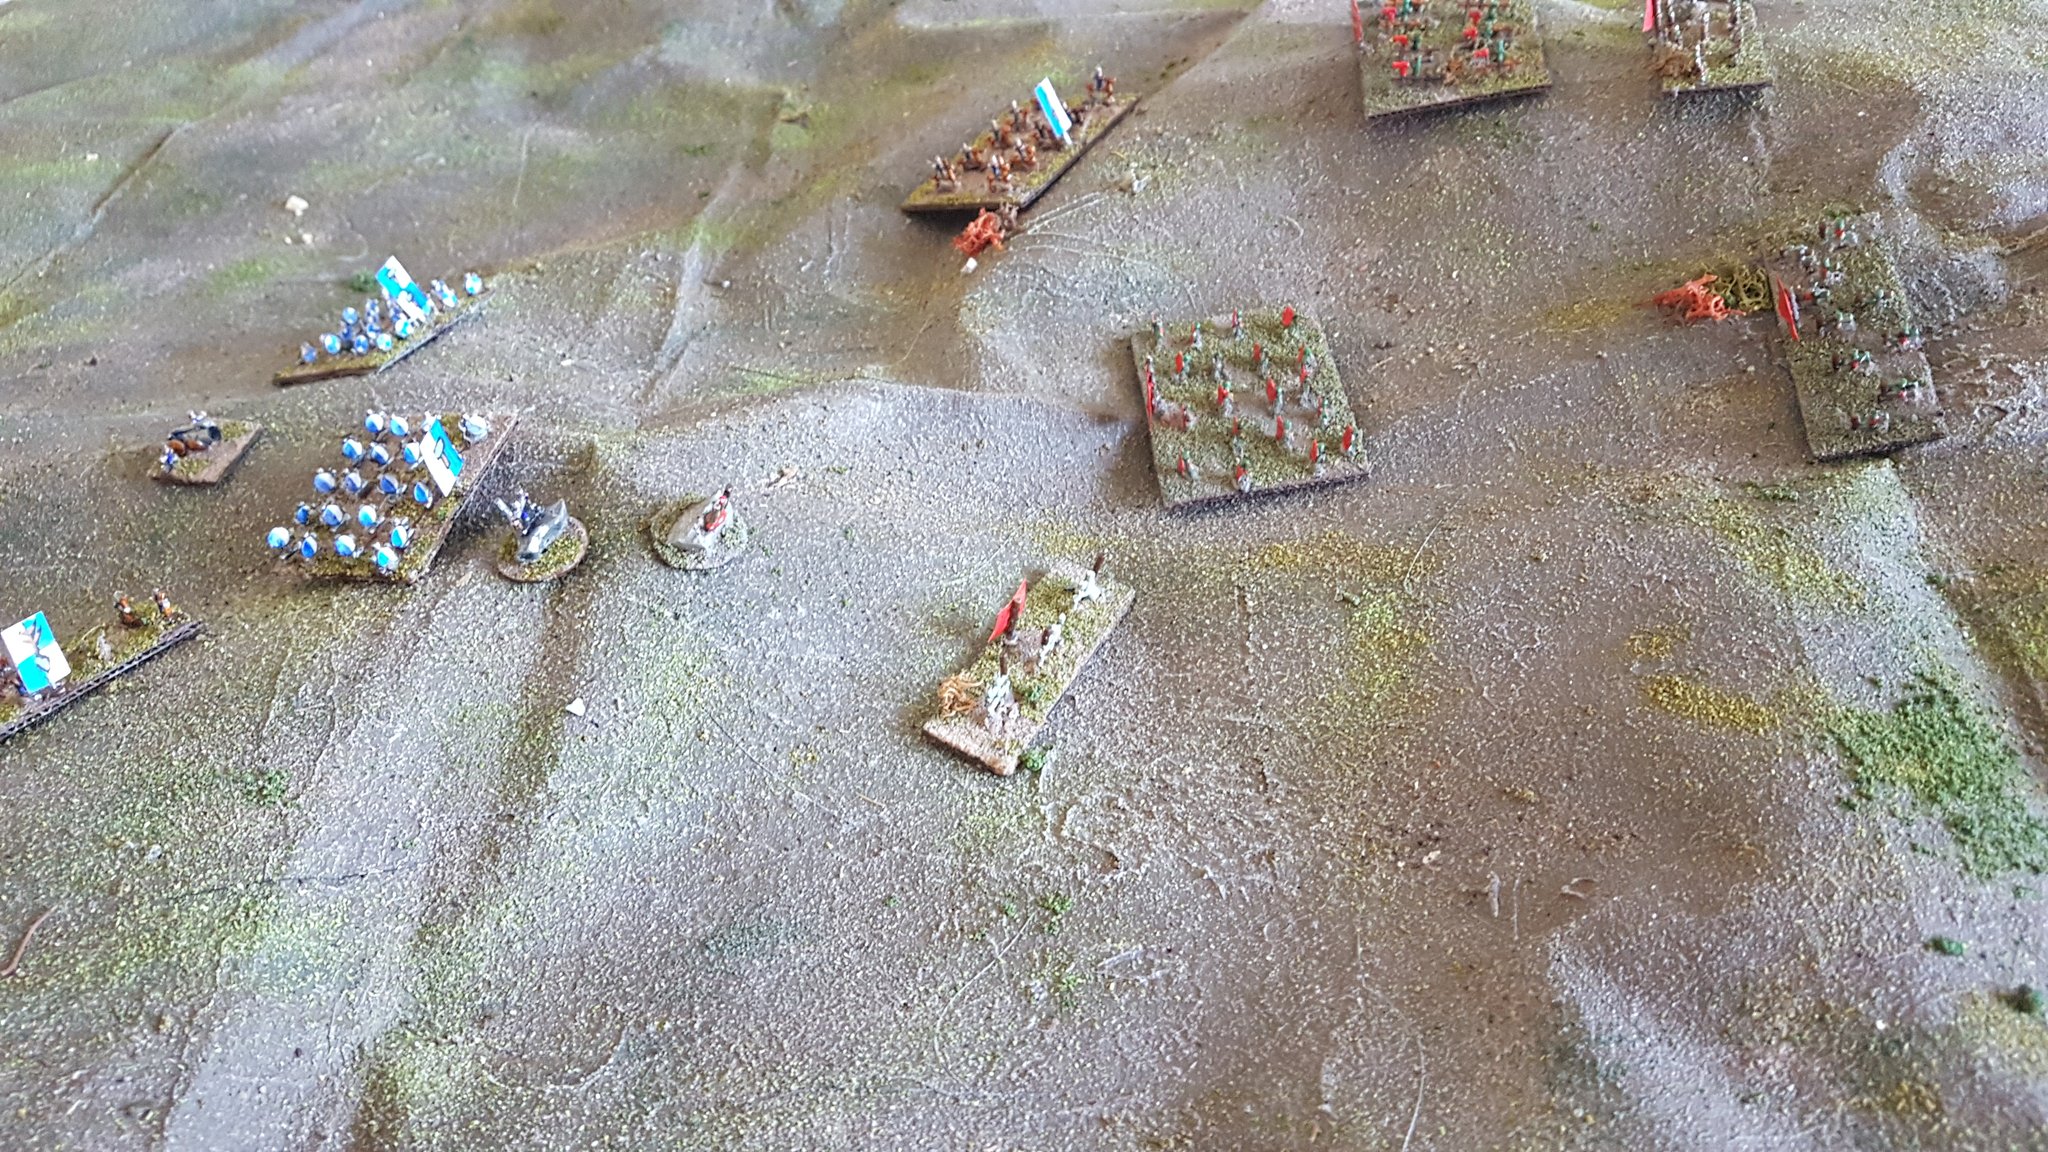

Must admit, I enjoyed this and I honestly didn’t think I’d get anything close to Mel’s results, but in the end I’m quite happy with this – thinking about doing a couple of overlays for the 6×4, maybe a desert or a snow theme? I now Jim’s got something in the works that could make use of a winter snowscape…
That’s all for now, stay tuned to see a proper look at my home made Dwarves next time, and maybe even a KoW battle report! Stay safe and thrifty out there folks.

I really like that finish! 🙂 And I just so happen to have a fabric, plastic-backed 12 x 9 decorating sheet stashed away – I just need to come up with a plausible excuse for when my wife catches me cutting it up and covering it with decorators caulk!
LikeLiked by 1 person
Do it man, you won’t regret it, and I’m sure she’ll come around when she sees the finished article 🤣🤣🤣👍
LikeLike
That looks great. I’ll have to try out something similart for some custom mats I want to do. I’d be interested to see how well it wears after a year or two use….
Cheers,
Pete.
LikeLiked by 2 people
Go for it mate, it’s way easier than I expected and really convenient 🙂
LikeLike
I’ve read a couple of articles about making these but never taken the plunge. It does look really good though, can’t see my wife being very pleased if I had one drying on the dining room table for a couple of days though, and I’d never be able to keep the cats off of it for that long either 😼.
Cheers Roger.
LikeLiked by 1 person
I have no advice on wives and cats I’m afraid 🤣 but if you’ve got a shed or attic you could store it there?
LikeLike