It’s the summertime and the weather is fine, and I’ve been out in the garden knocking back wine…
Time to step away from the Blood Angels for a bit – I’ve lost confidence in my eye for detail (nothing to do with ay criticism, by the way – all the comments I’ve had have been positive, in fact far more positive than I deserve), and I think I need to do a fair bit of freehand practice to get my skills up to snuff before having another go at my command figures. So it makes sense to go to a smaller scale, right?
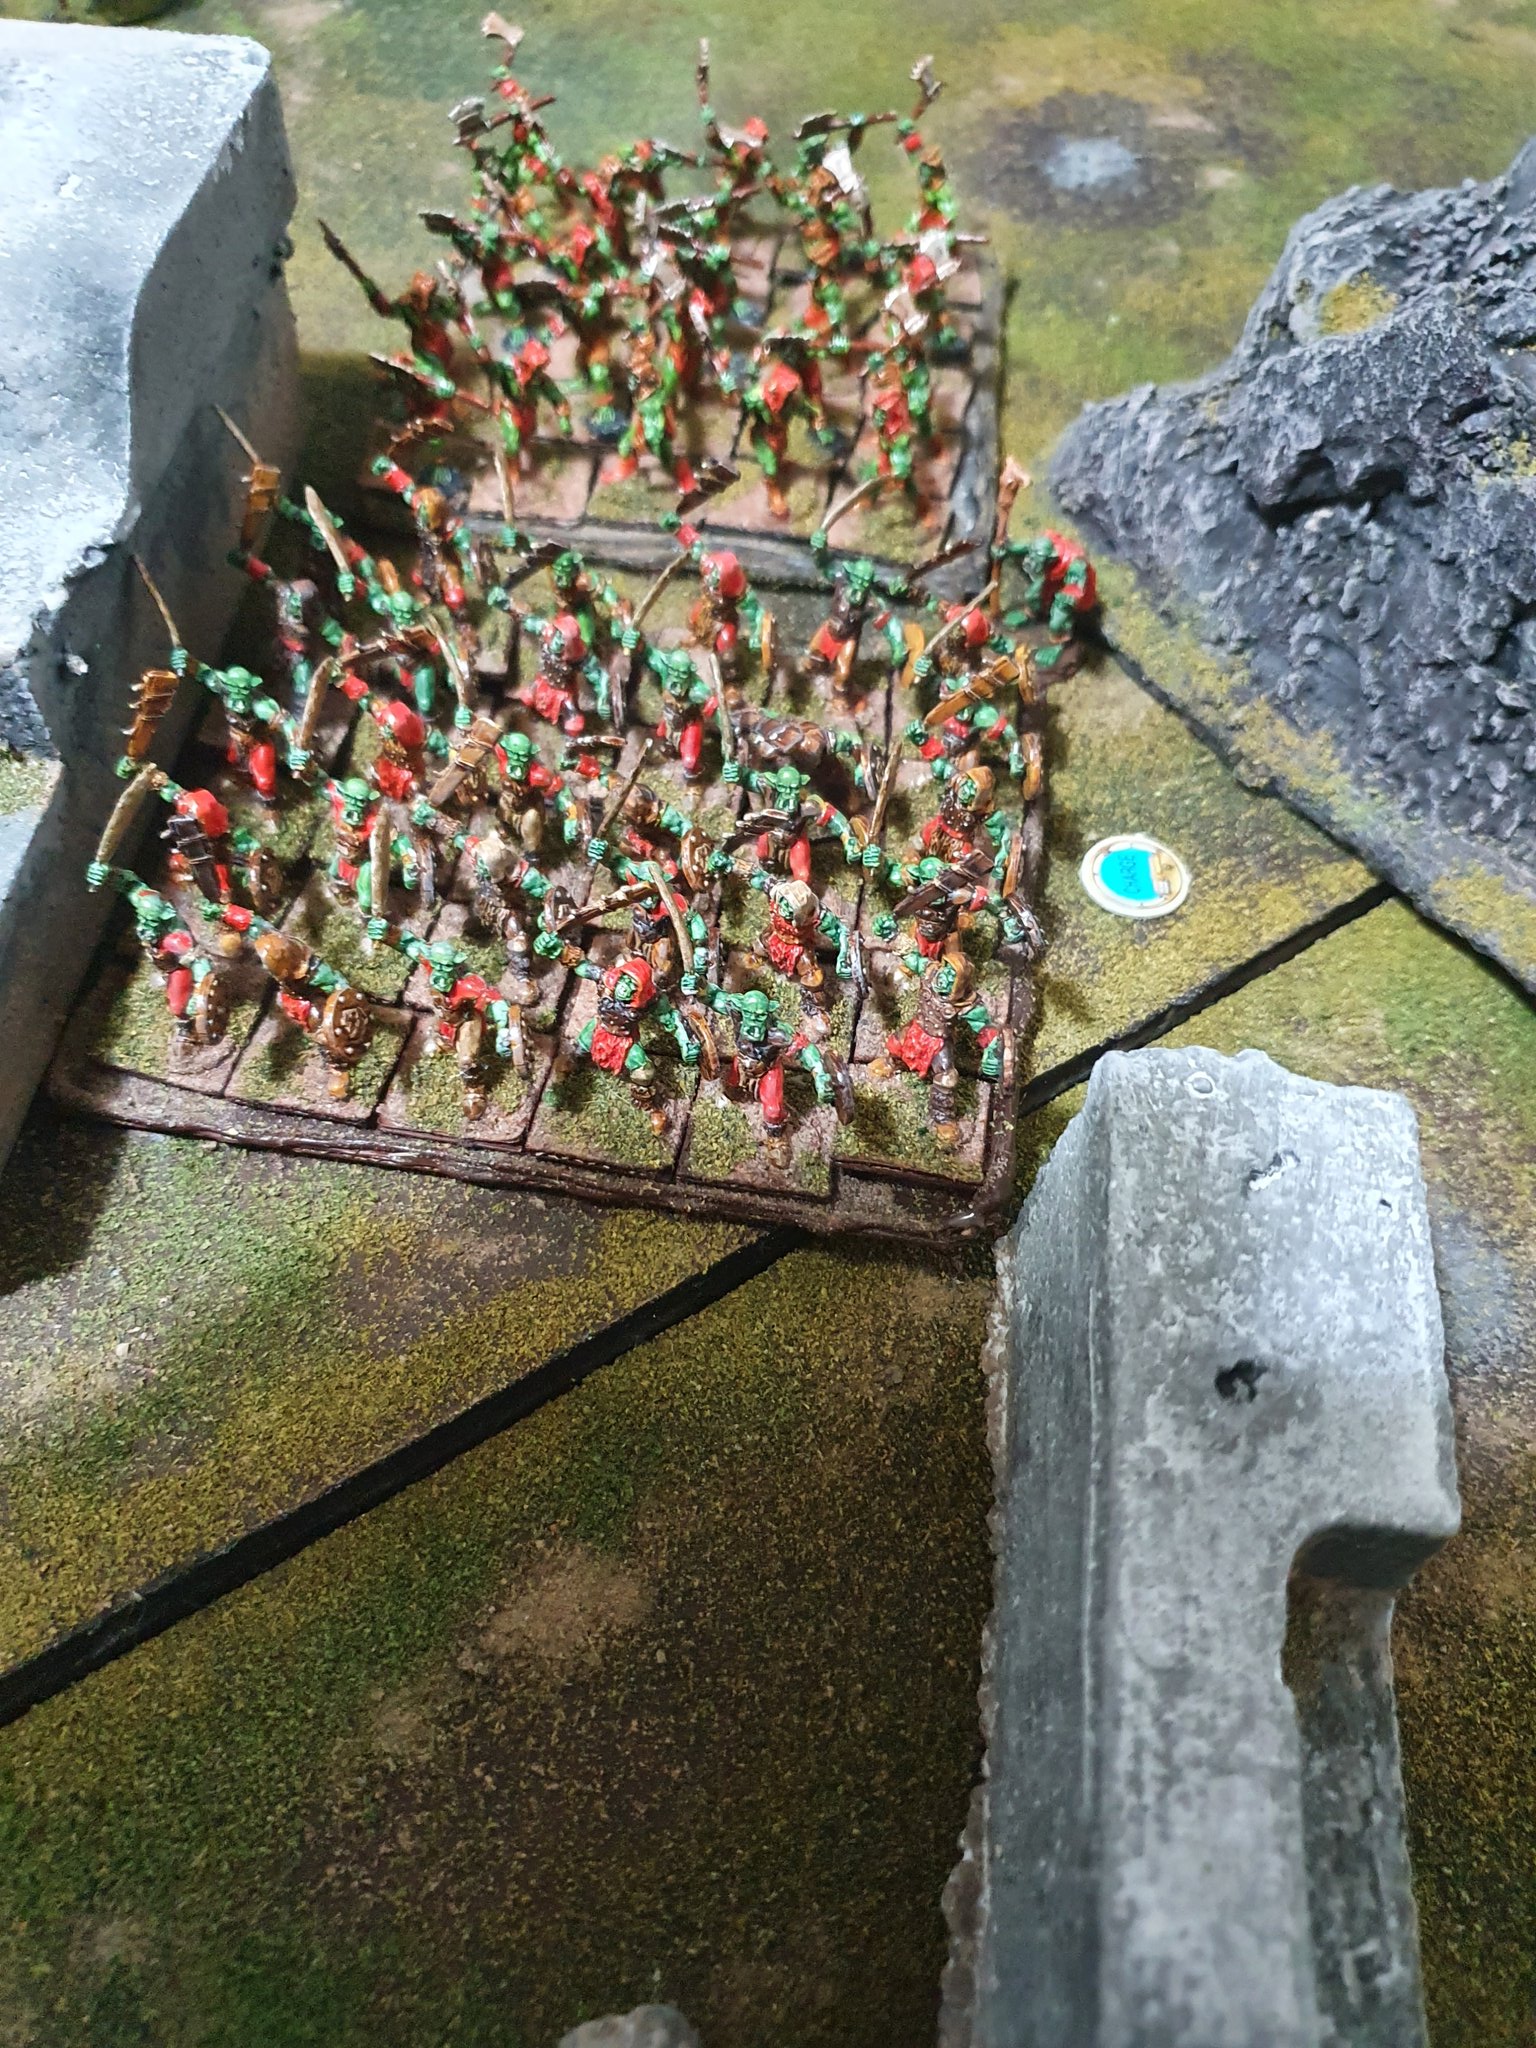
Well… yeah, actually. See, the issue I had with the BAs was with the smooth surfaces and details like the campaign badges and banners (which also highlighted the downsides to painting with housepaints rather than model paints in some instances… X-D) . The details that are picked out for you on the sculpts – pipes, aquilas etc – I wasn’t too bad with. And with my Orcs, there’s plenty of those. This lets washes and drybrushing take care of the heavy lifting – plus any mistakes you can hide within a regiment of 30, right?
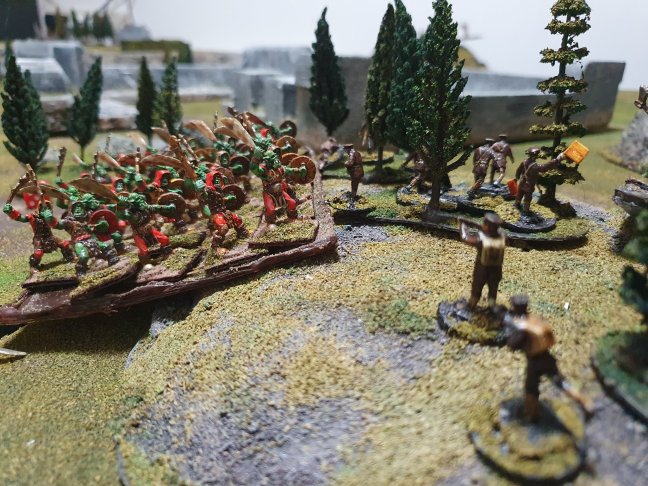
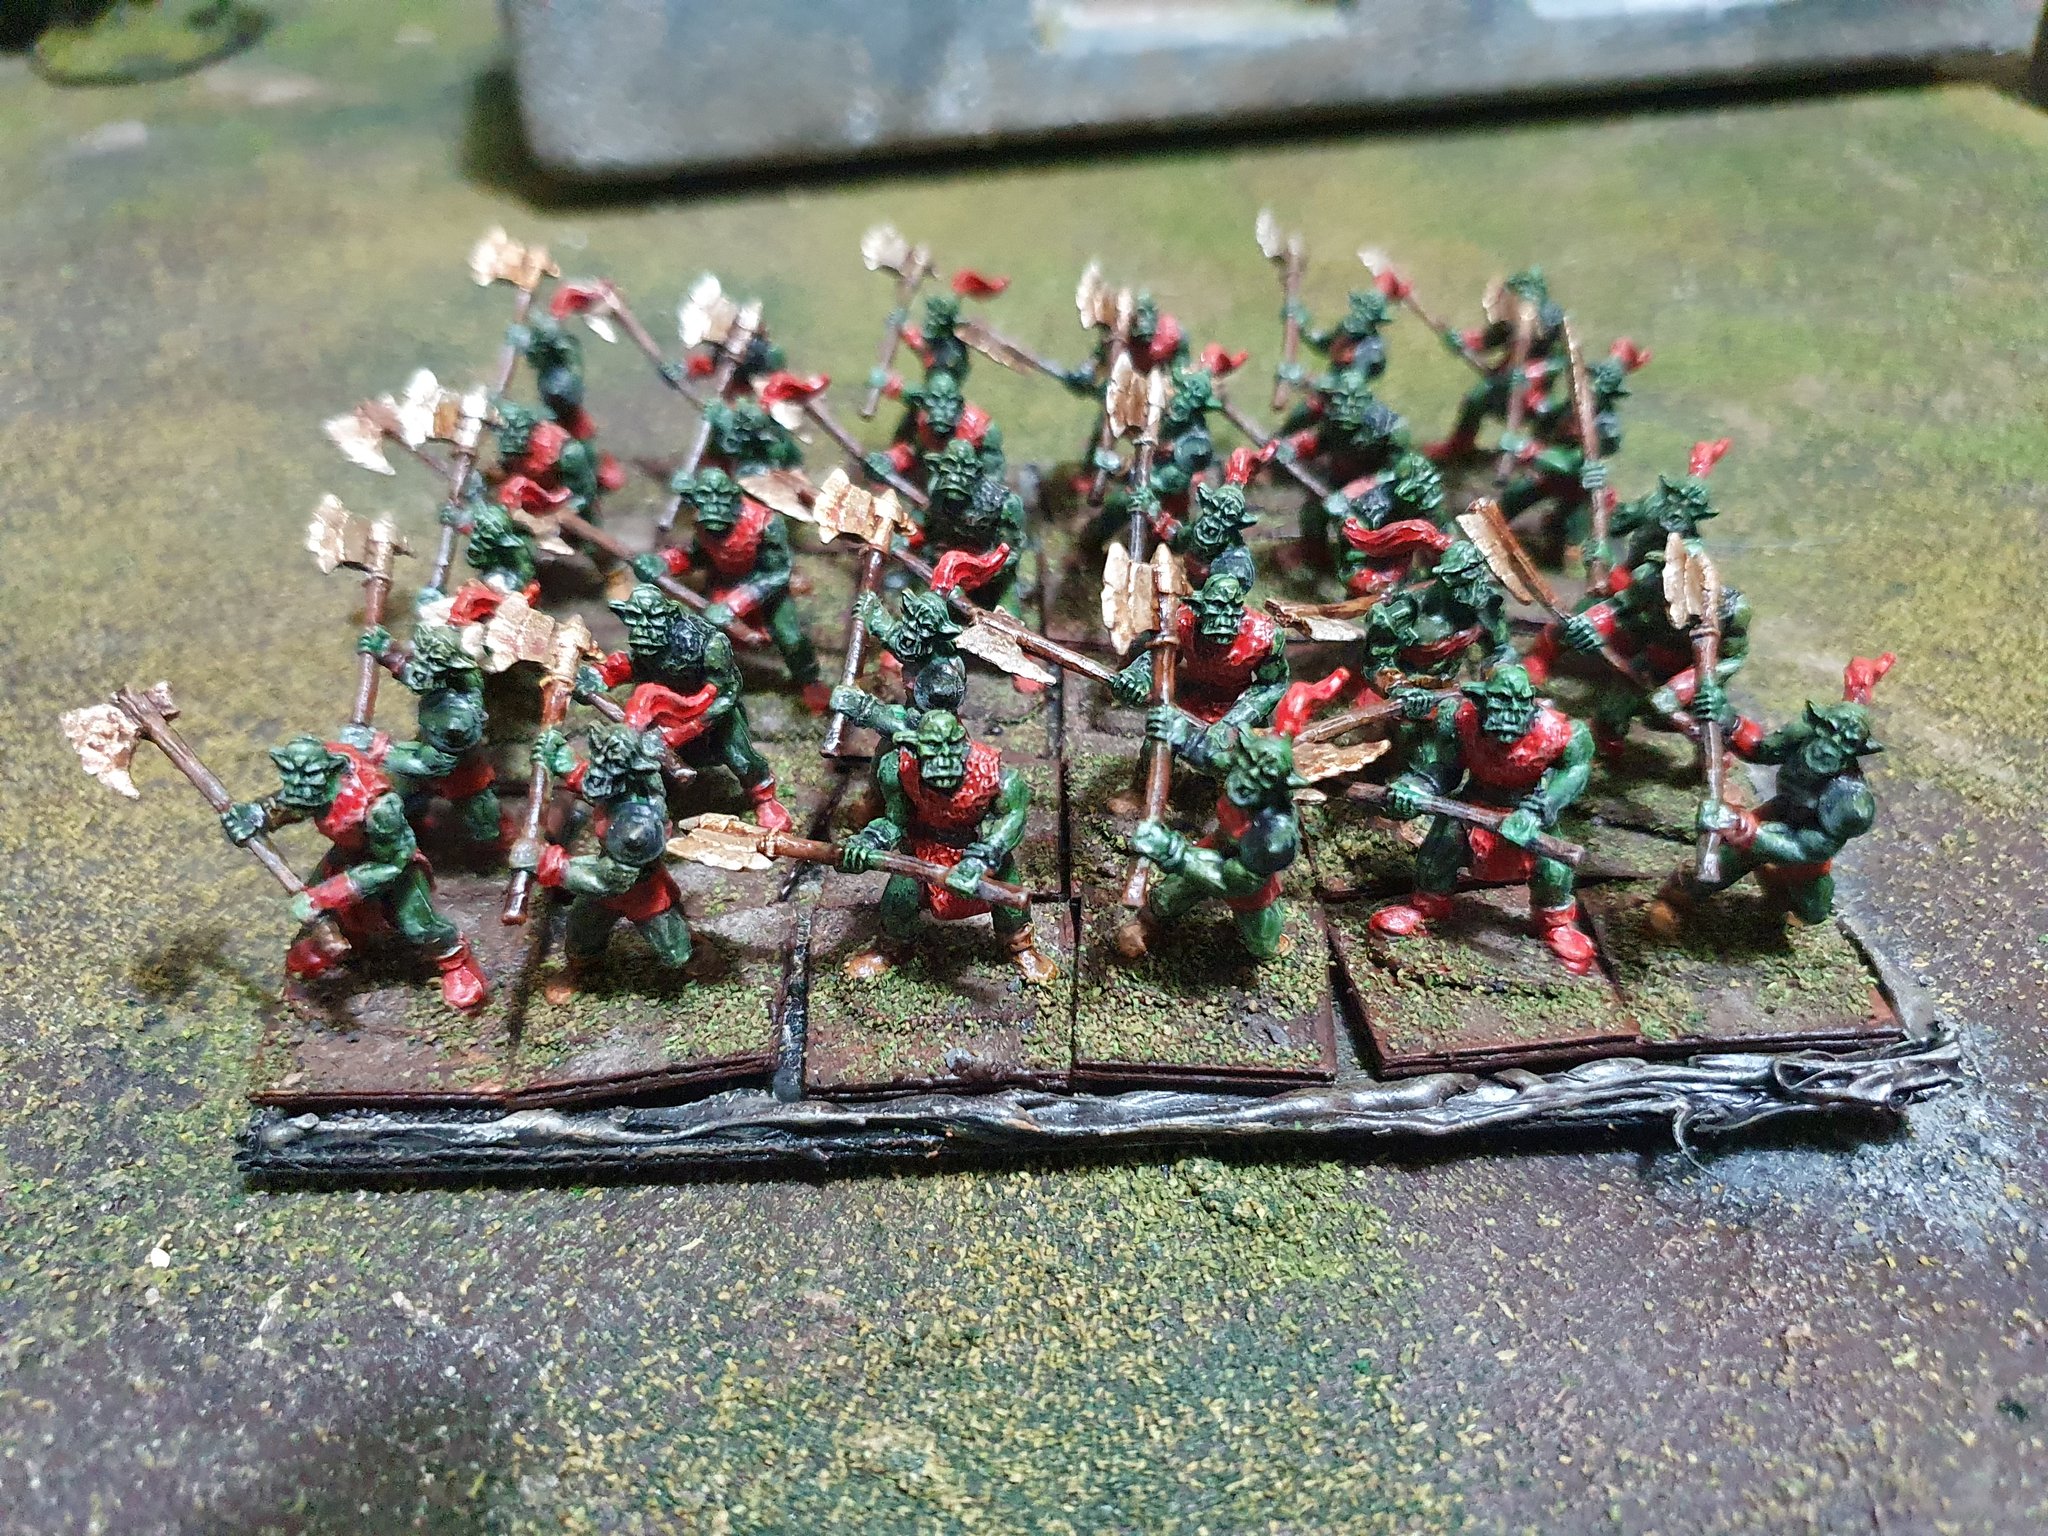
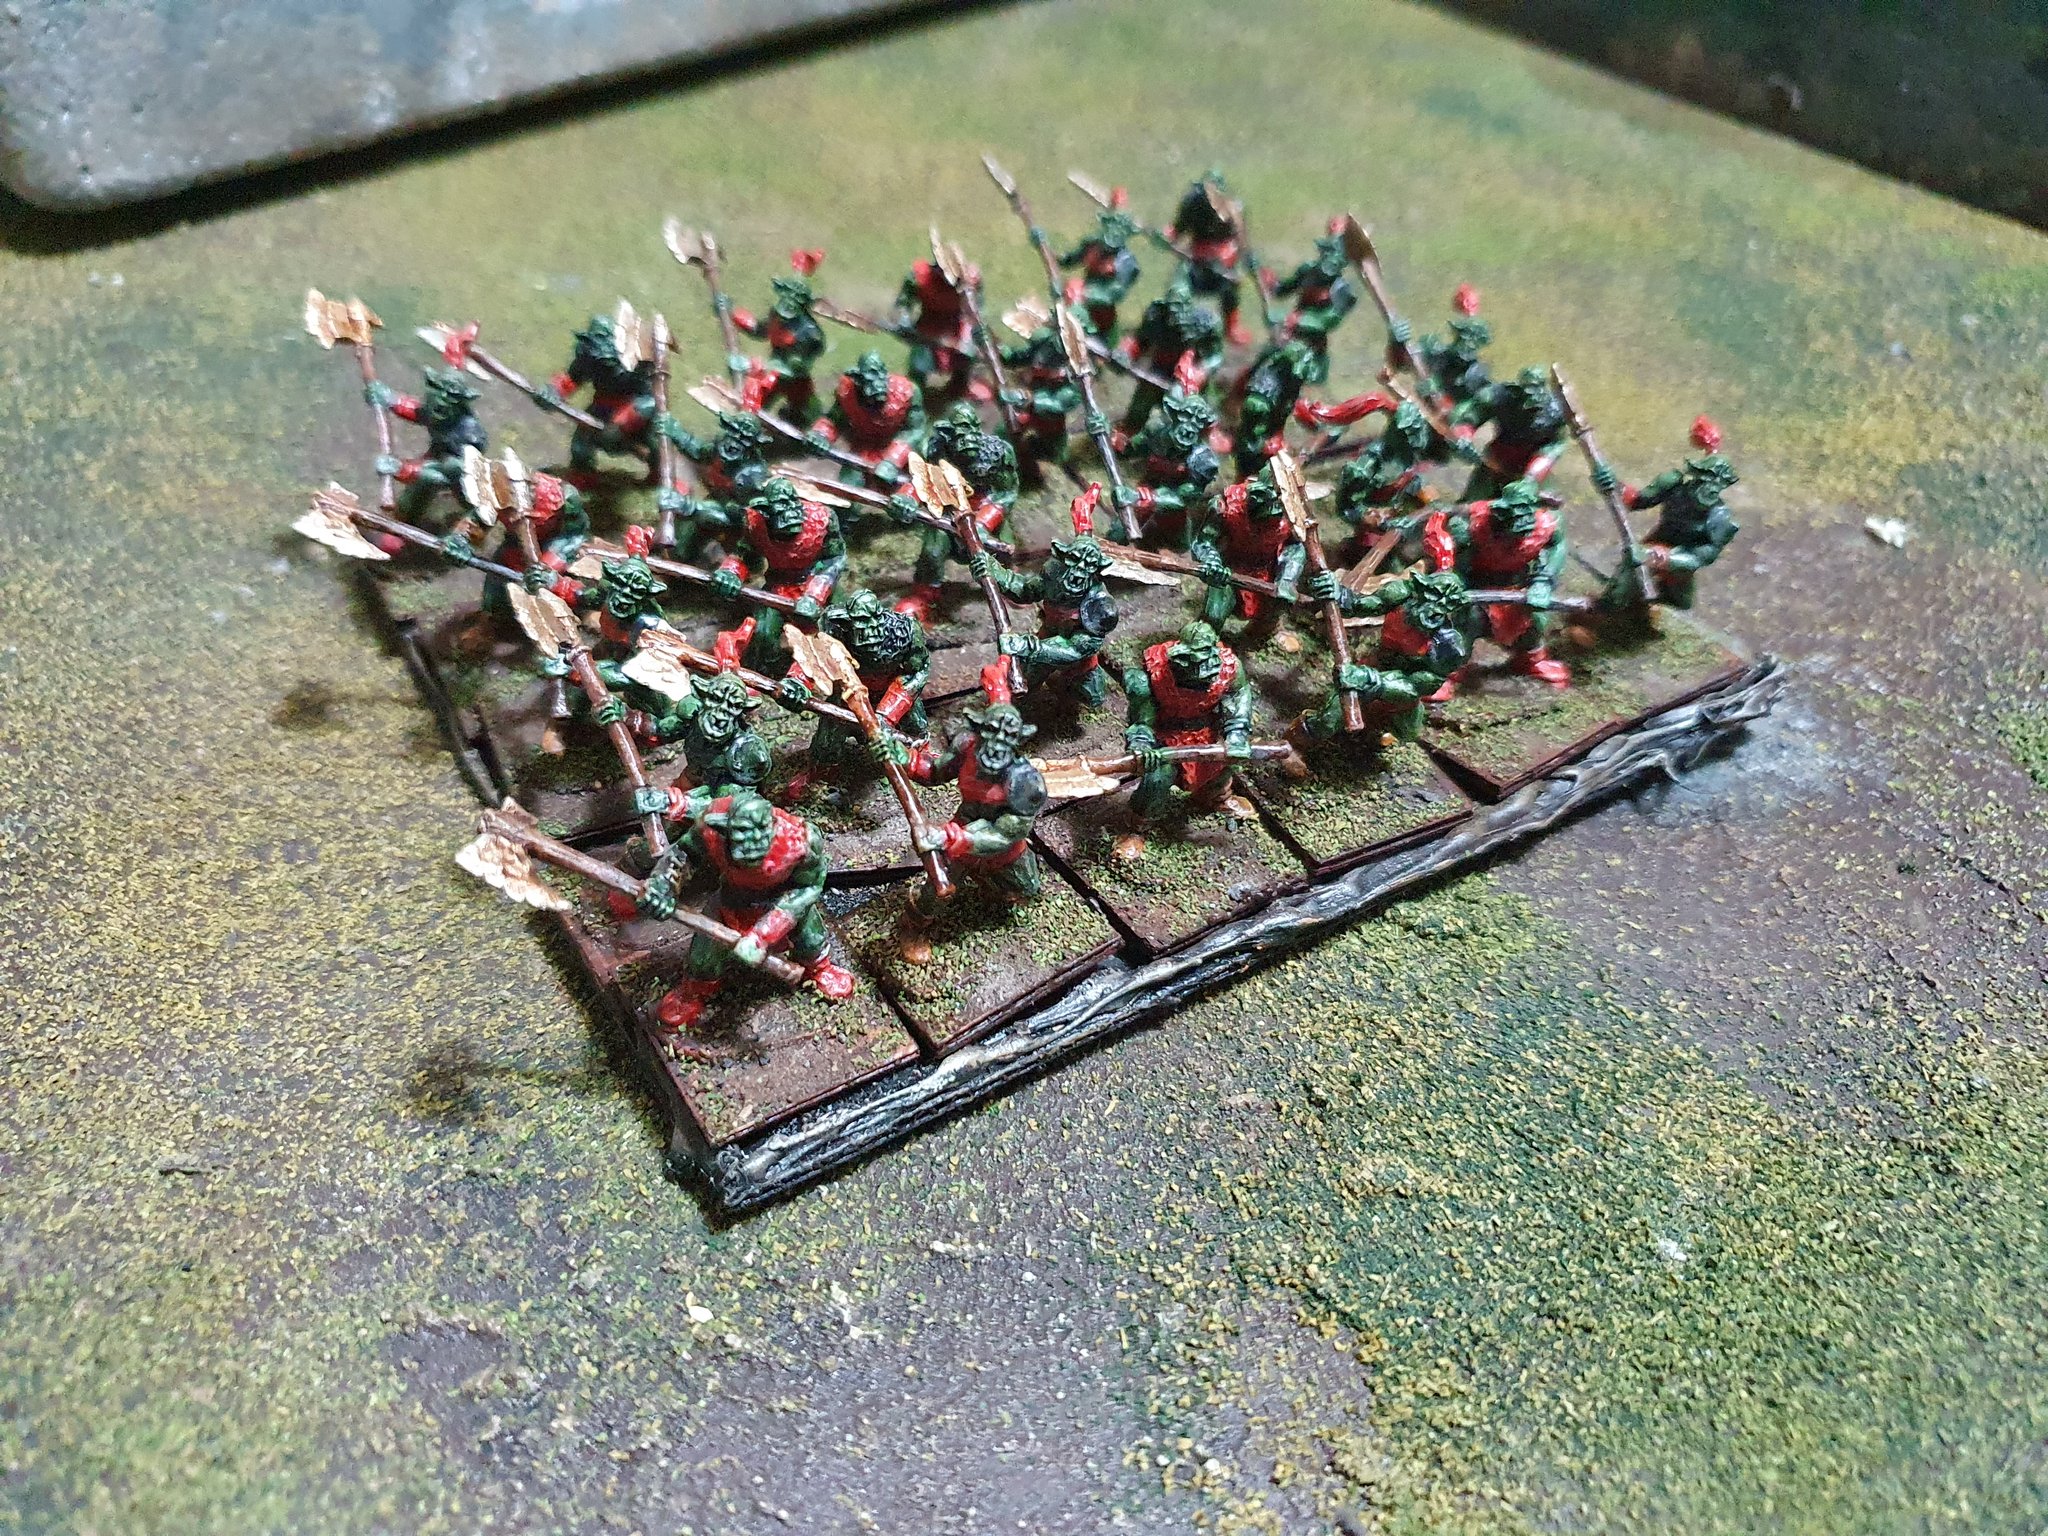
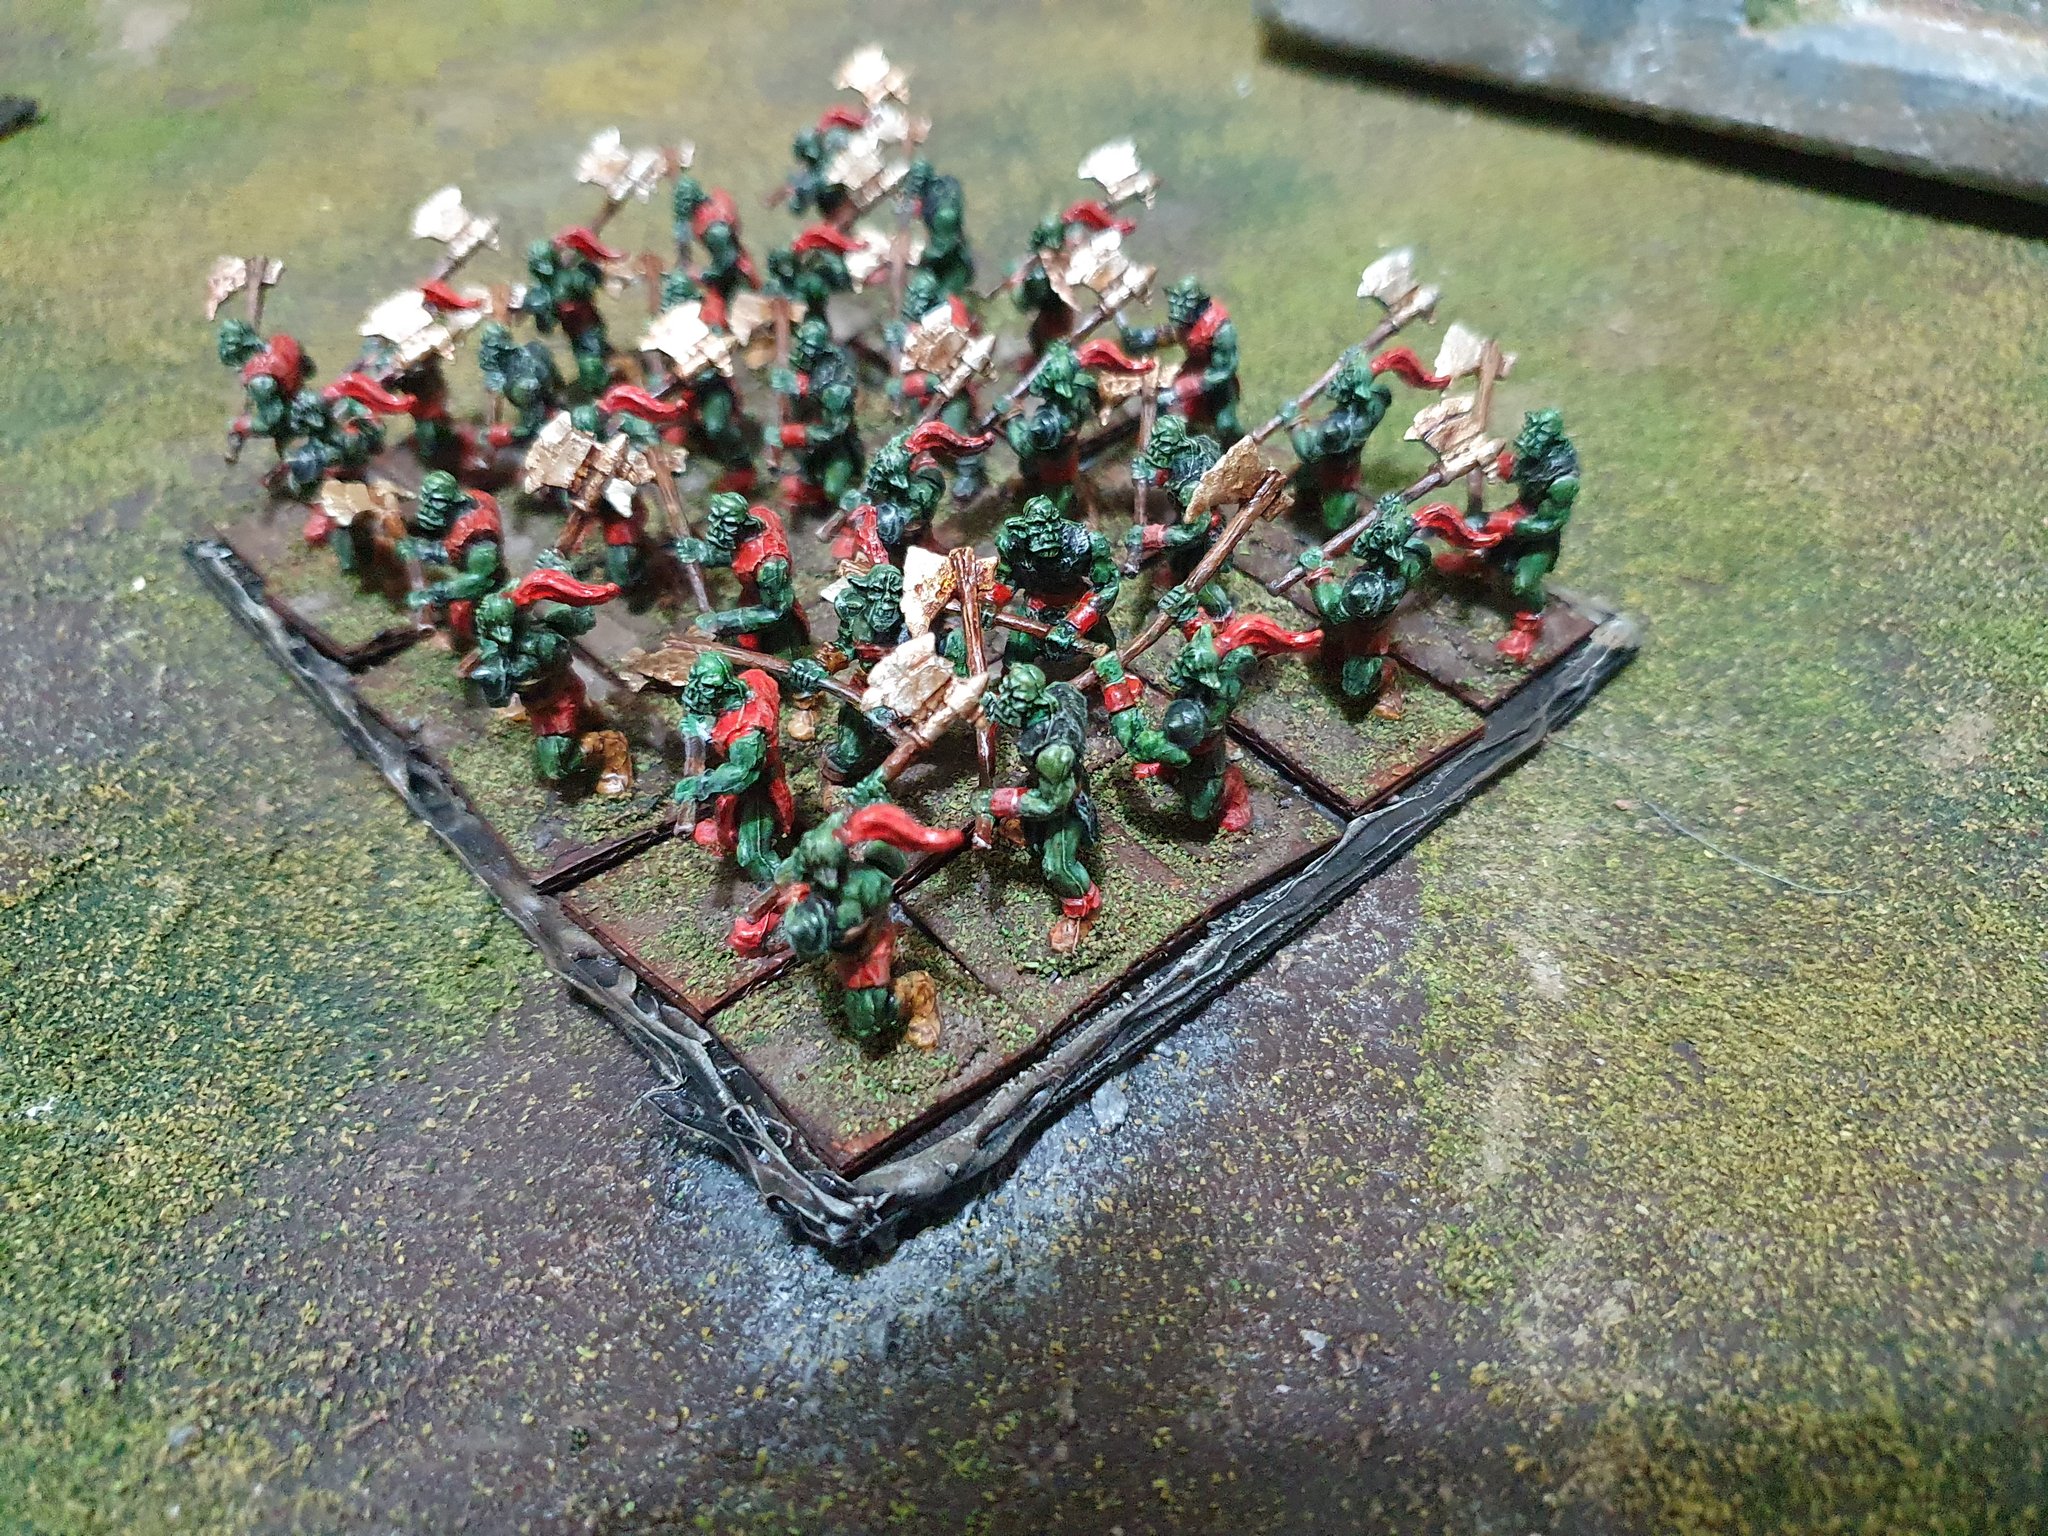
So here we are – a regiment of 30 Black Orcs (Orcs of Colour?):
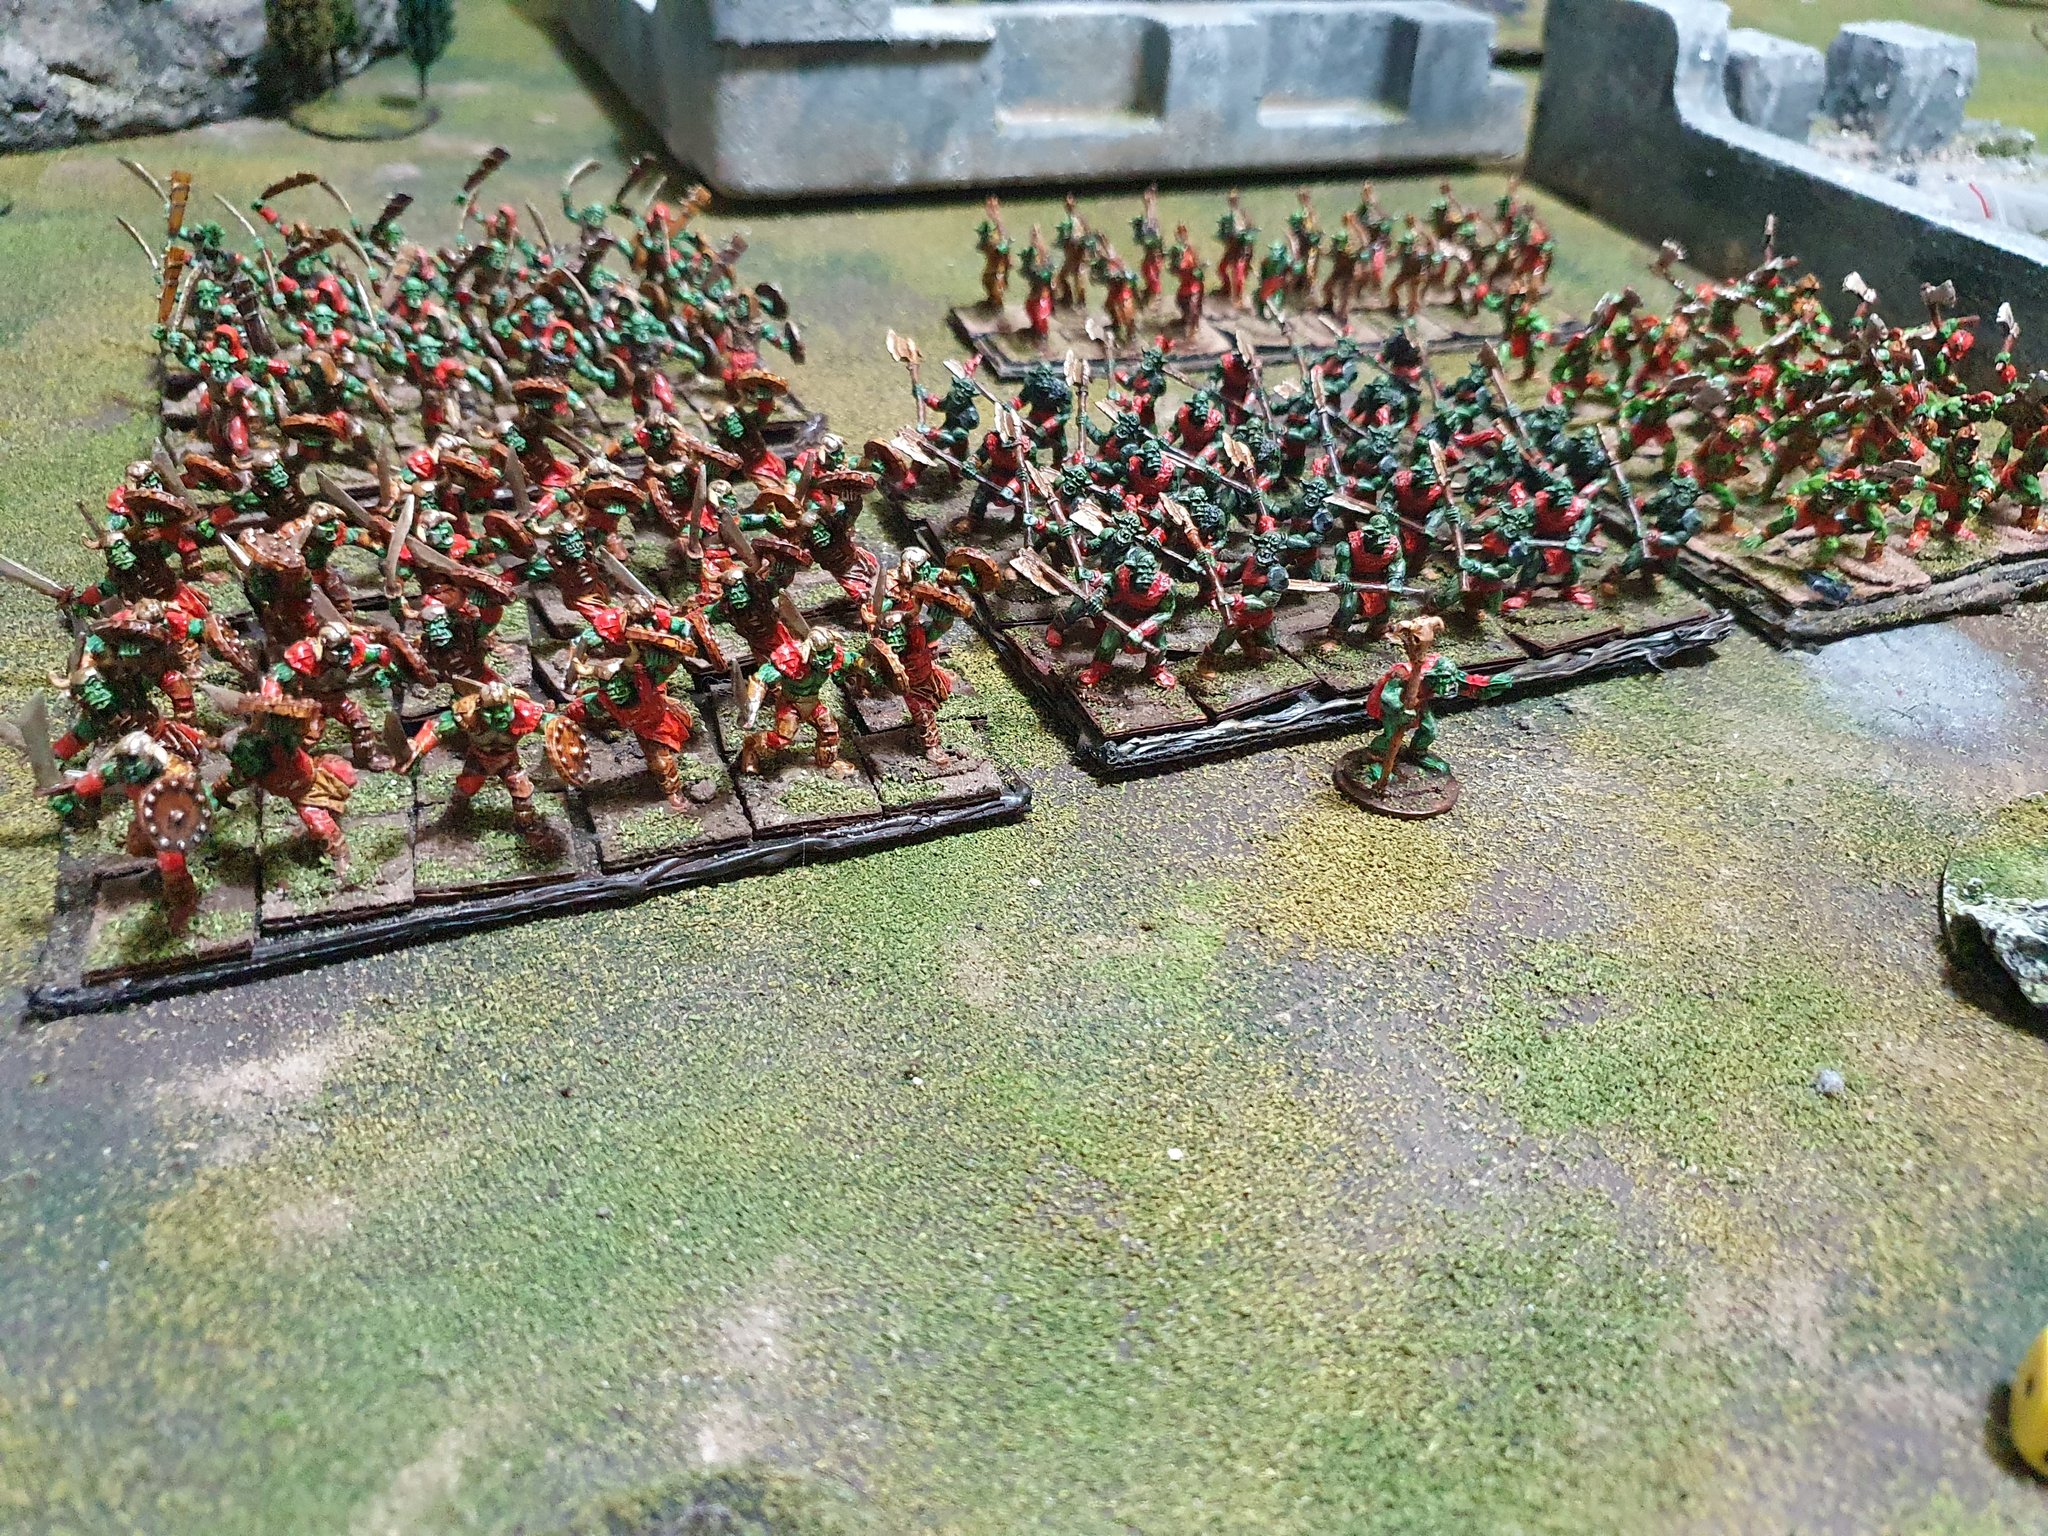
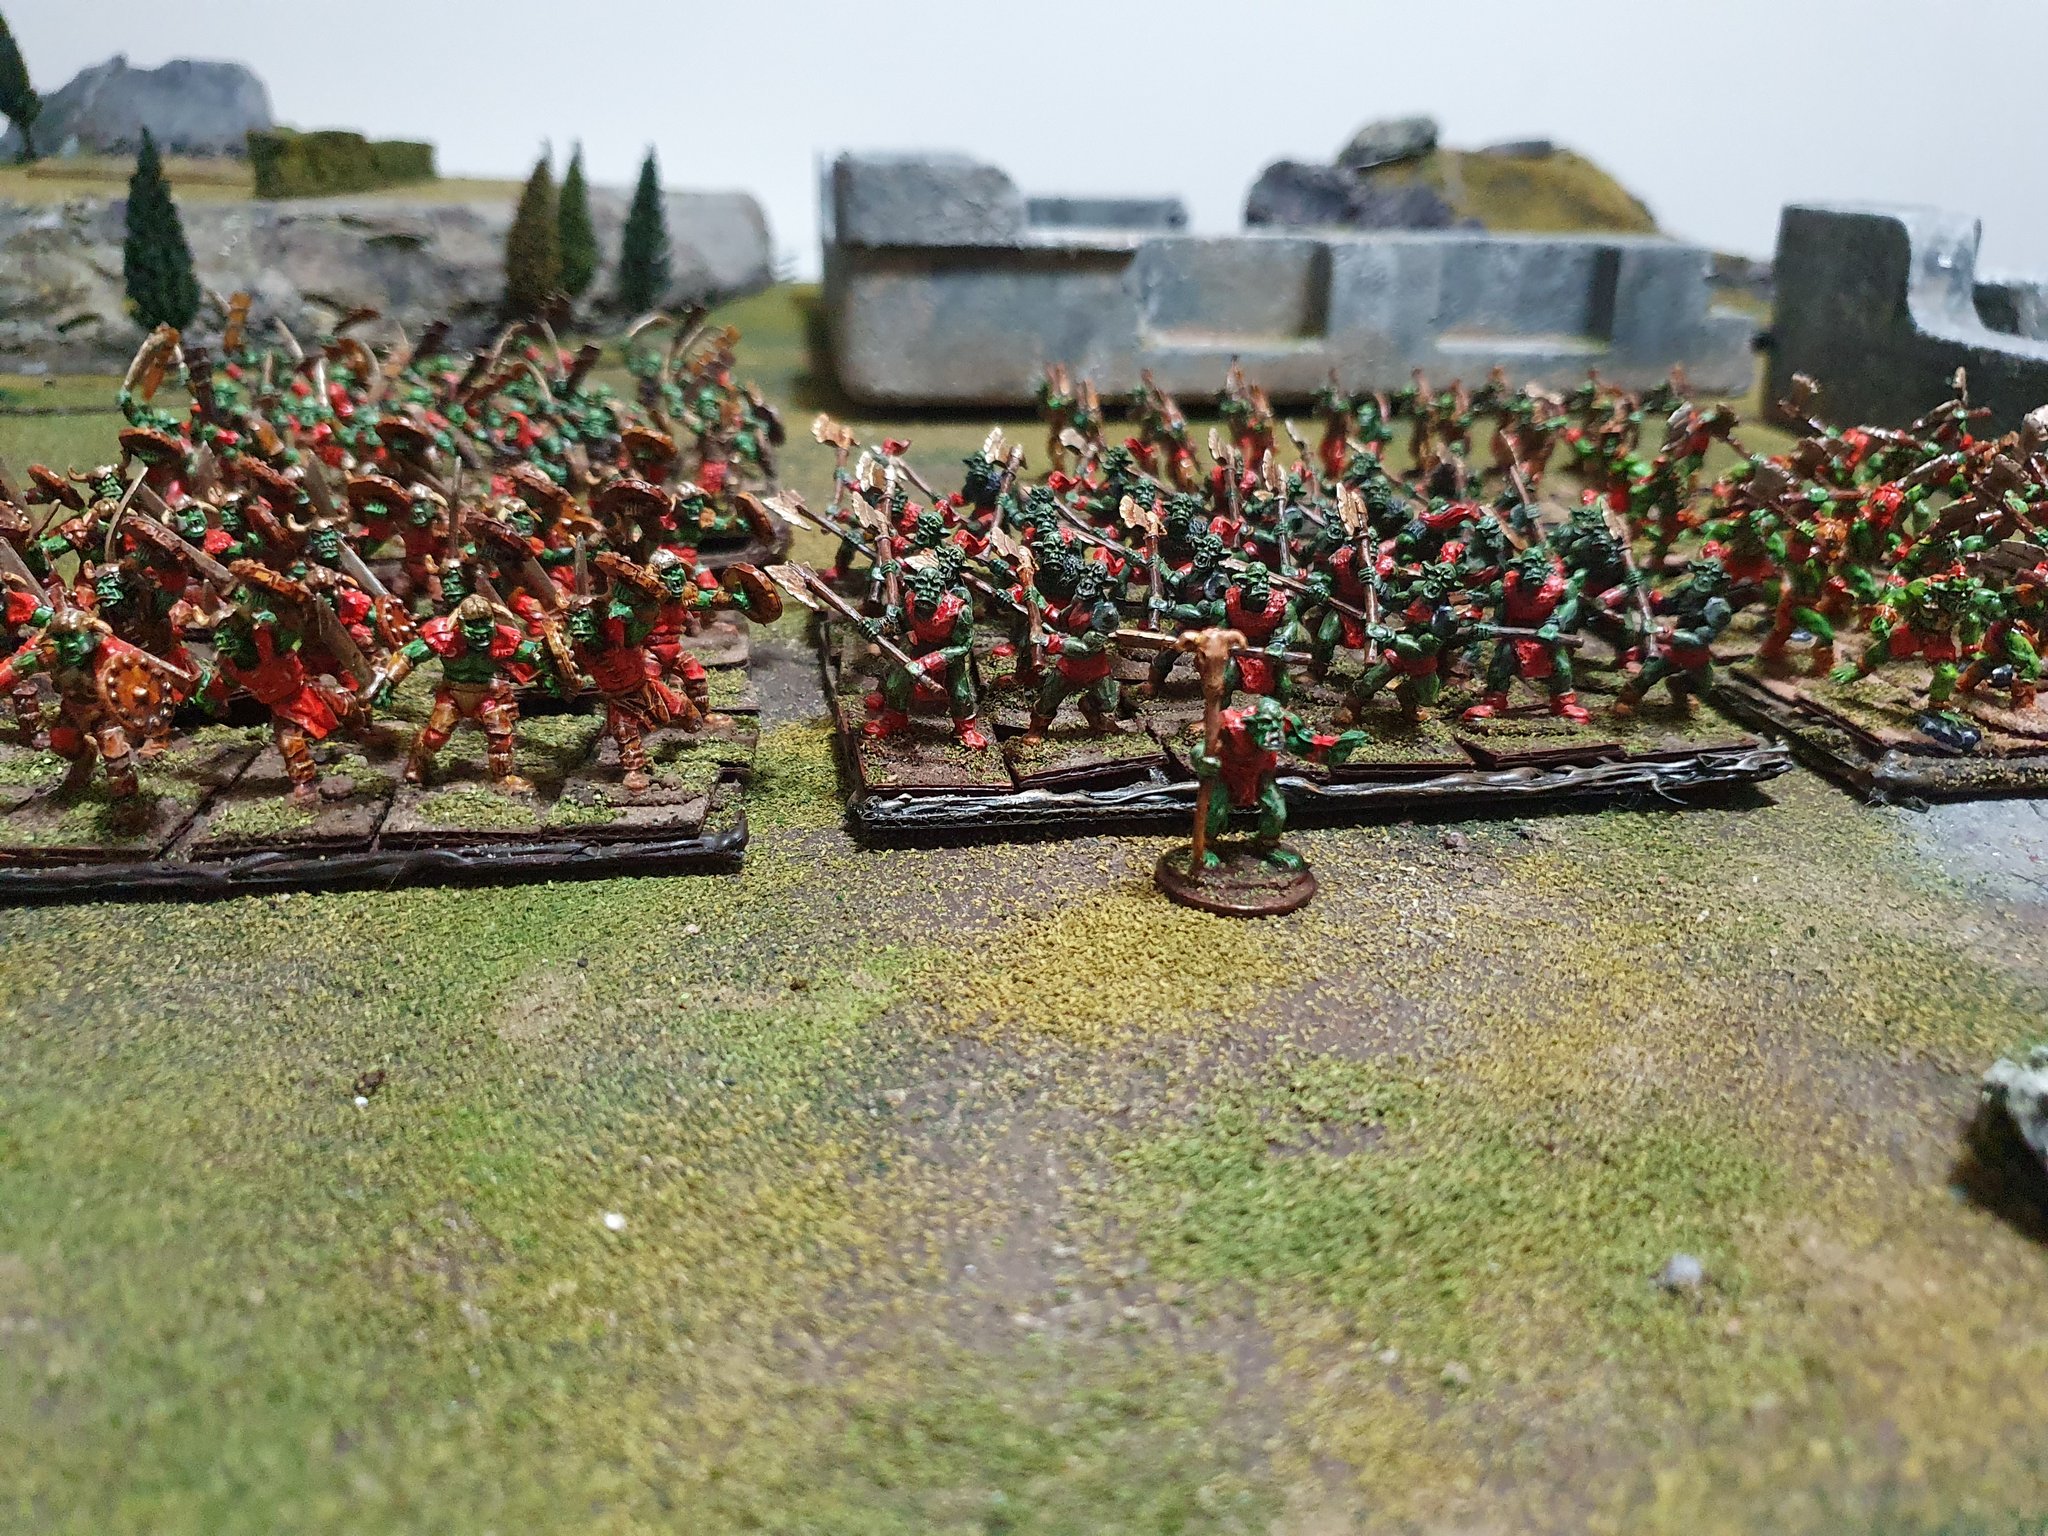
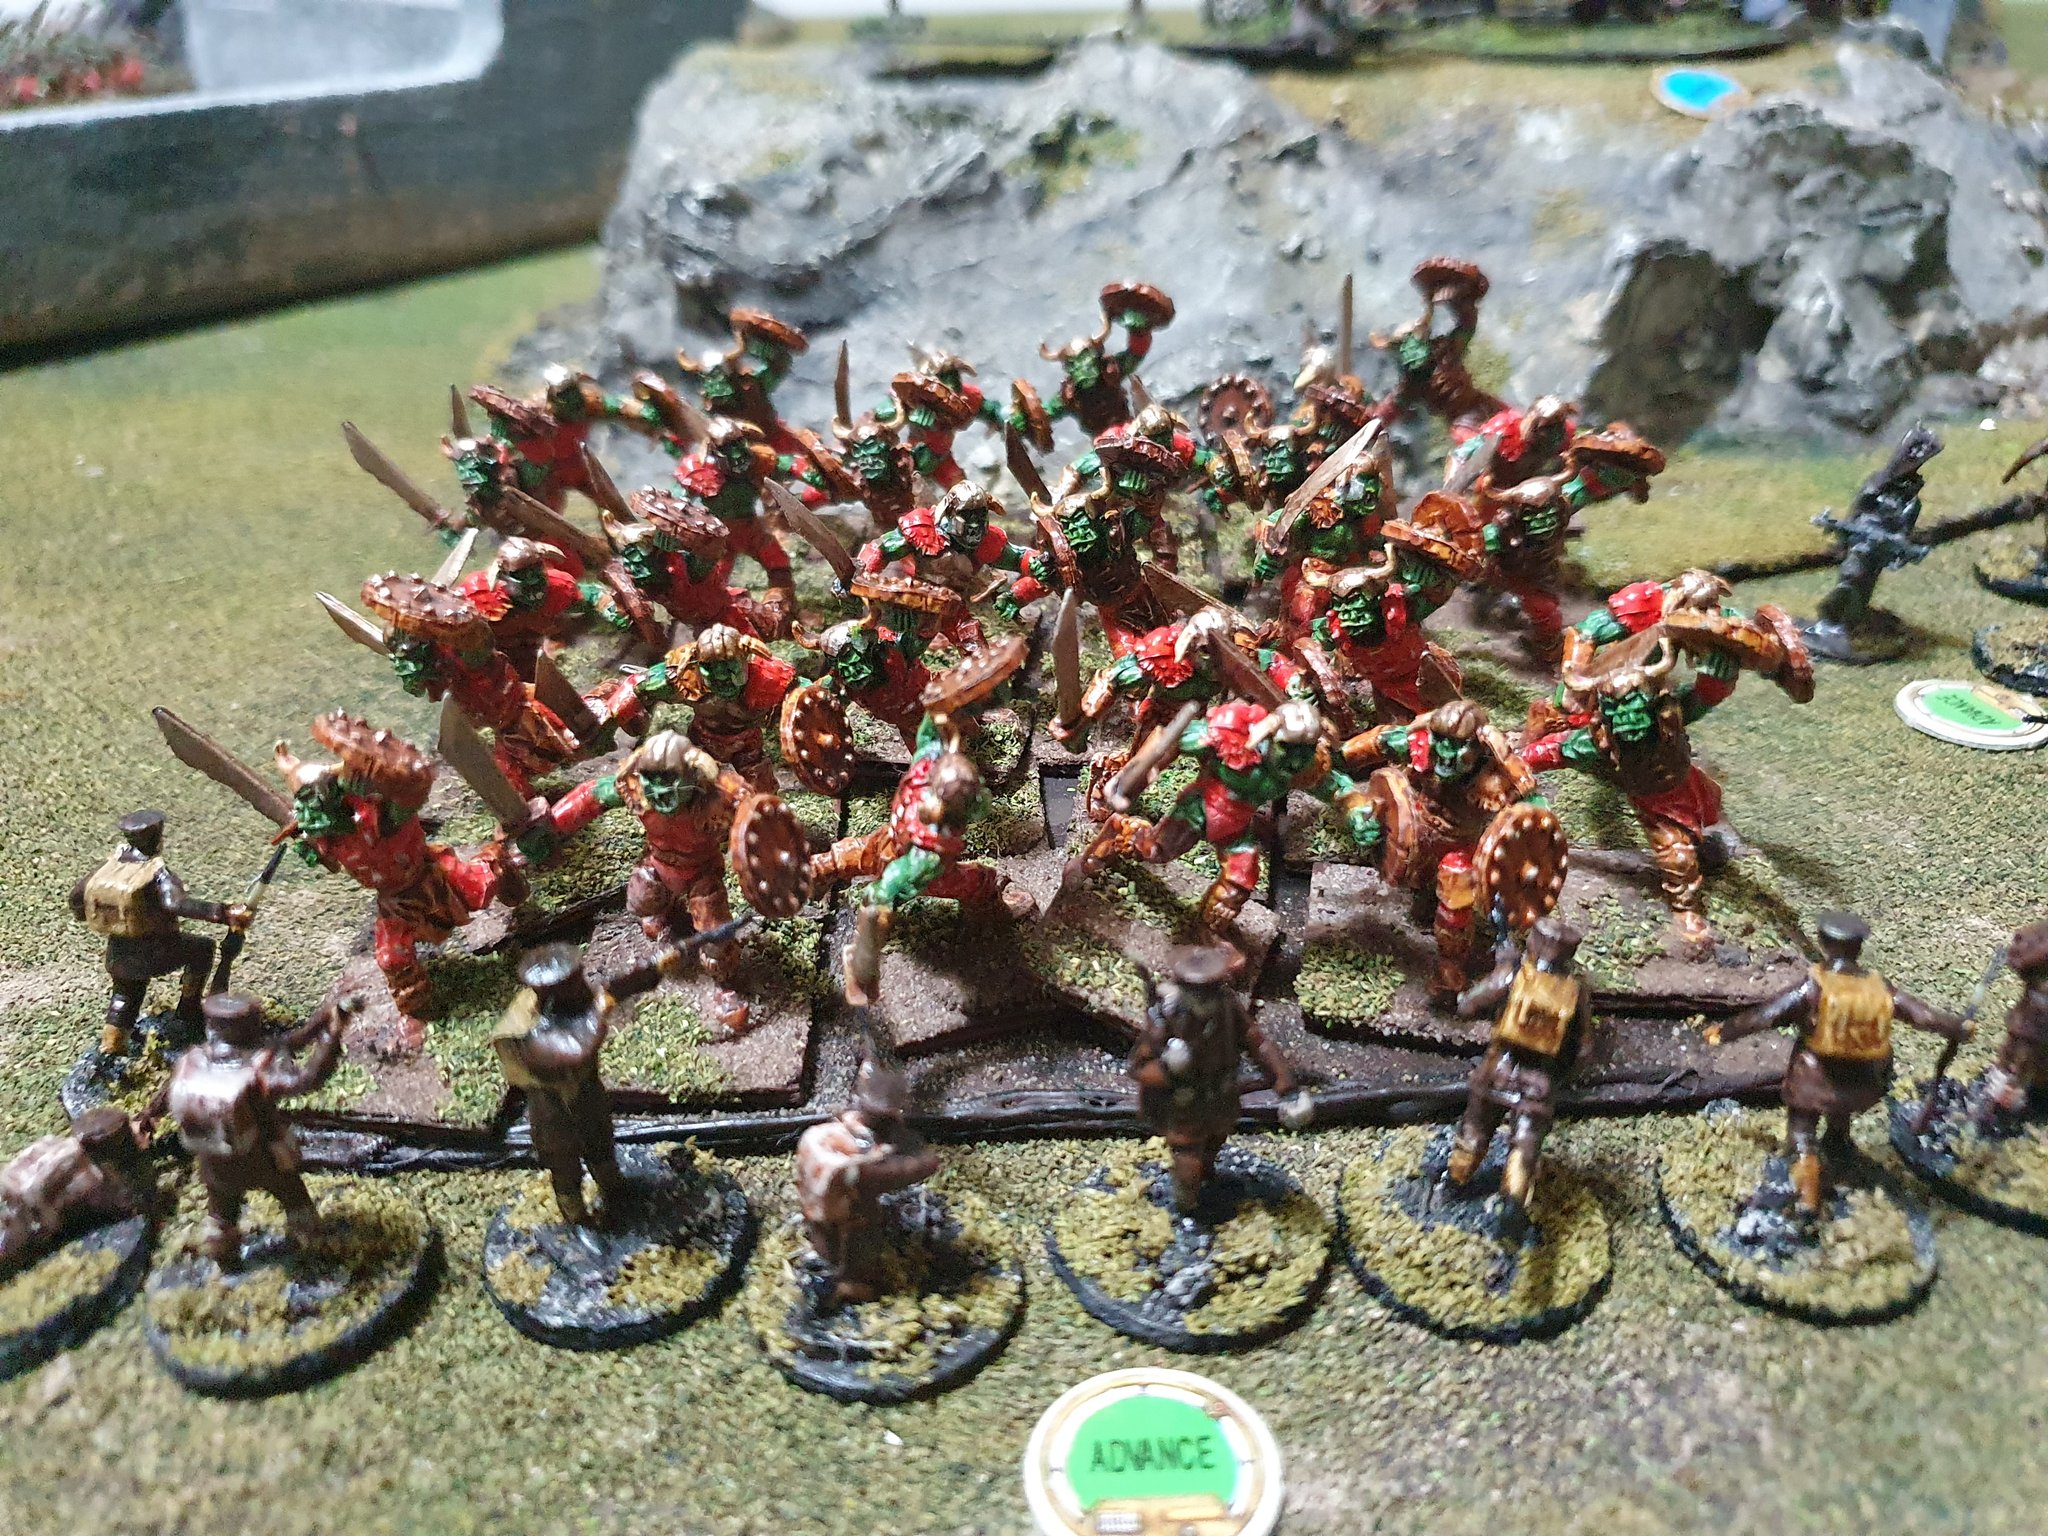
These lads are the heavy hitters, the elite of the orc infantry, and 30 of them is a big solid linebreaker whether you’re playing Warhammer Fantasy, Kings Of War or Hyperian WarsPaint scheme was basically the same as the other ladz, but a black wash dulled down the skin tones.I gave myself a hand by priming these white and then prewashing with thinned Smokey Ink to get to the parts other painting layers can’t reach….Warchief Gazhrag The Bloody leads his armyA mighty horde!Fancy seeing this lot coming at you?
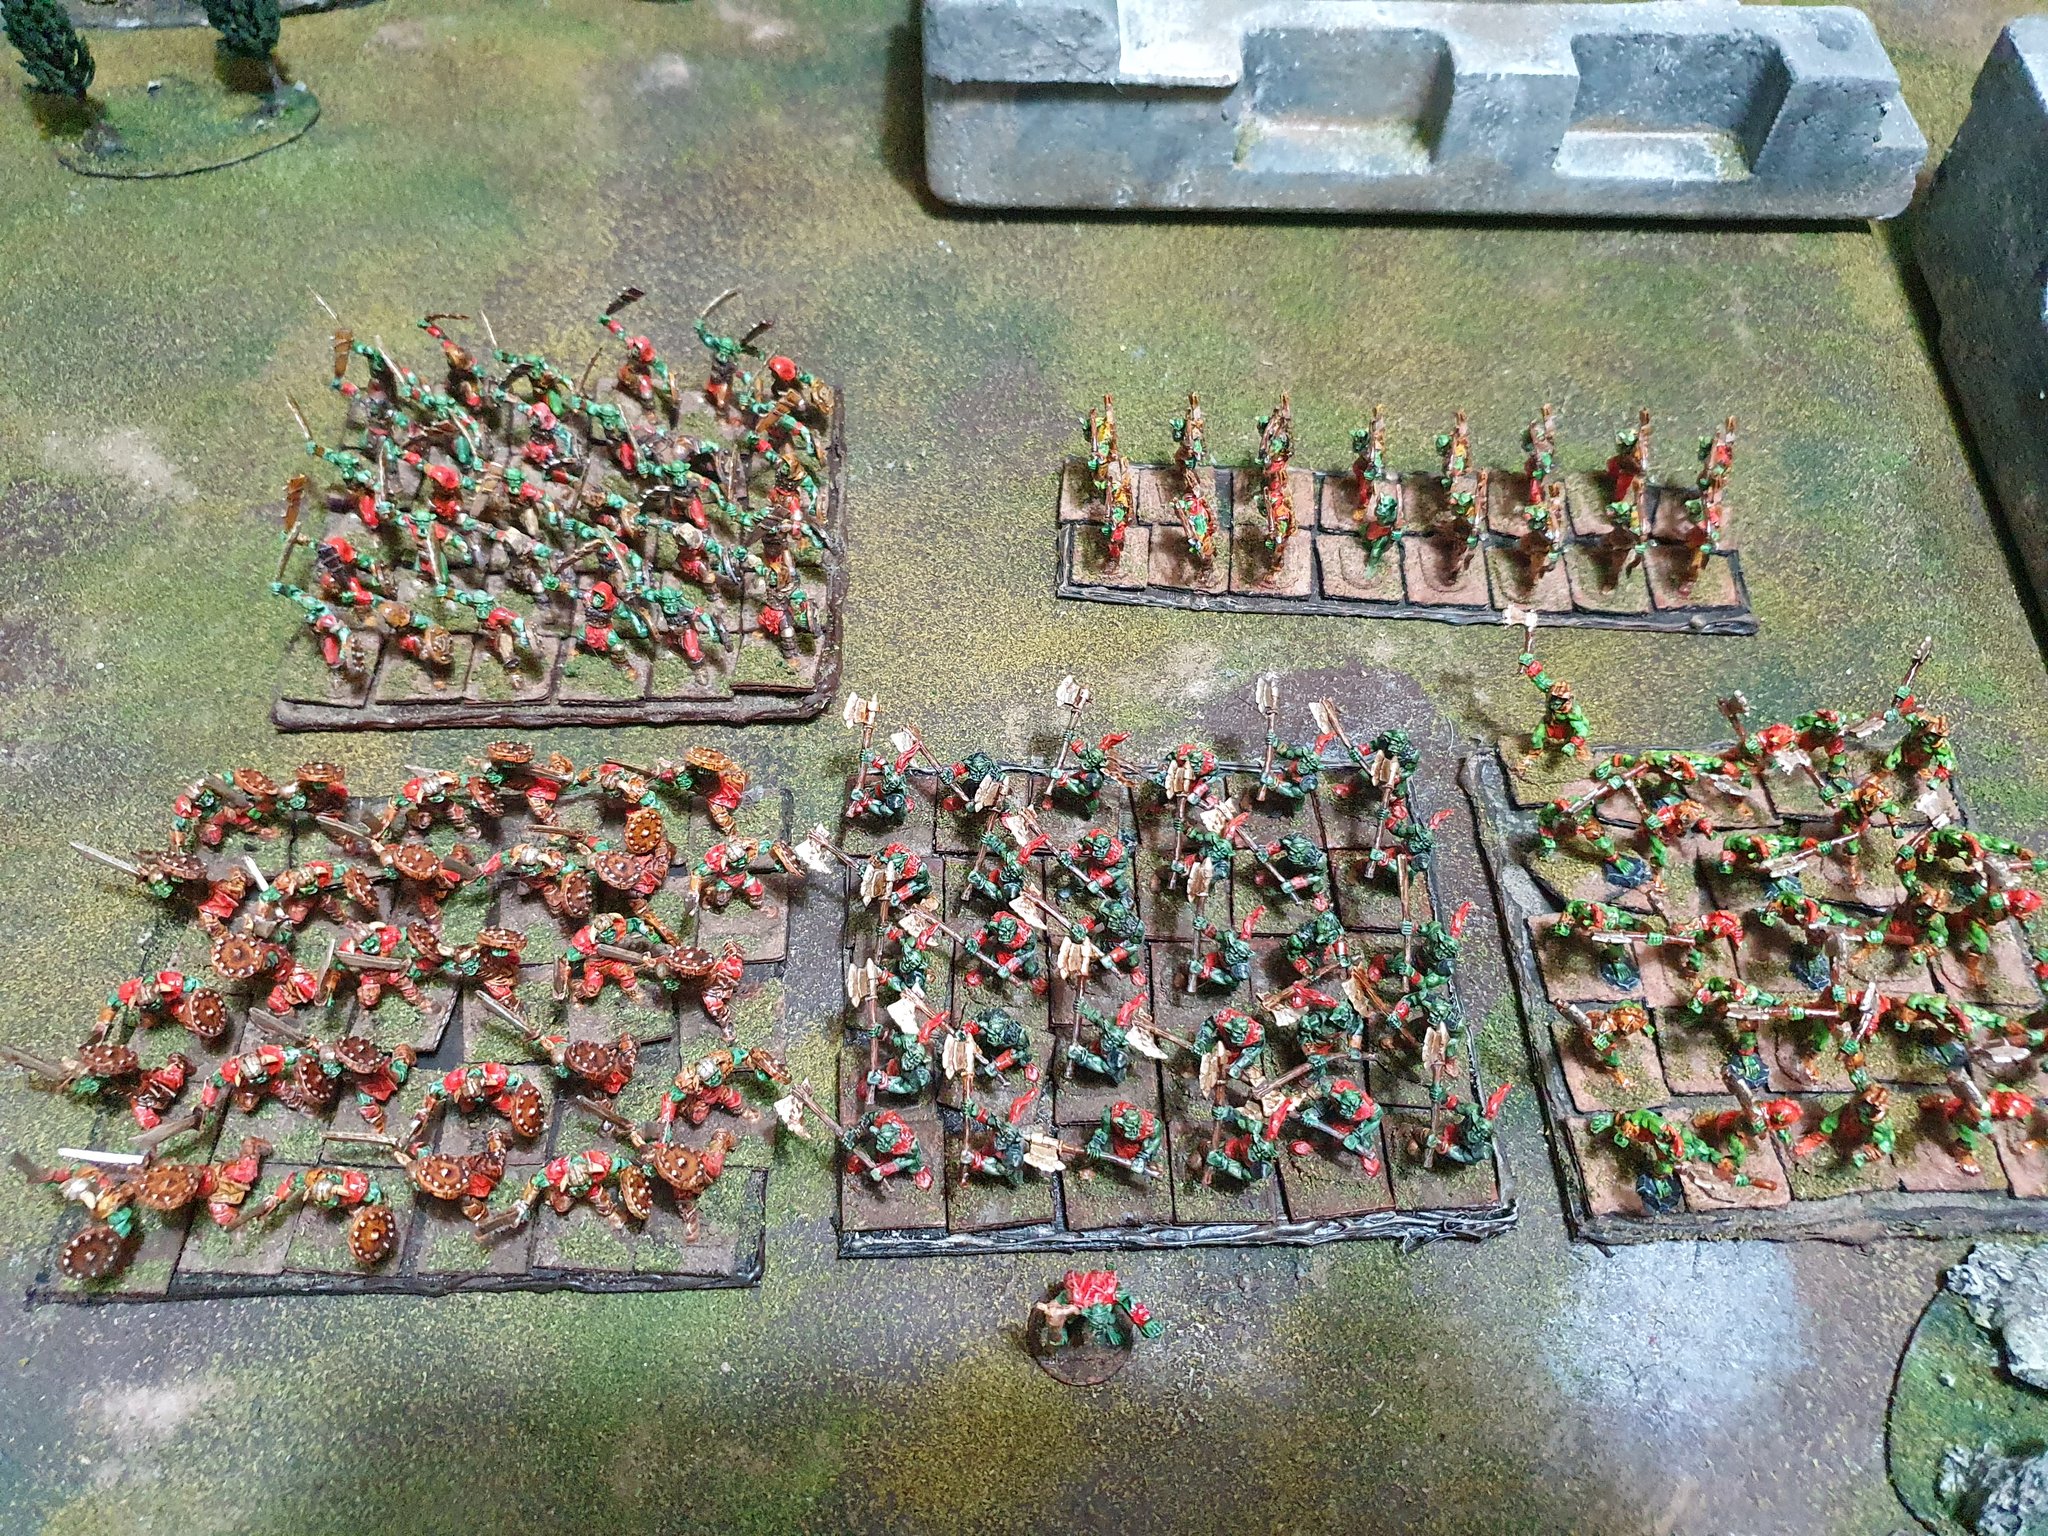
So that’s Gazh the Warchief, a regiment of 16 Archers, 2 regiments of 30 Orcs each, a regiment of 25 Savage Orcs and now the Black Orcs – one more regiment to go and then we’re on to the Shamans, and I’ve got a few ideas for support units…
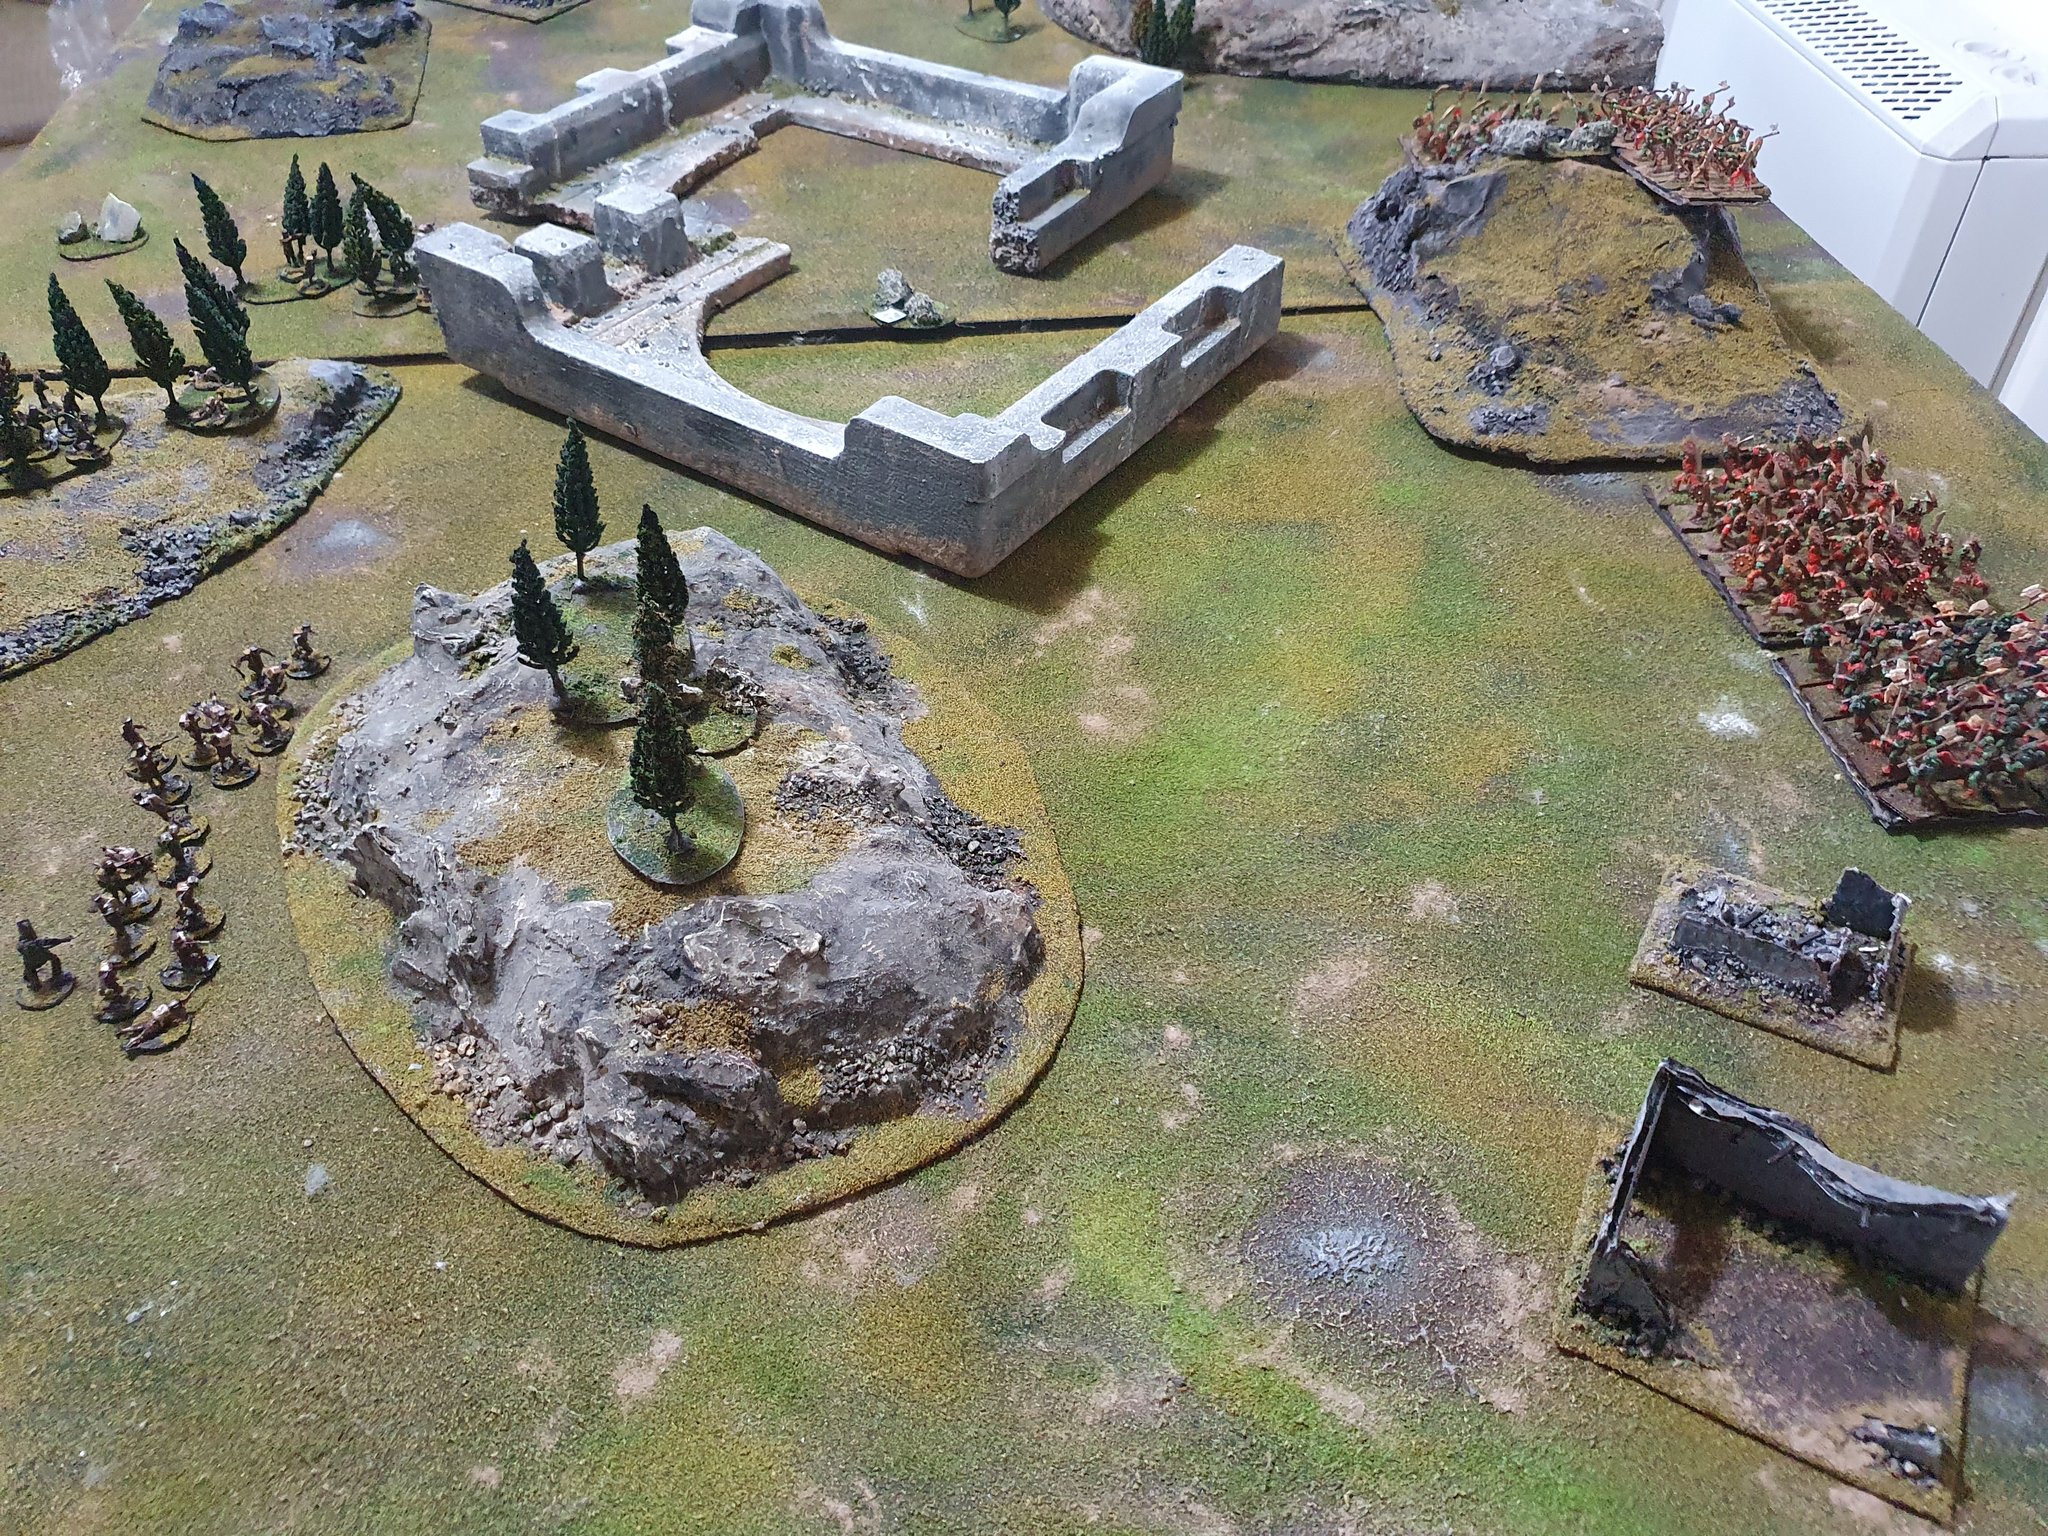
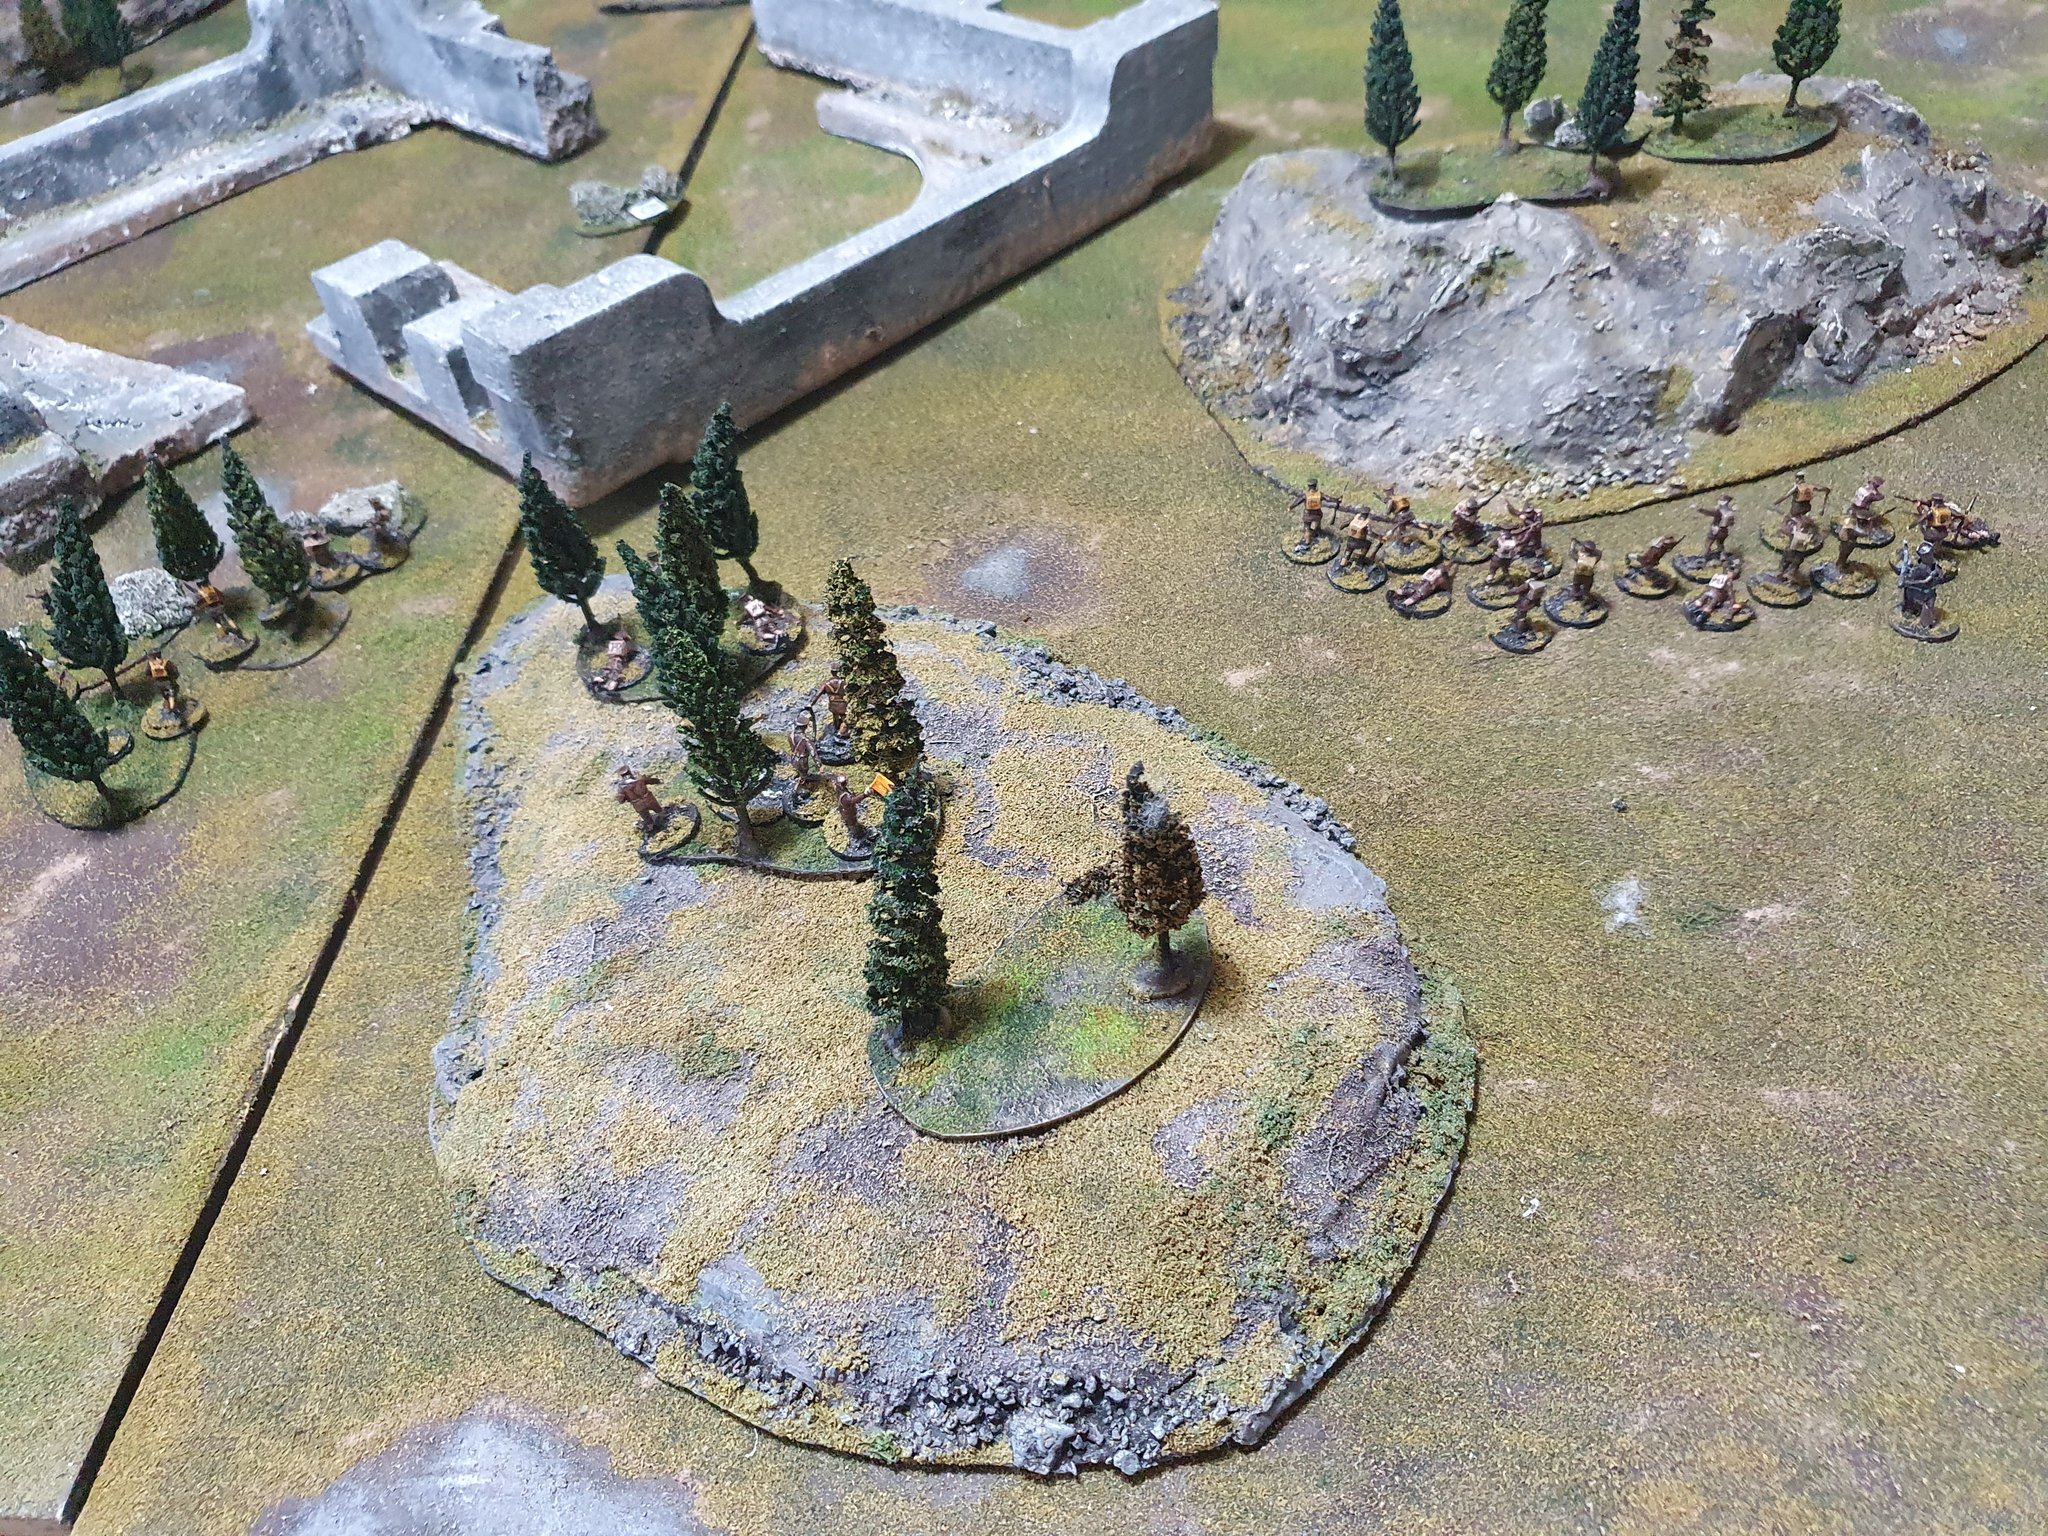
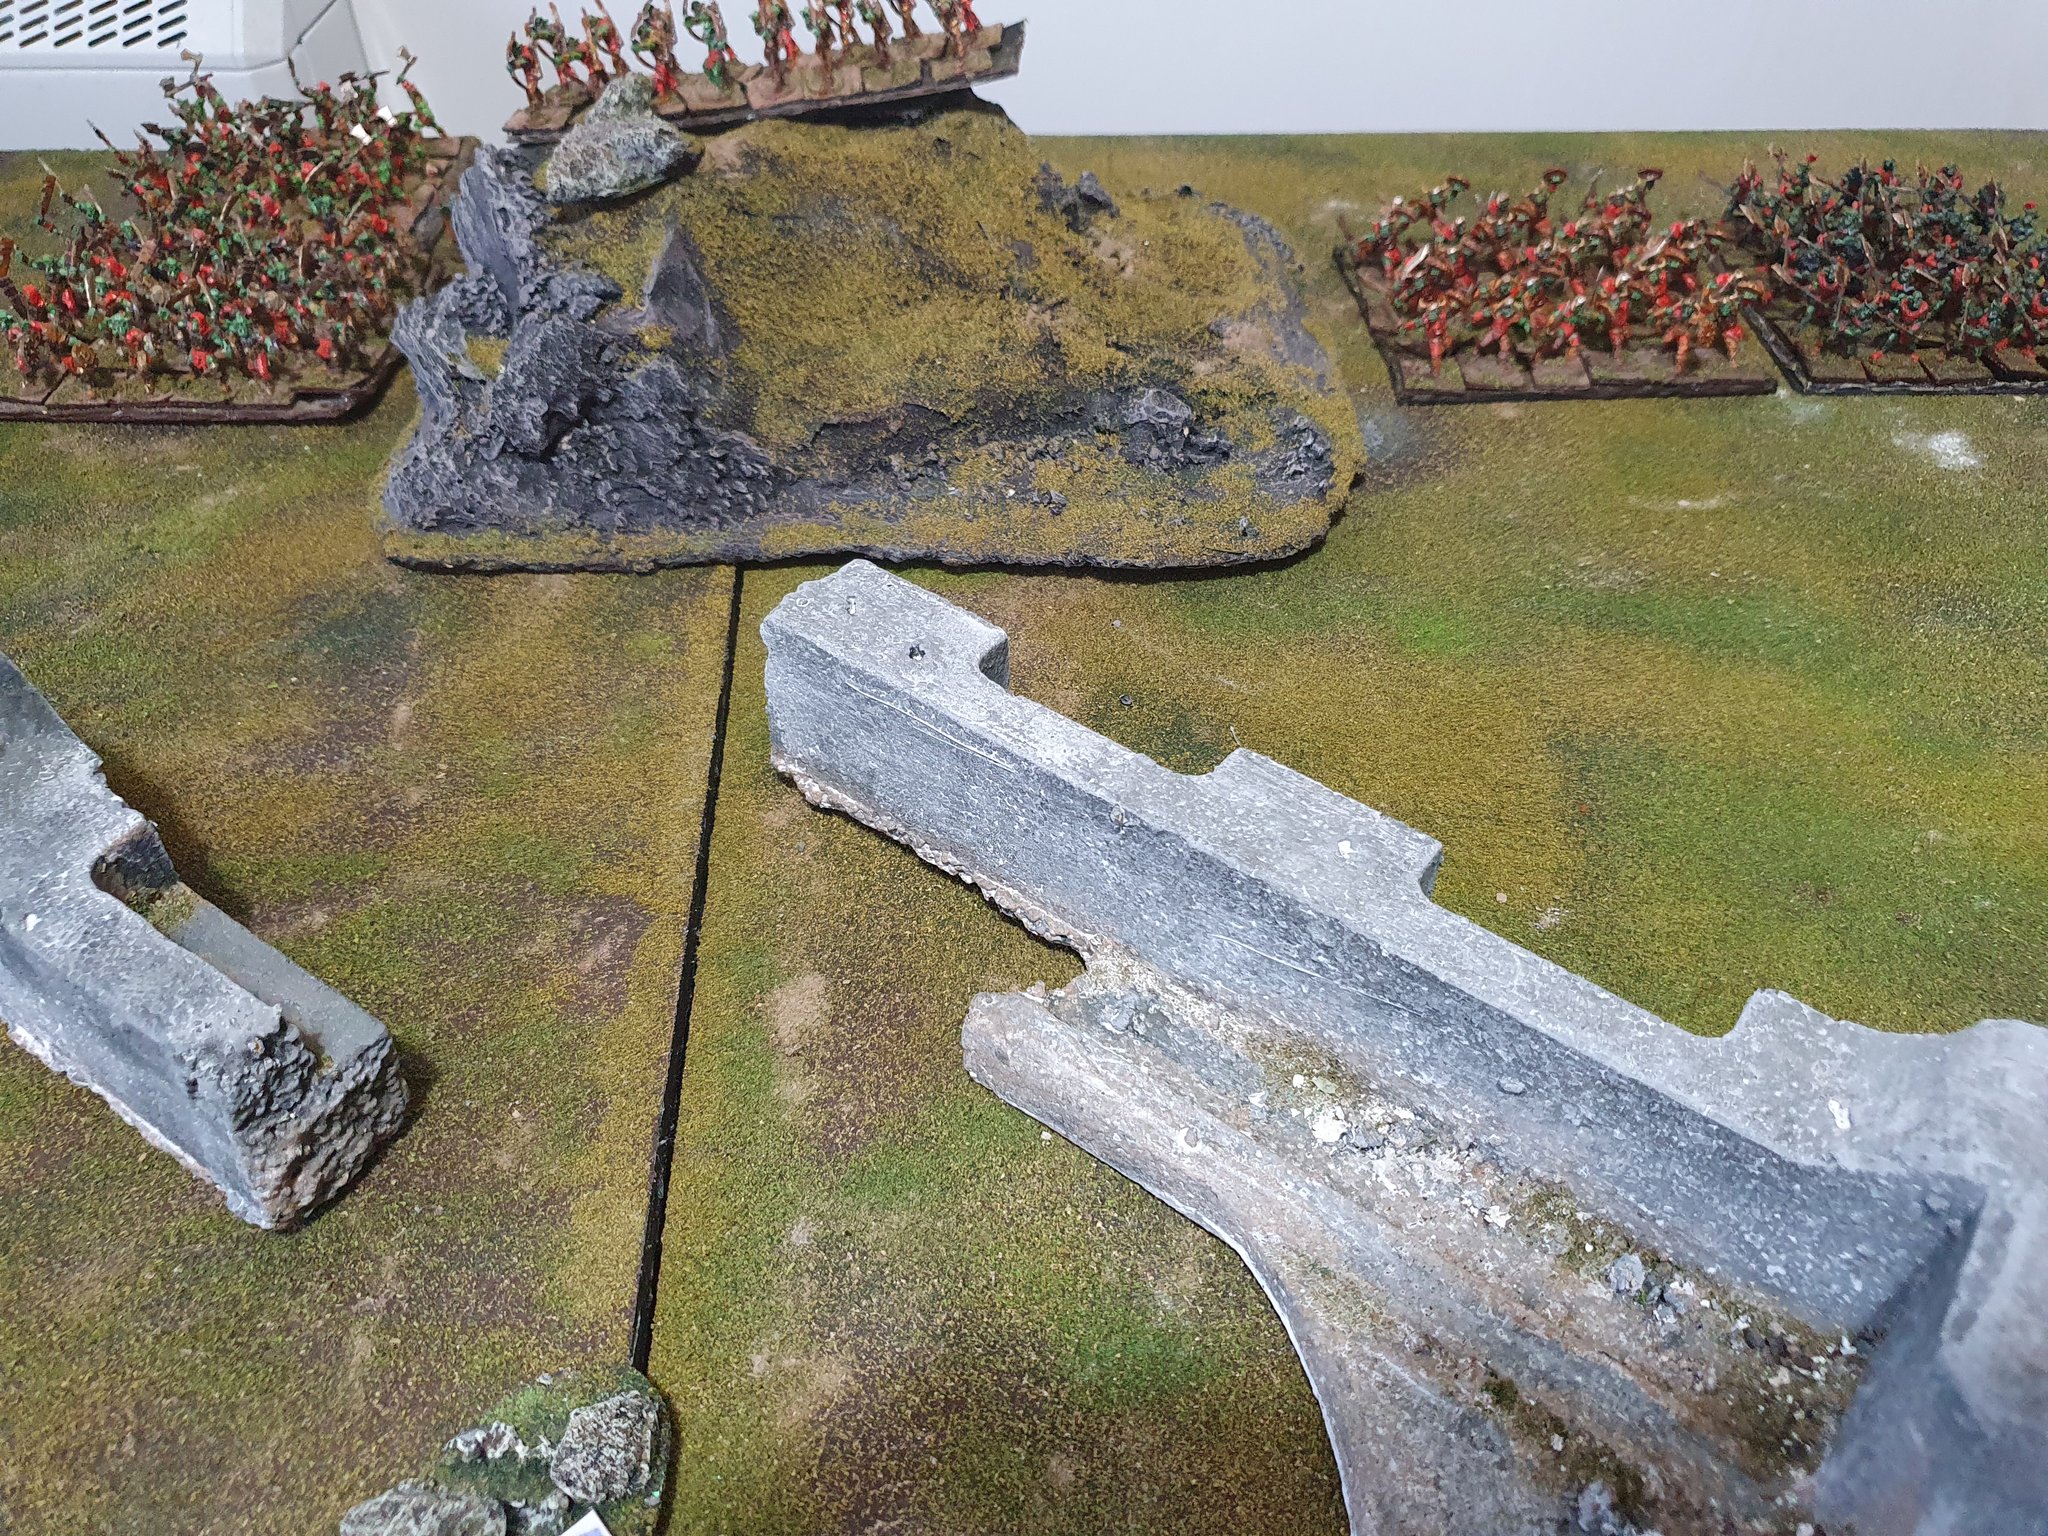
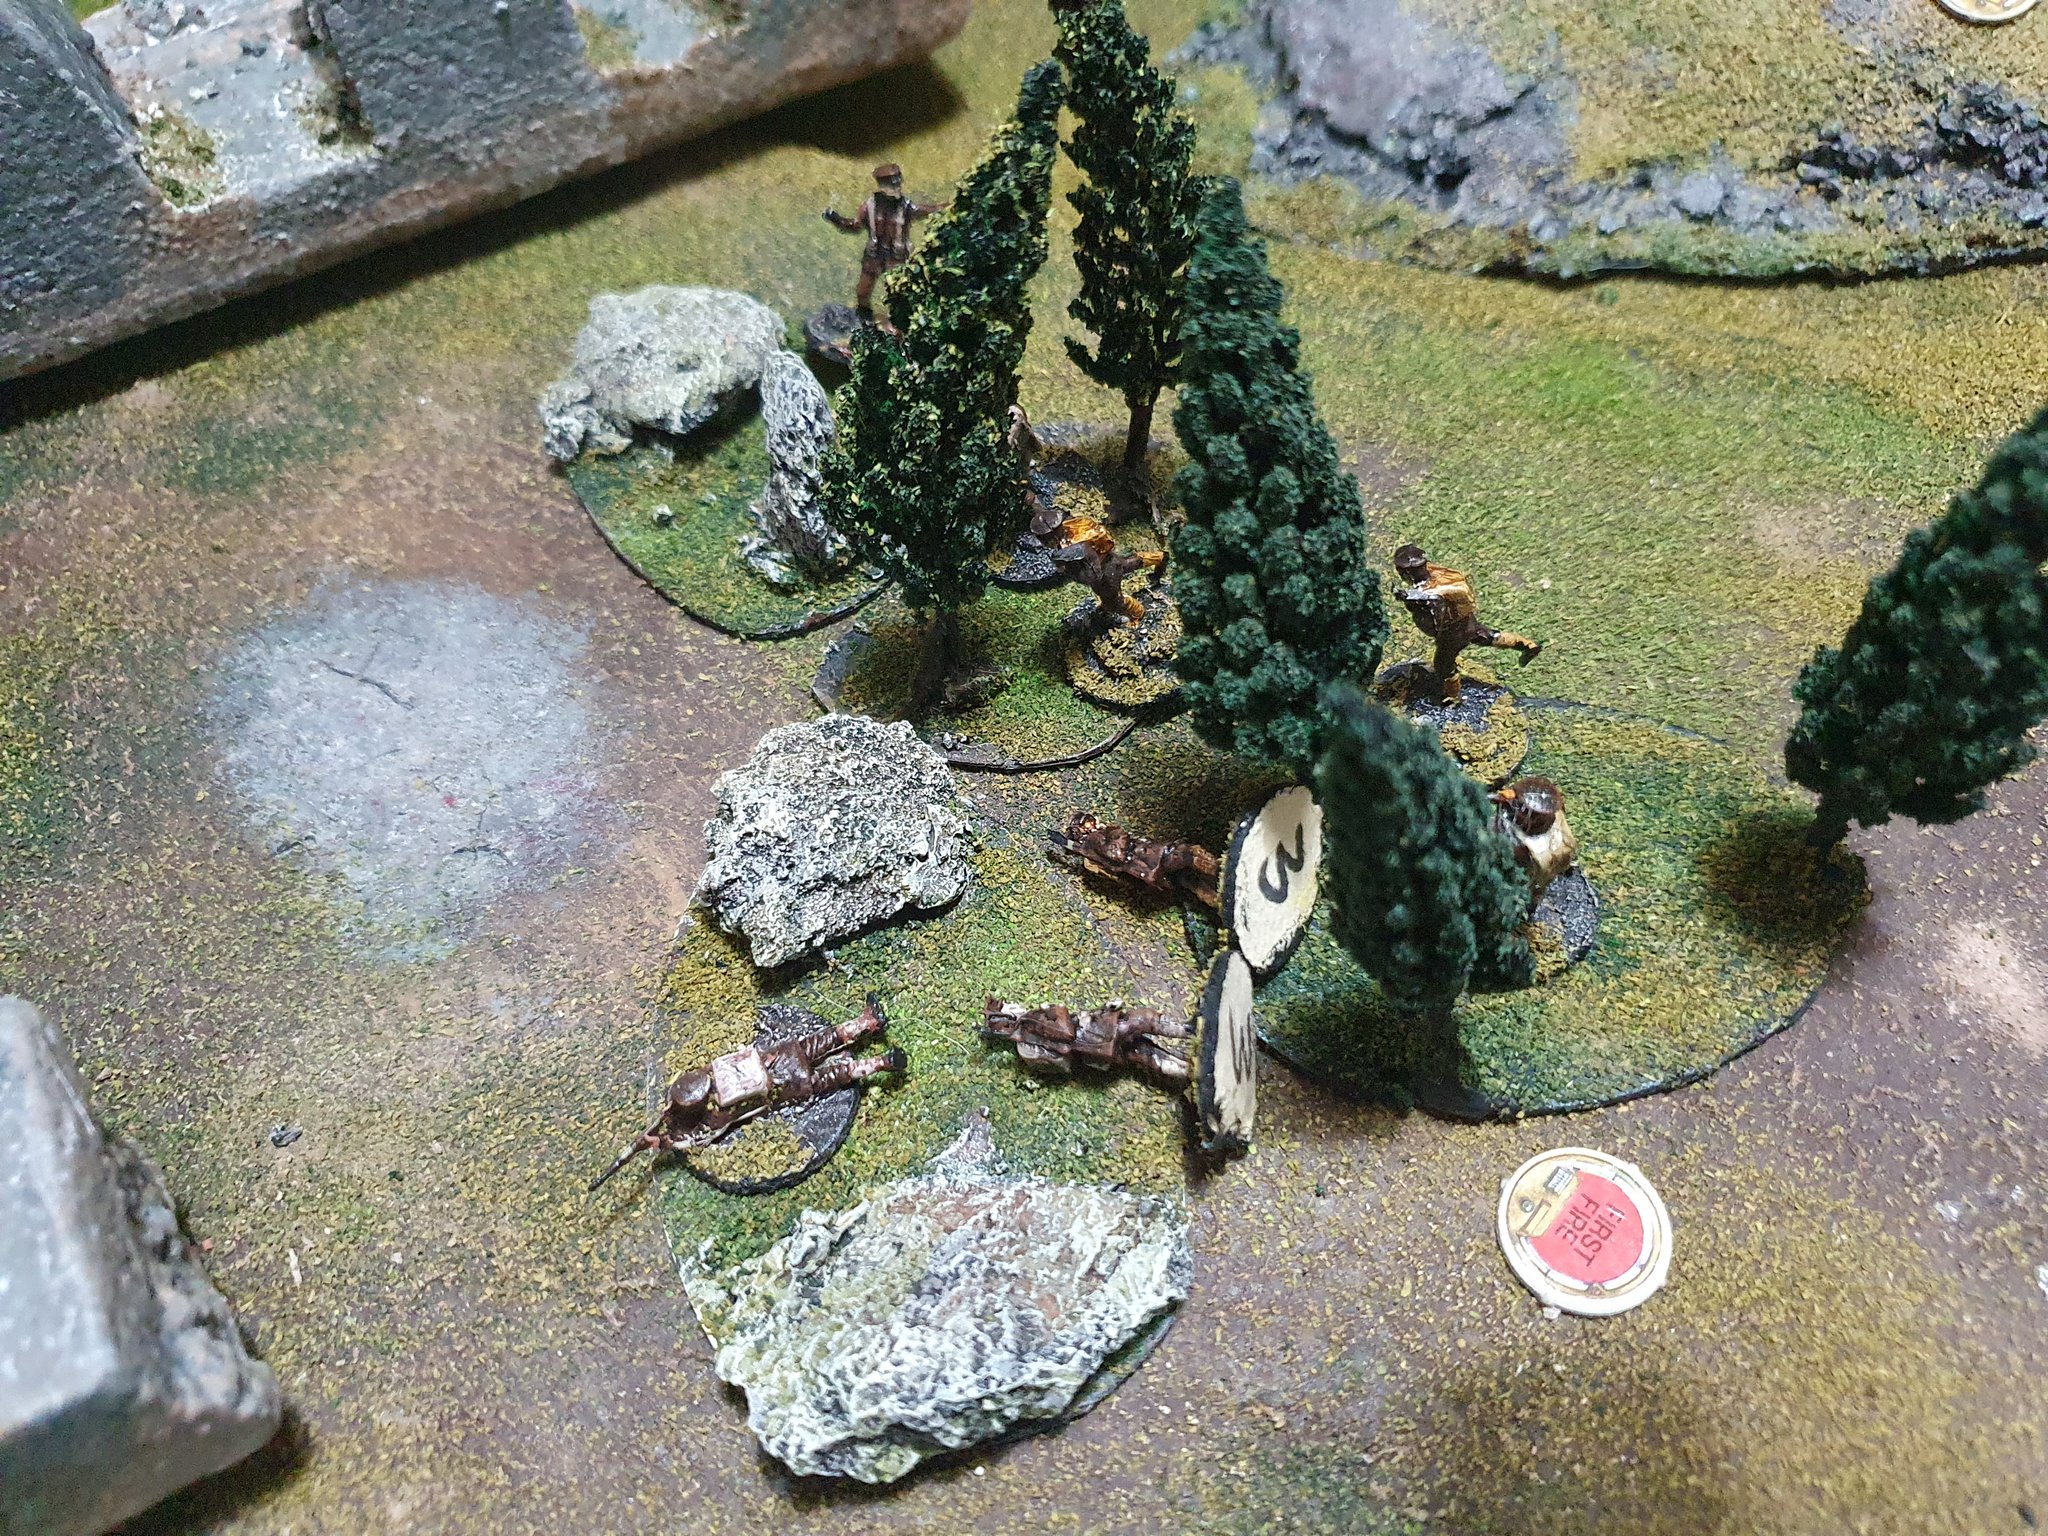
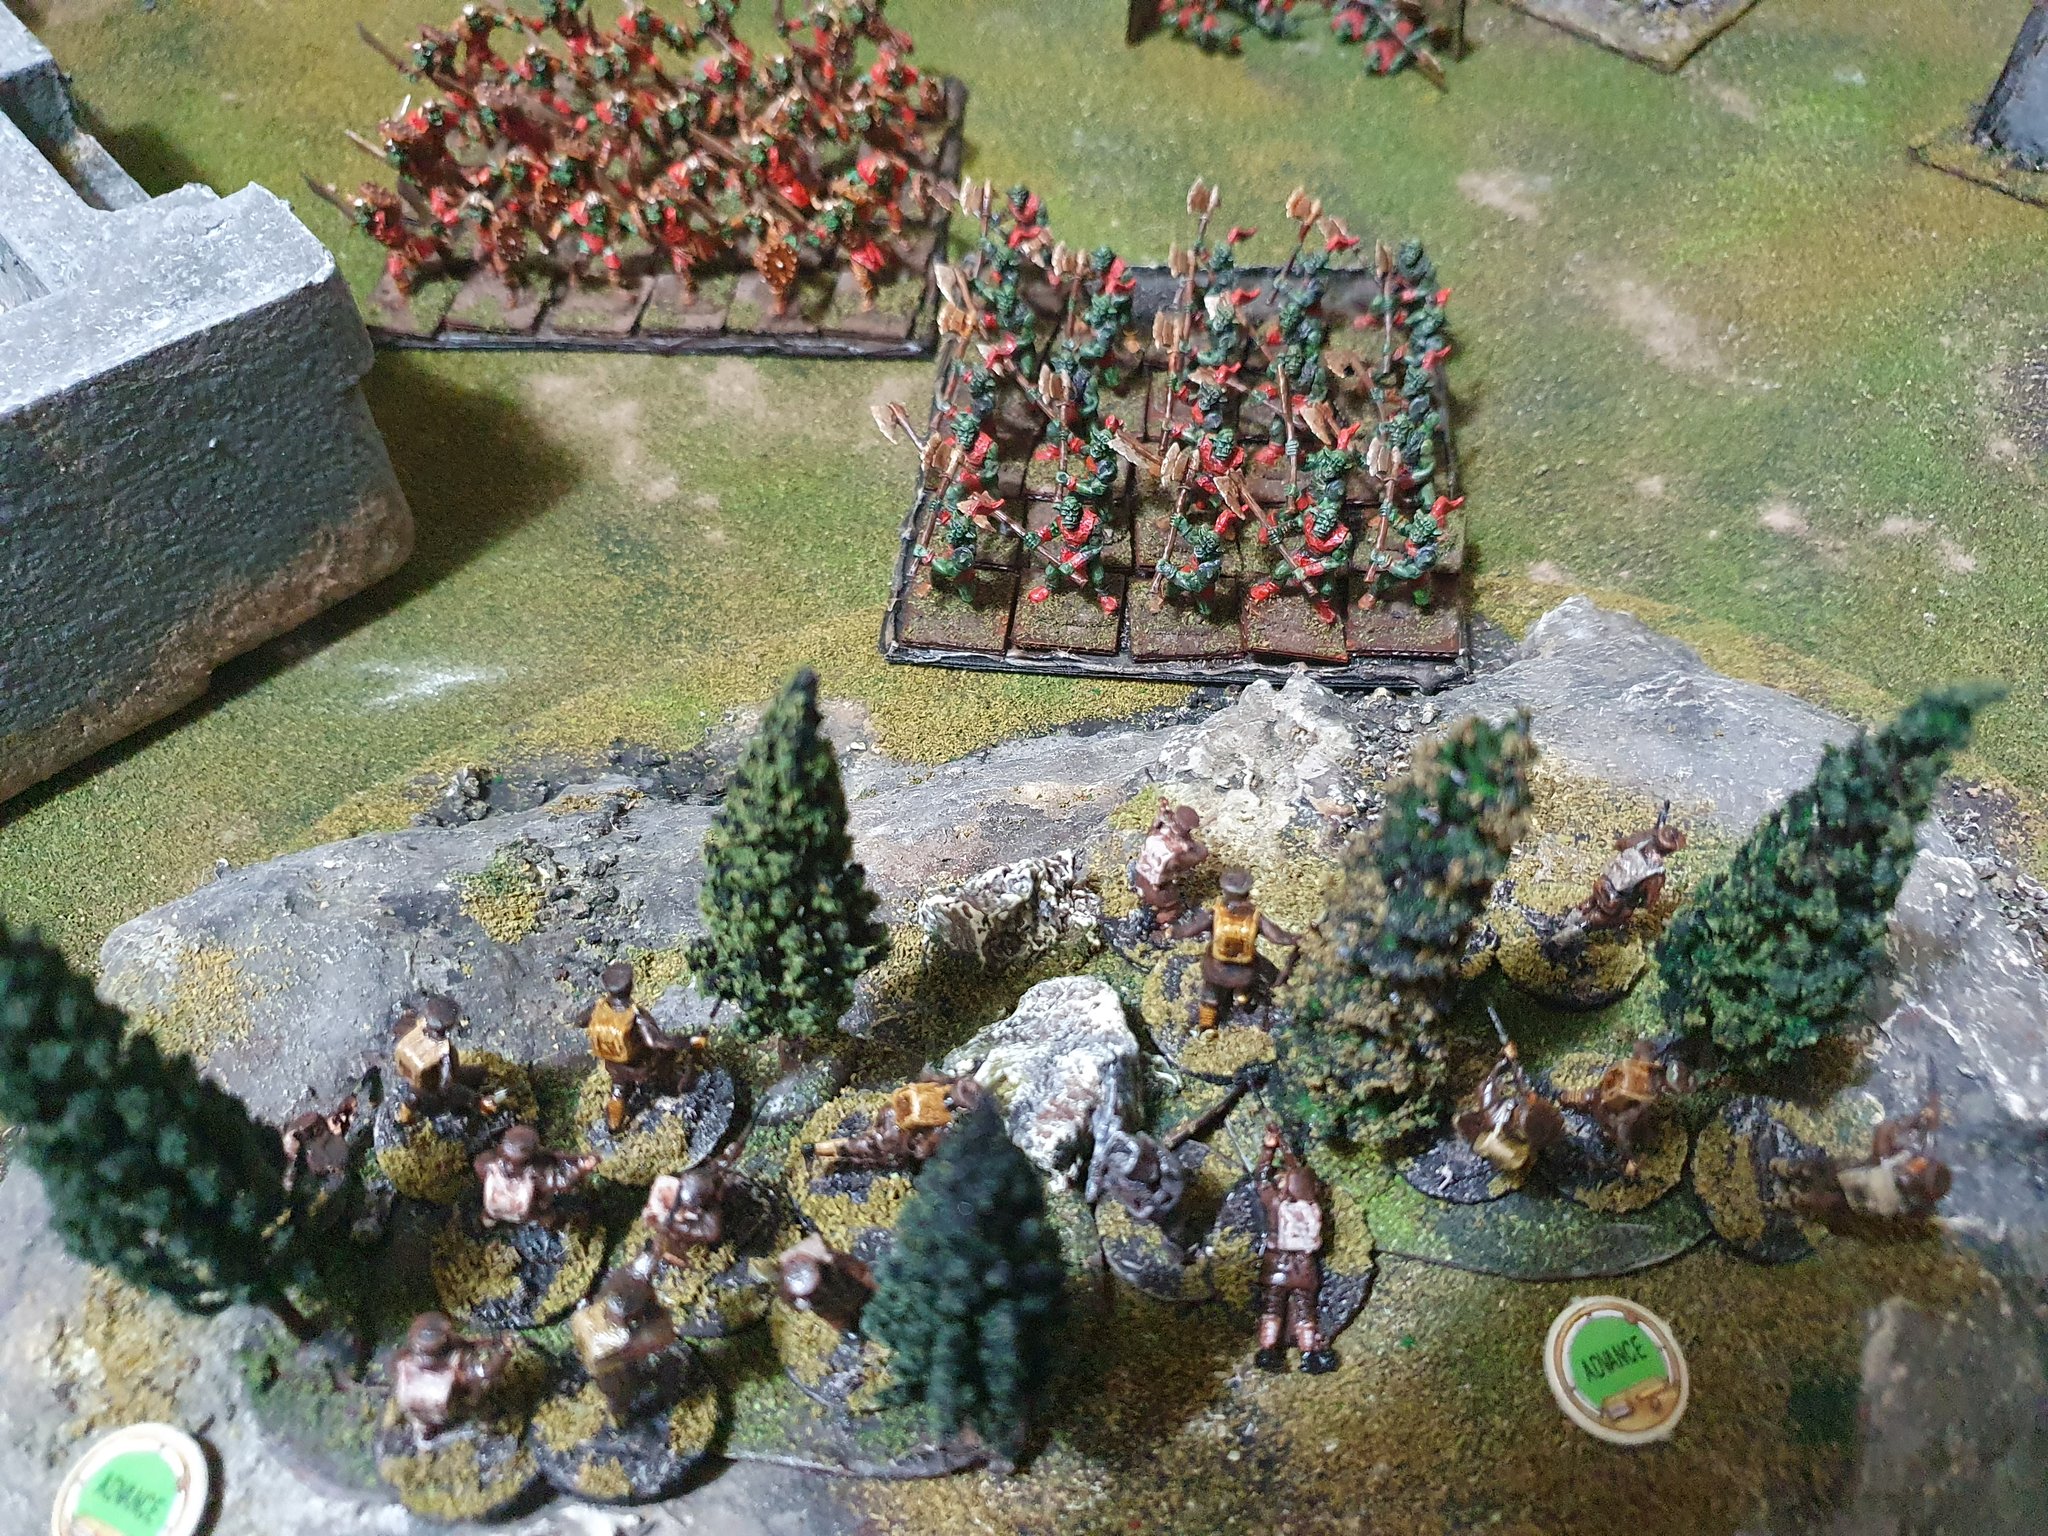
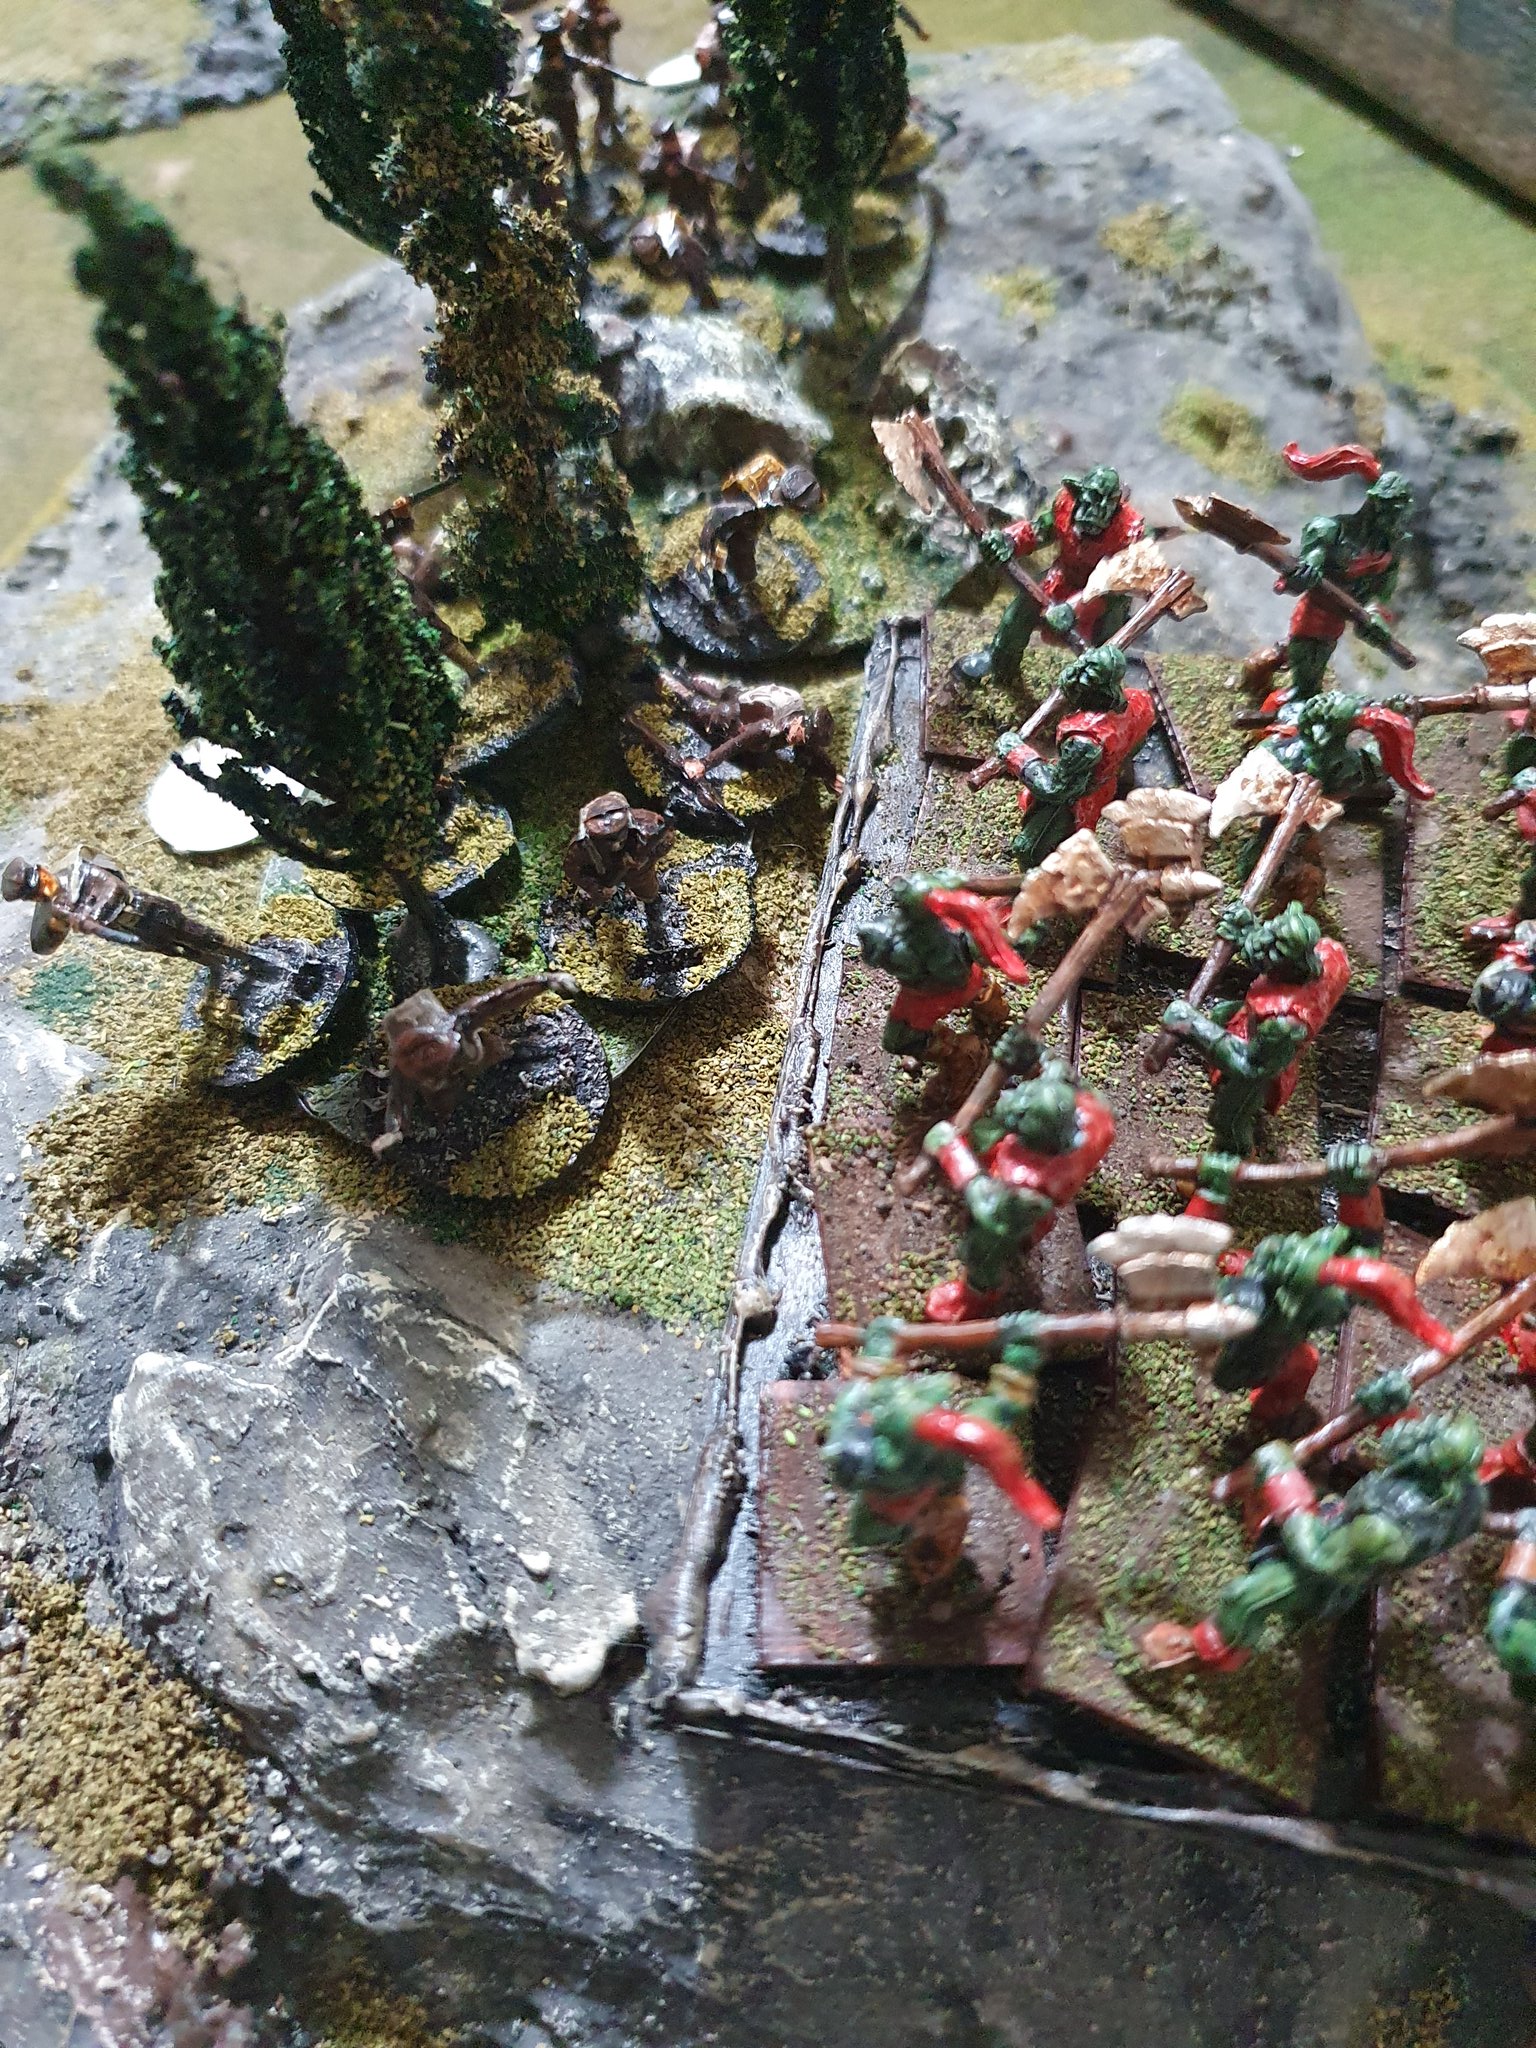
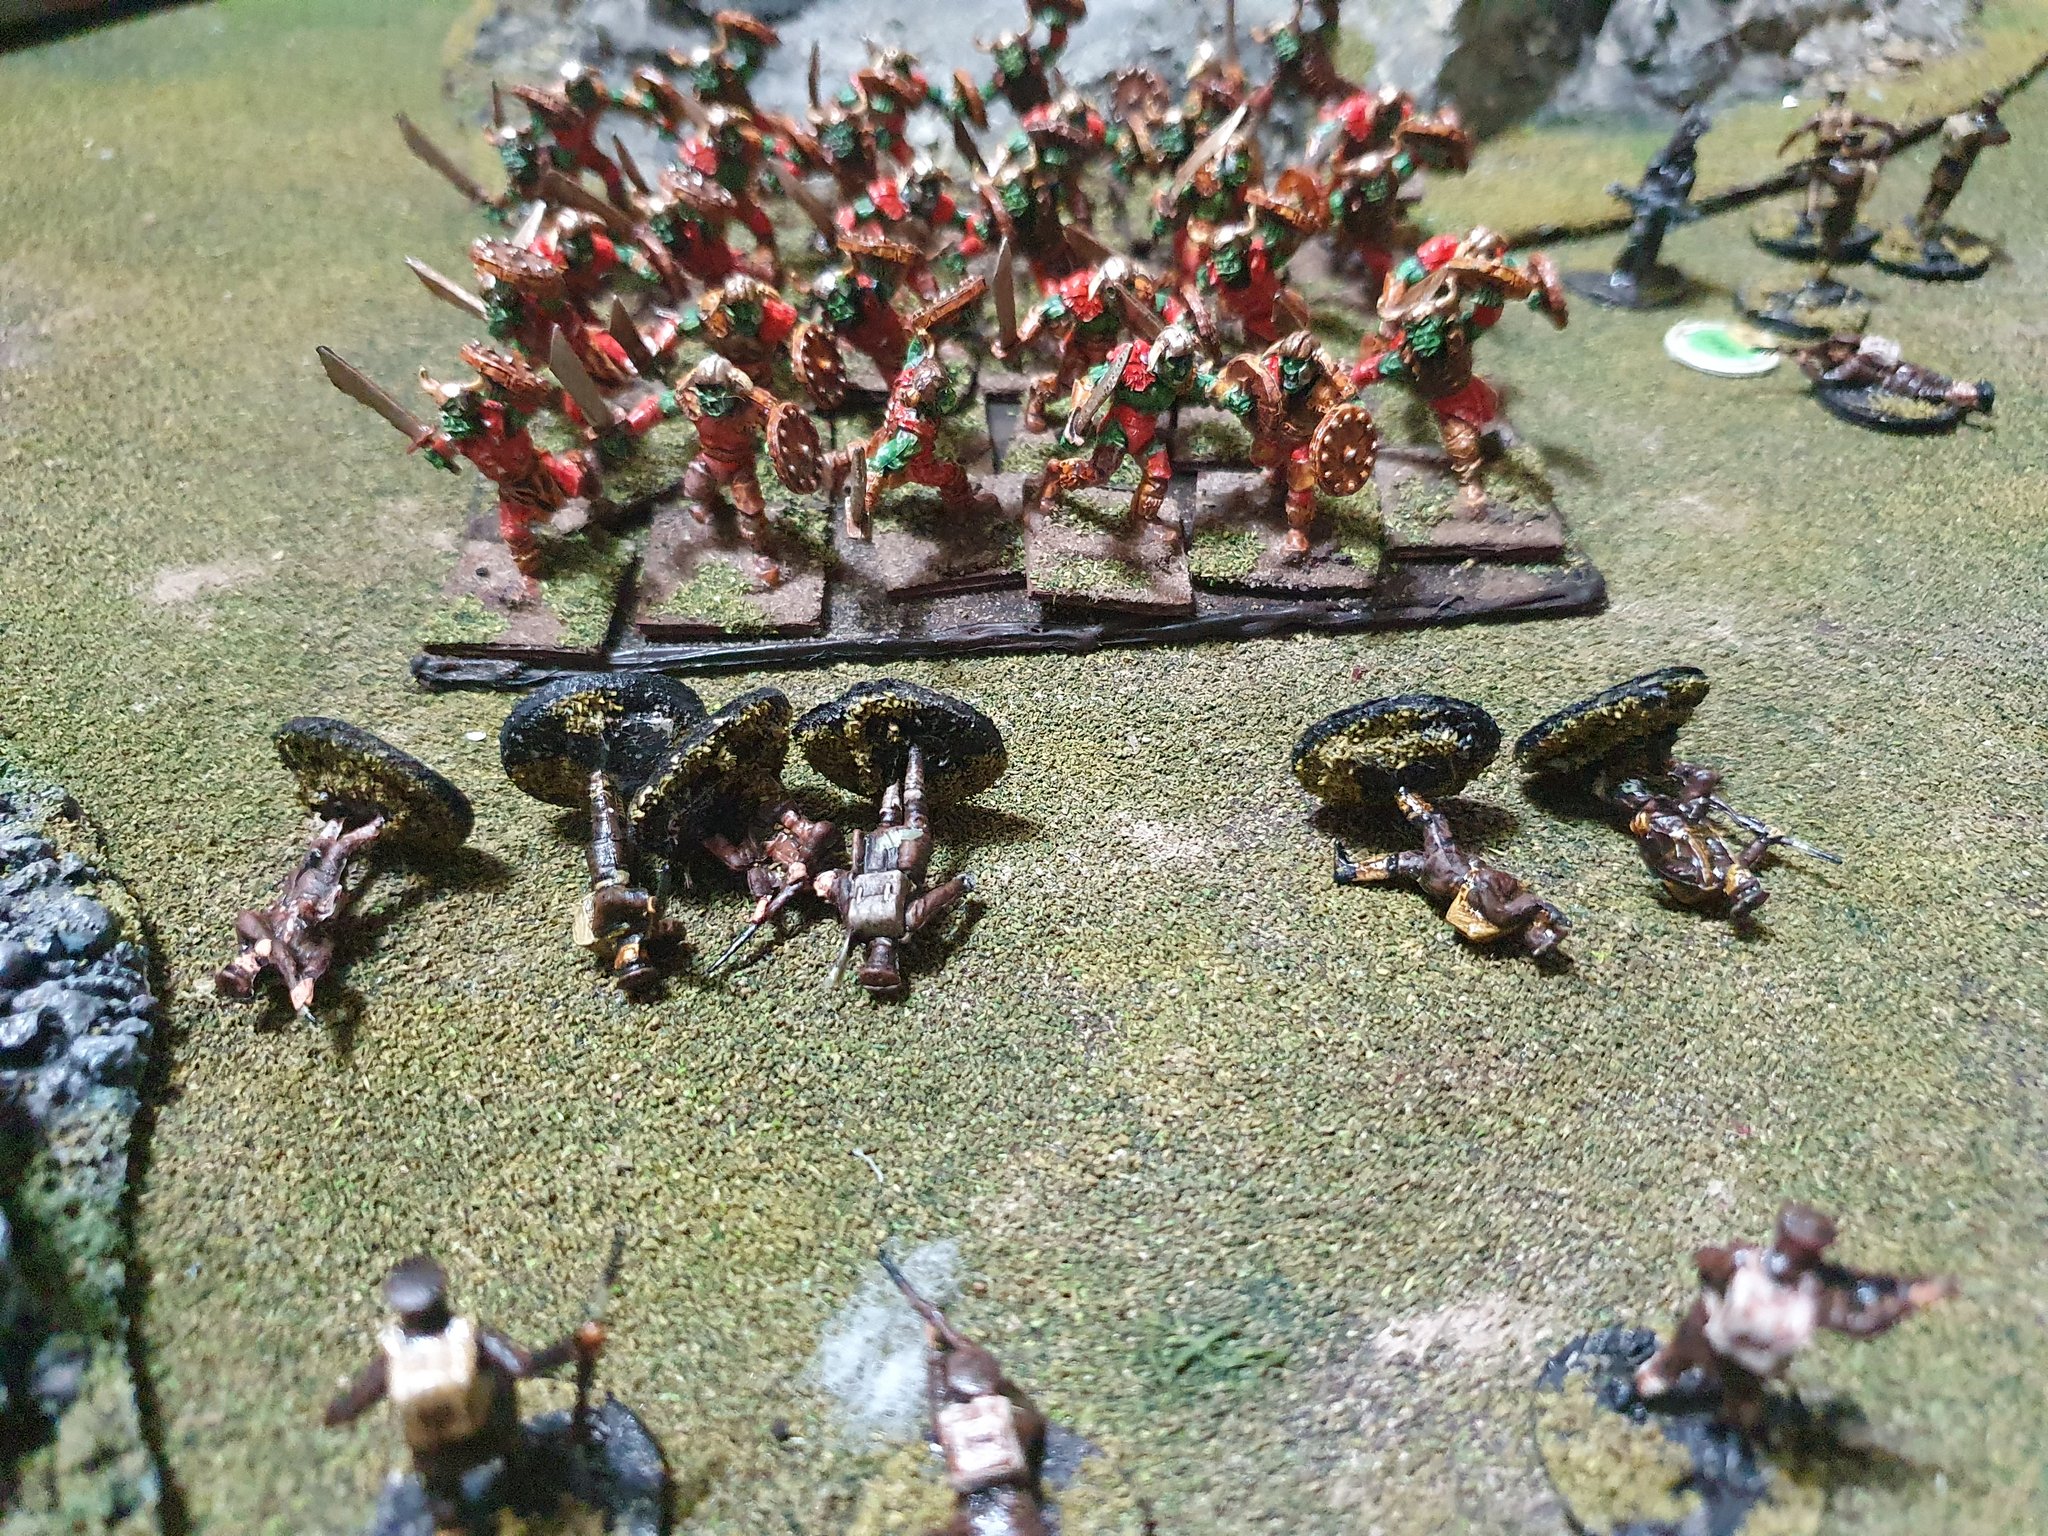
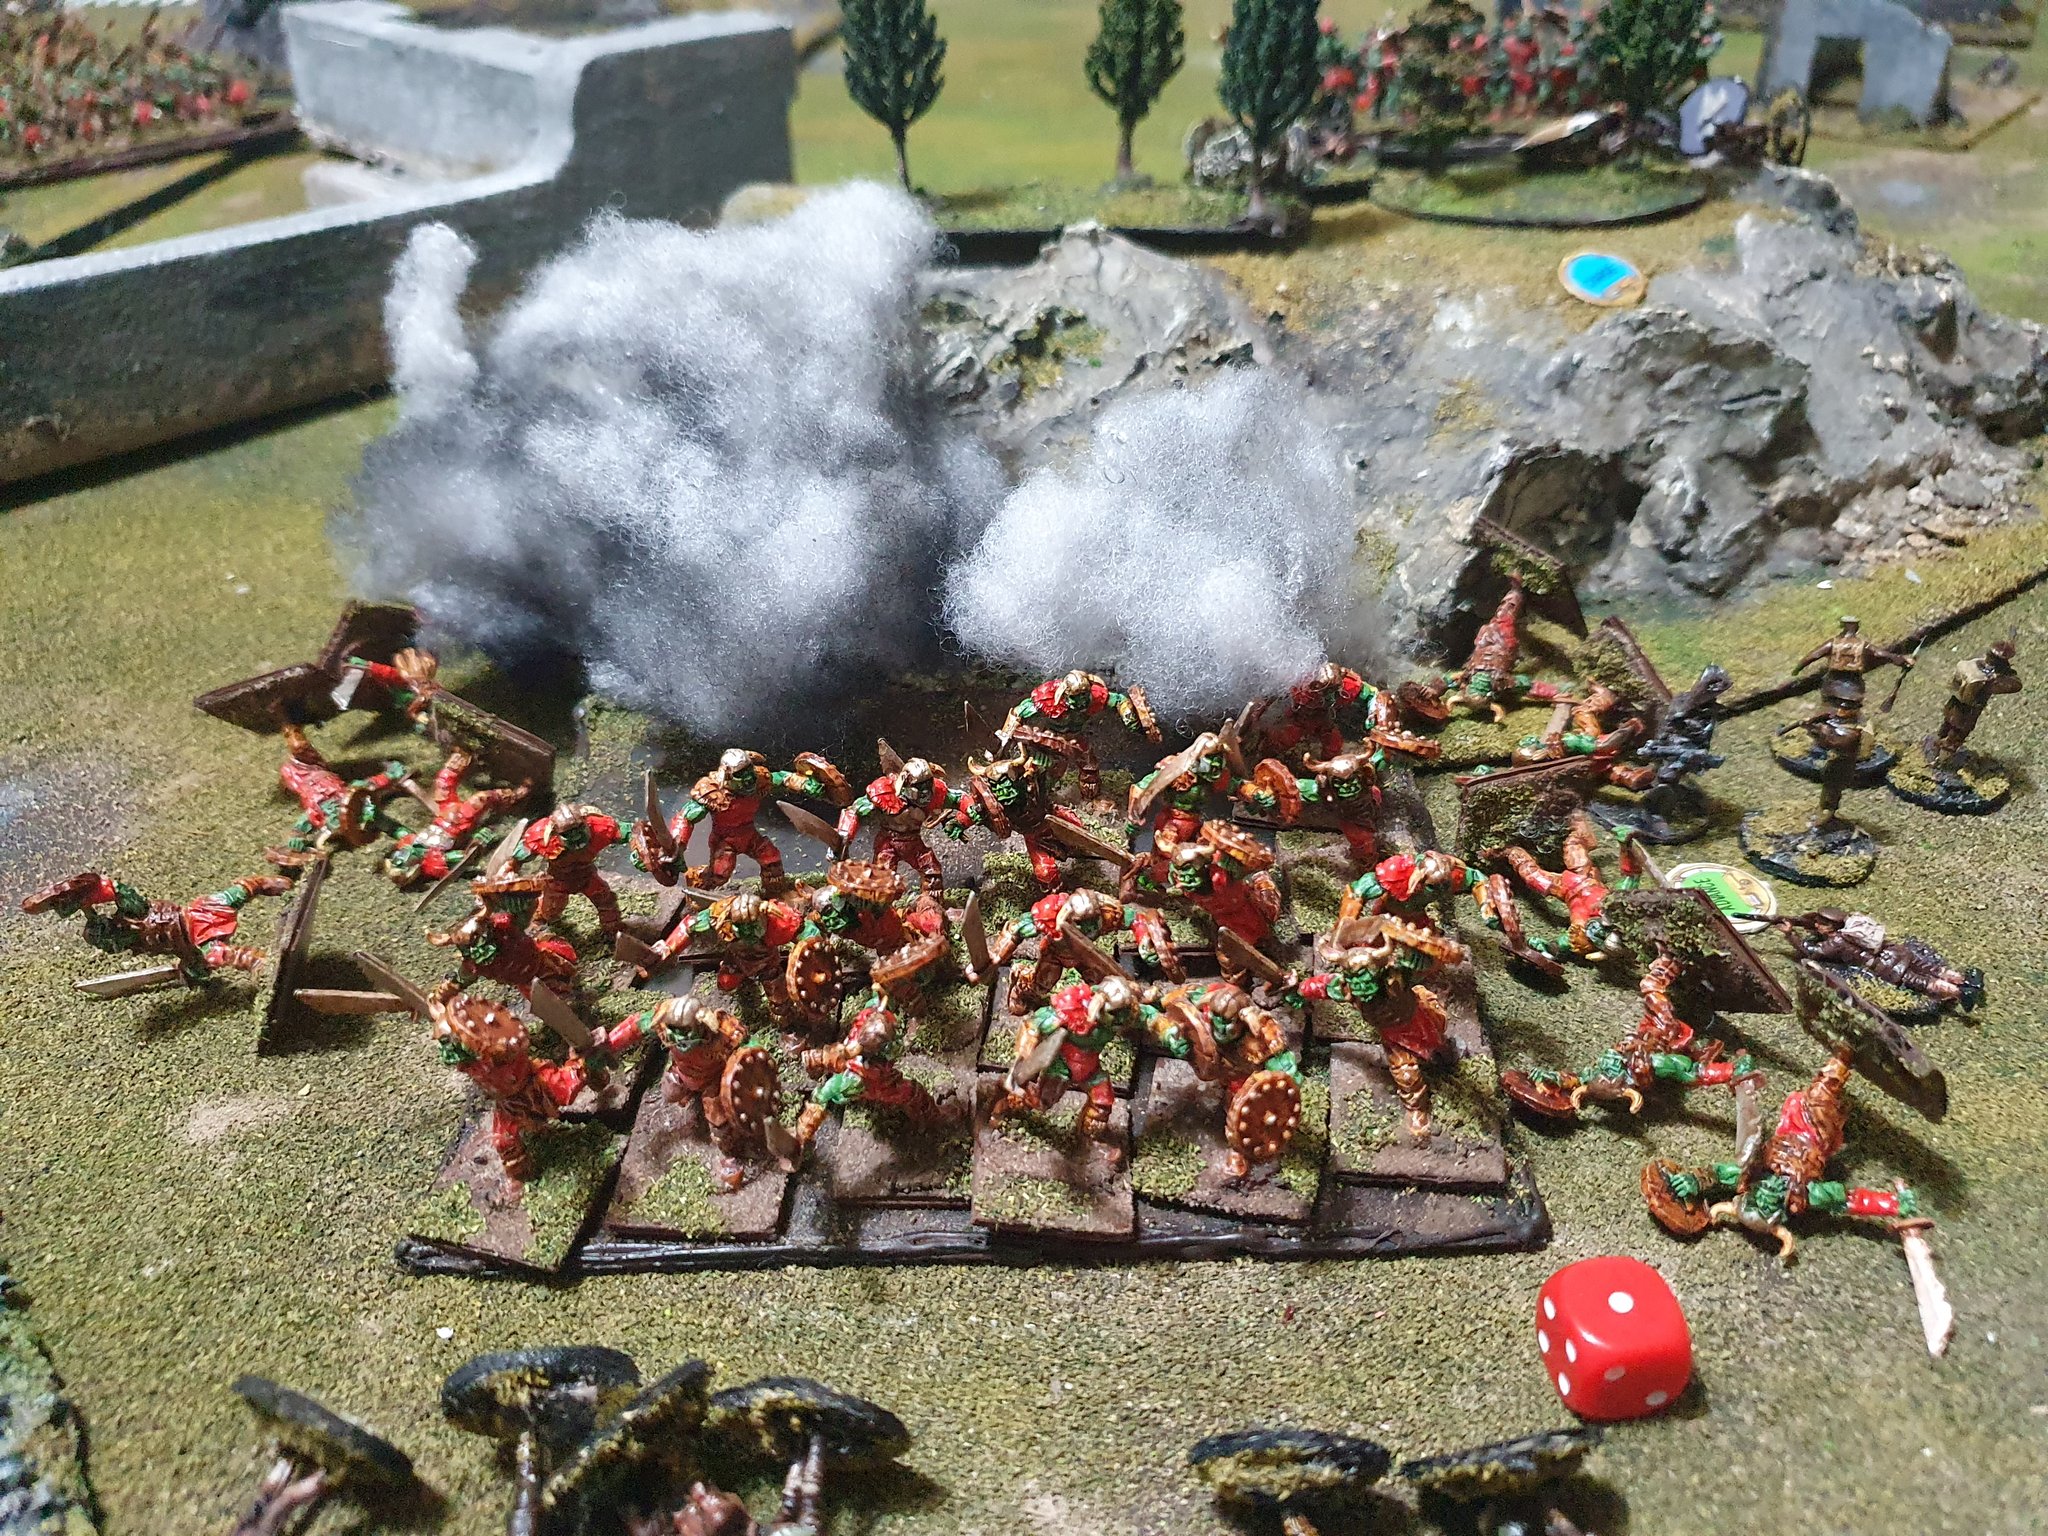
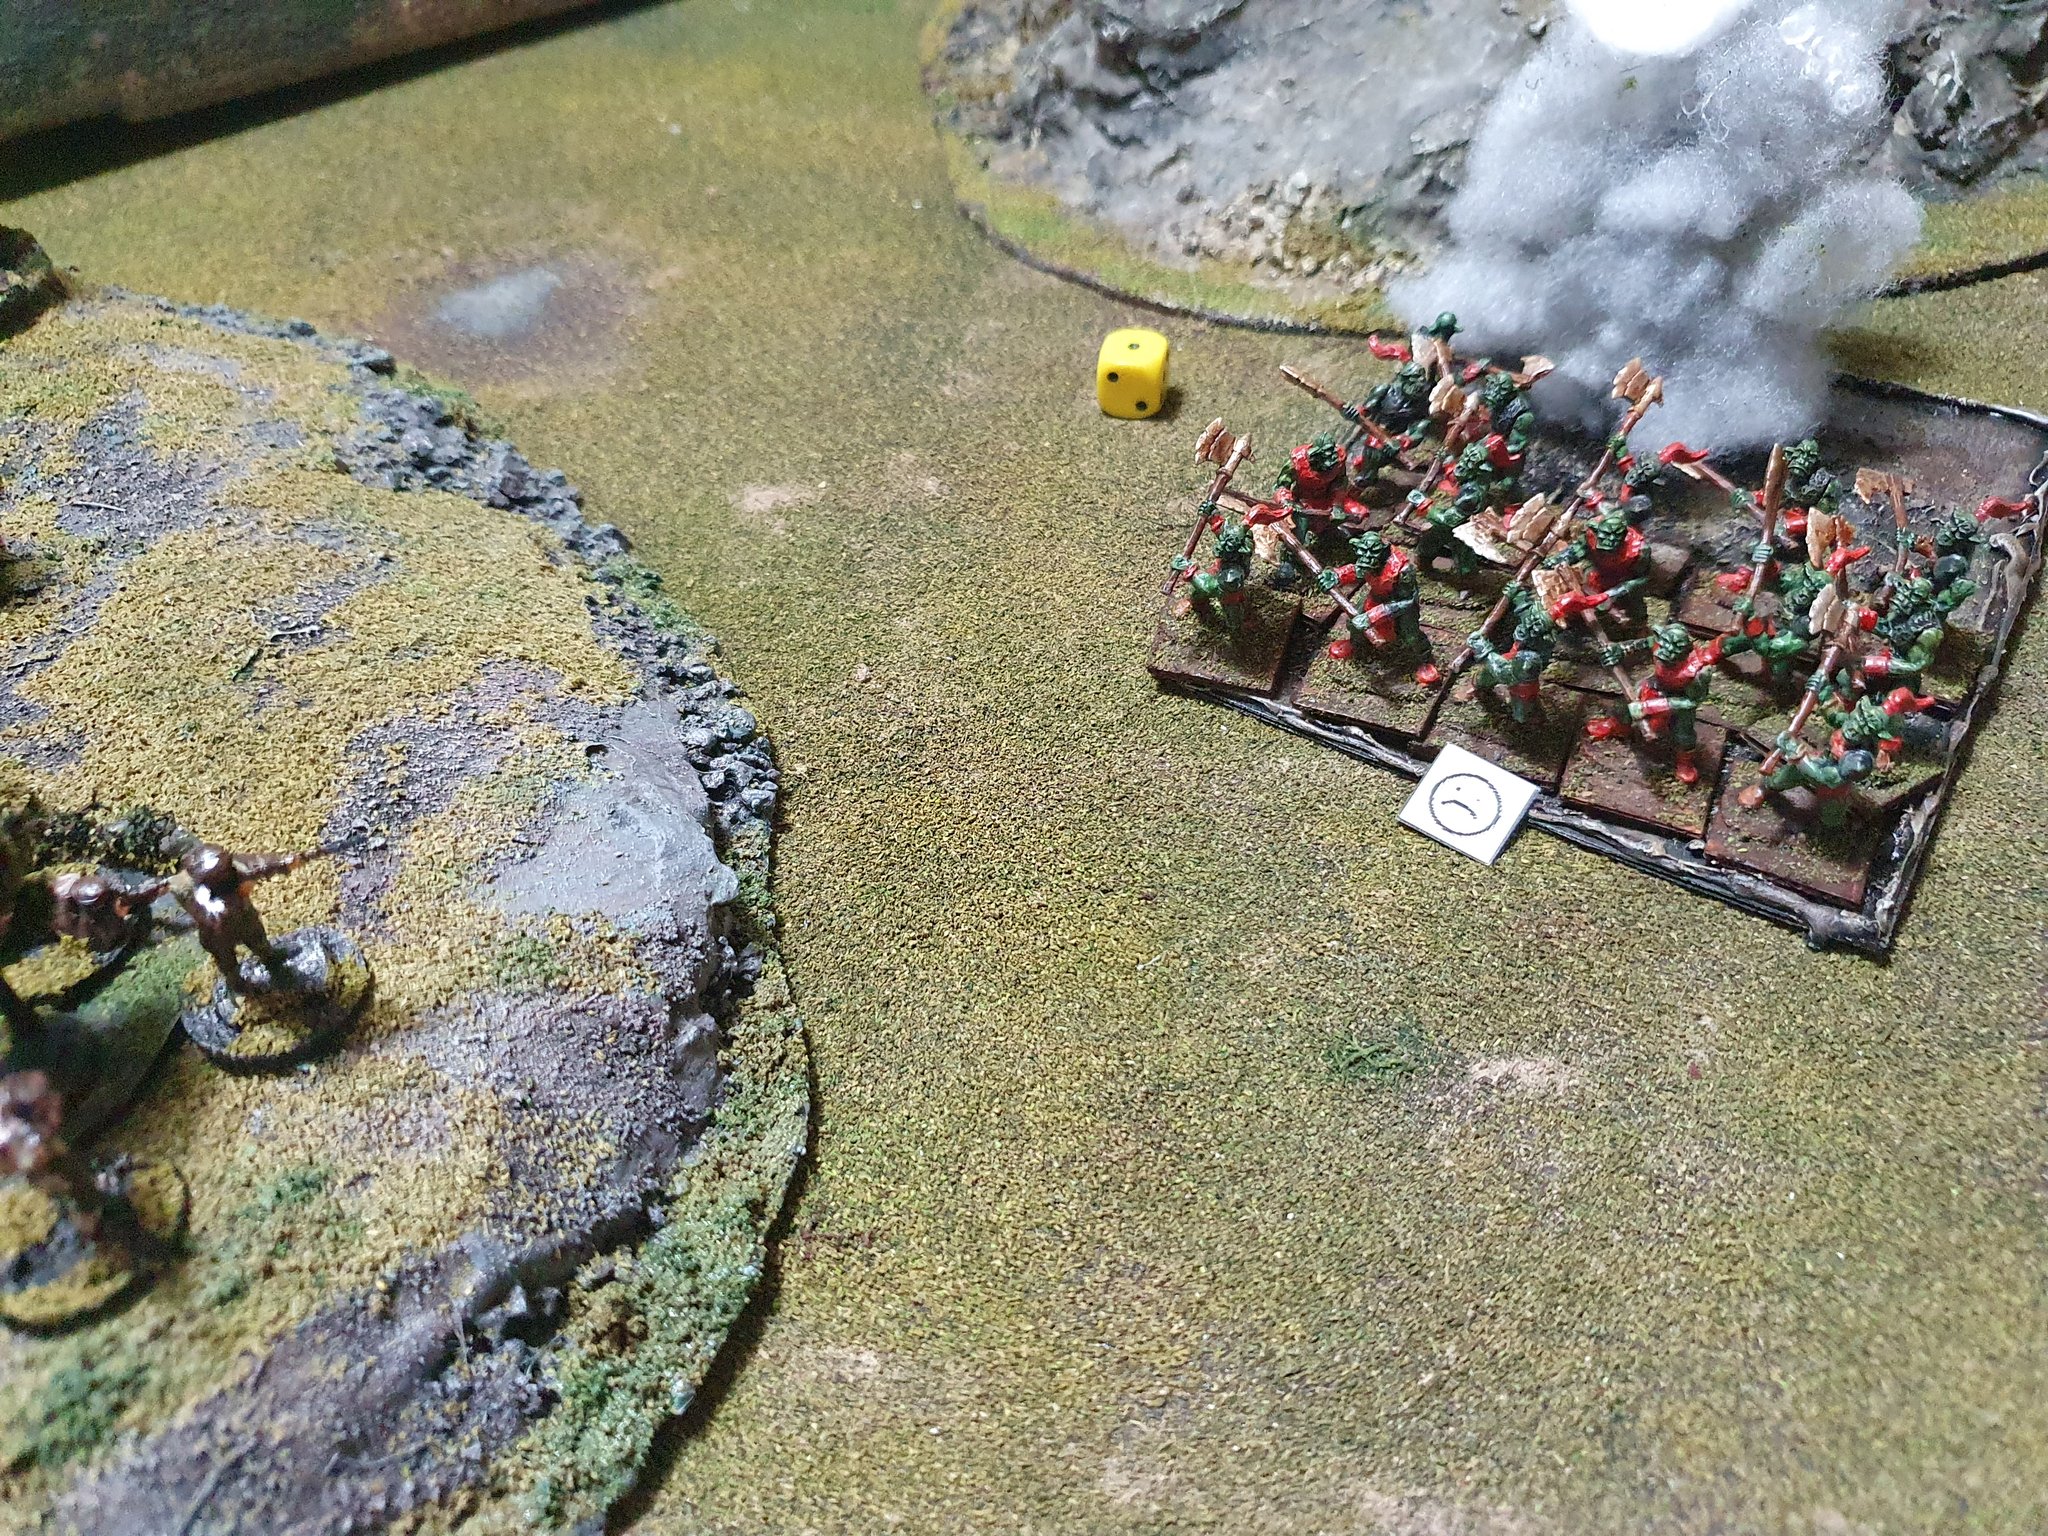
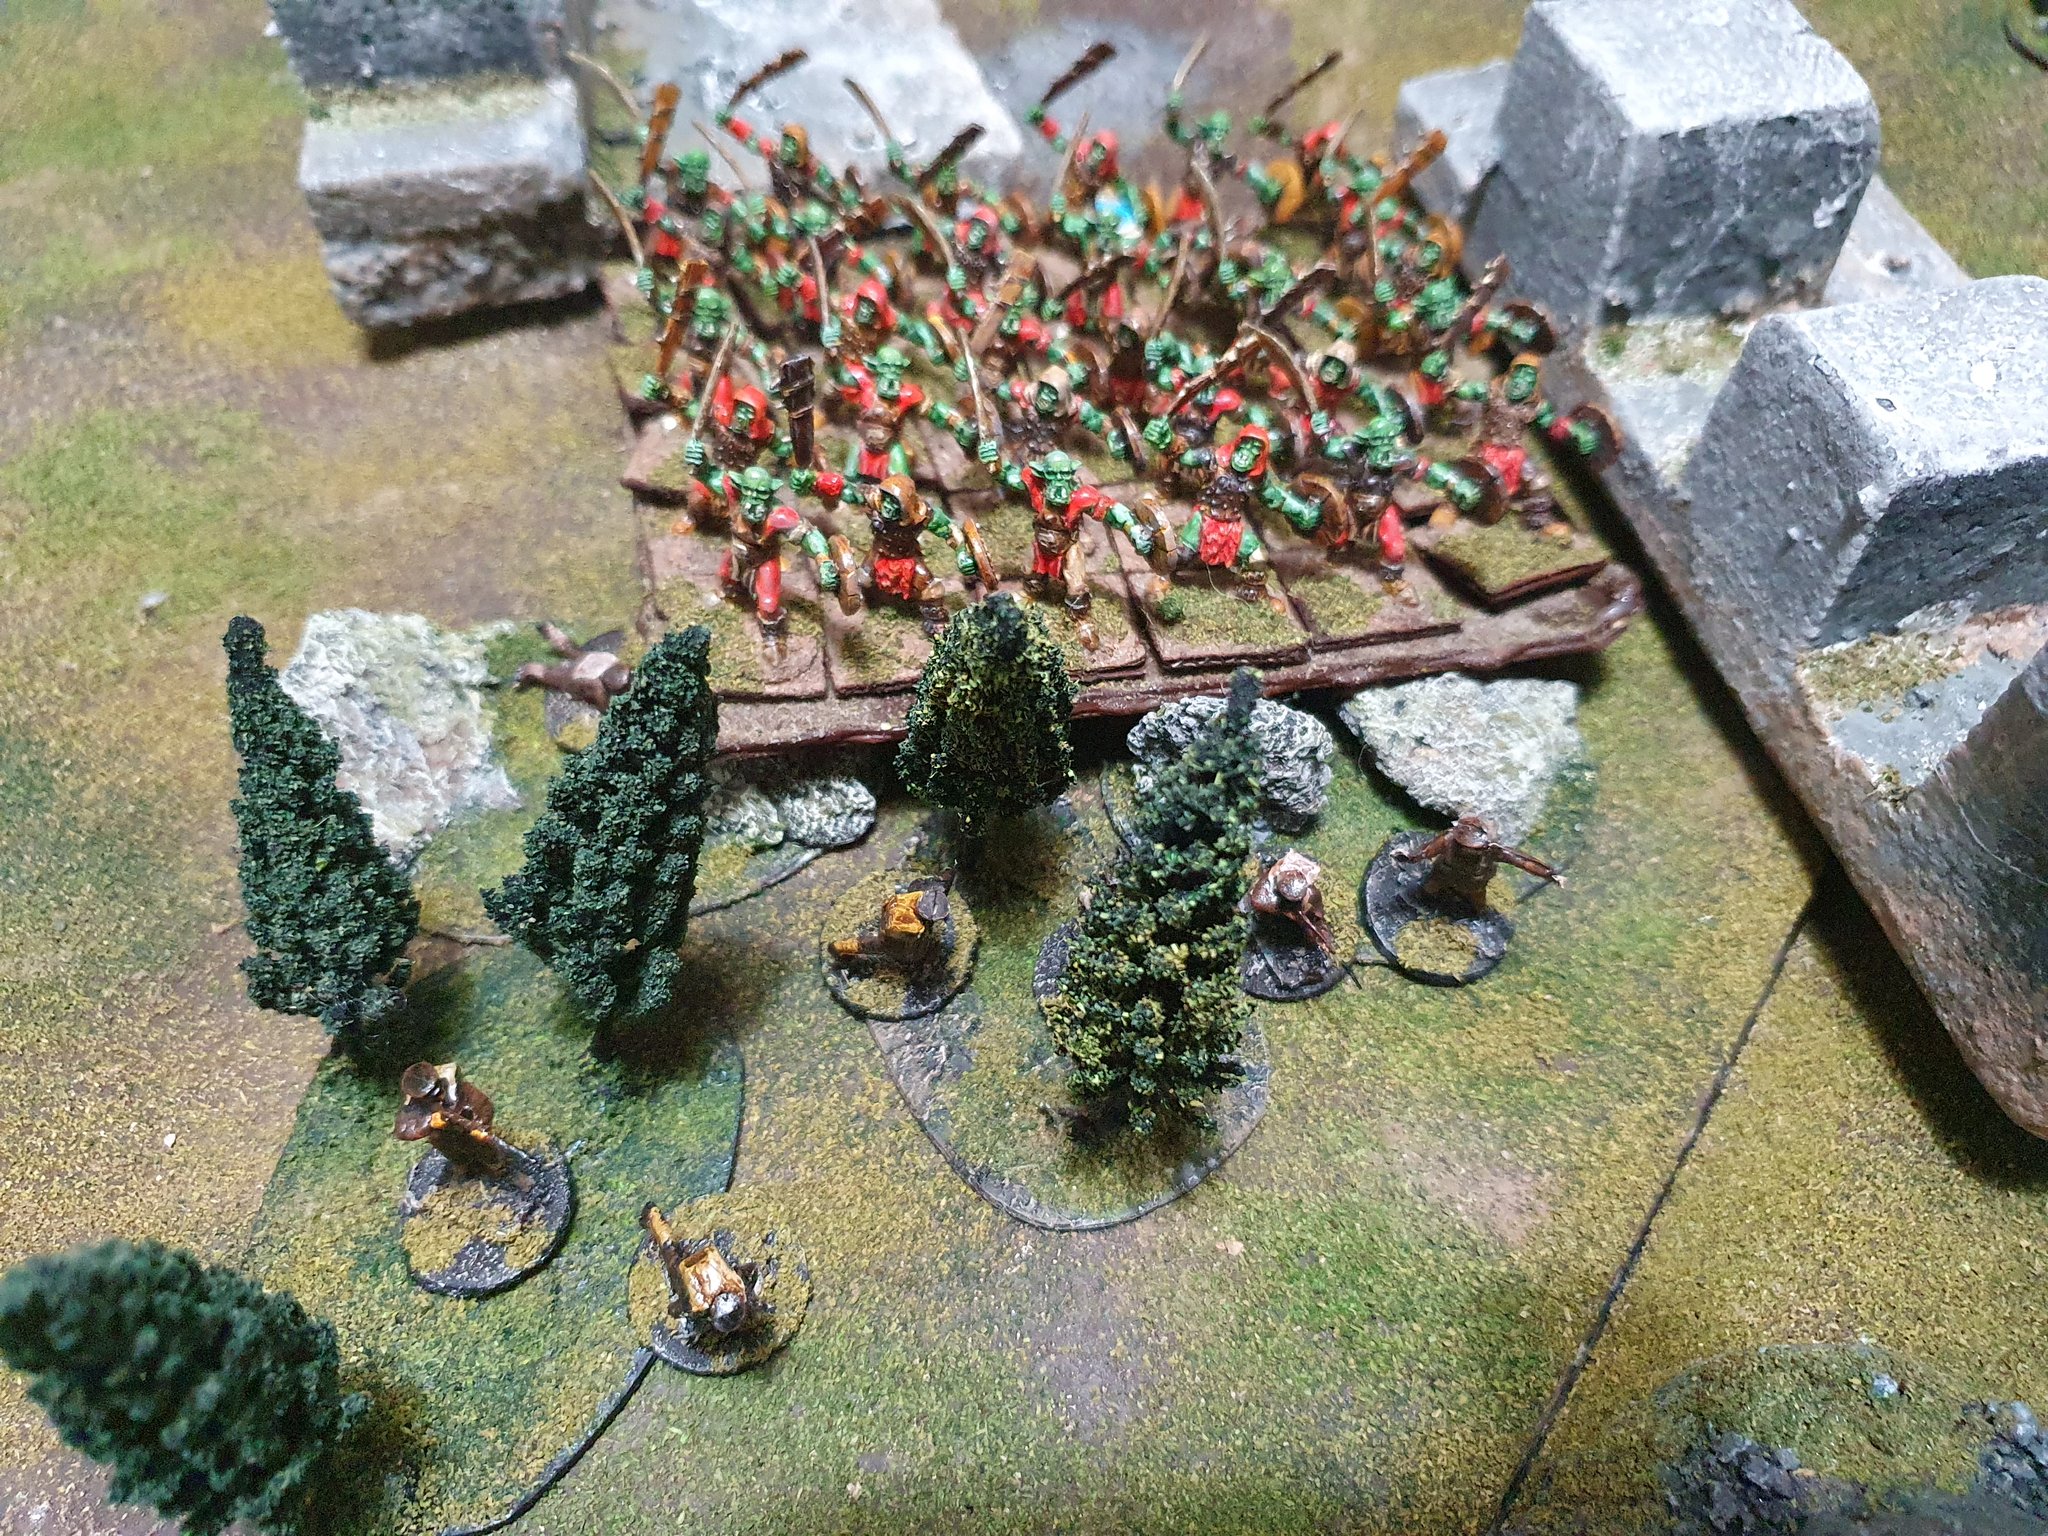
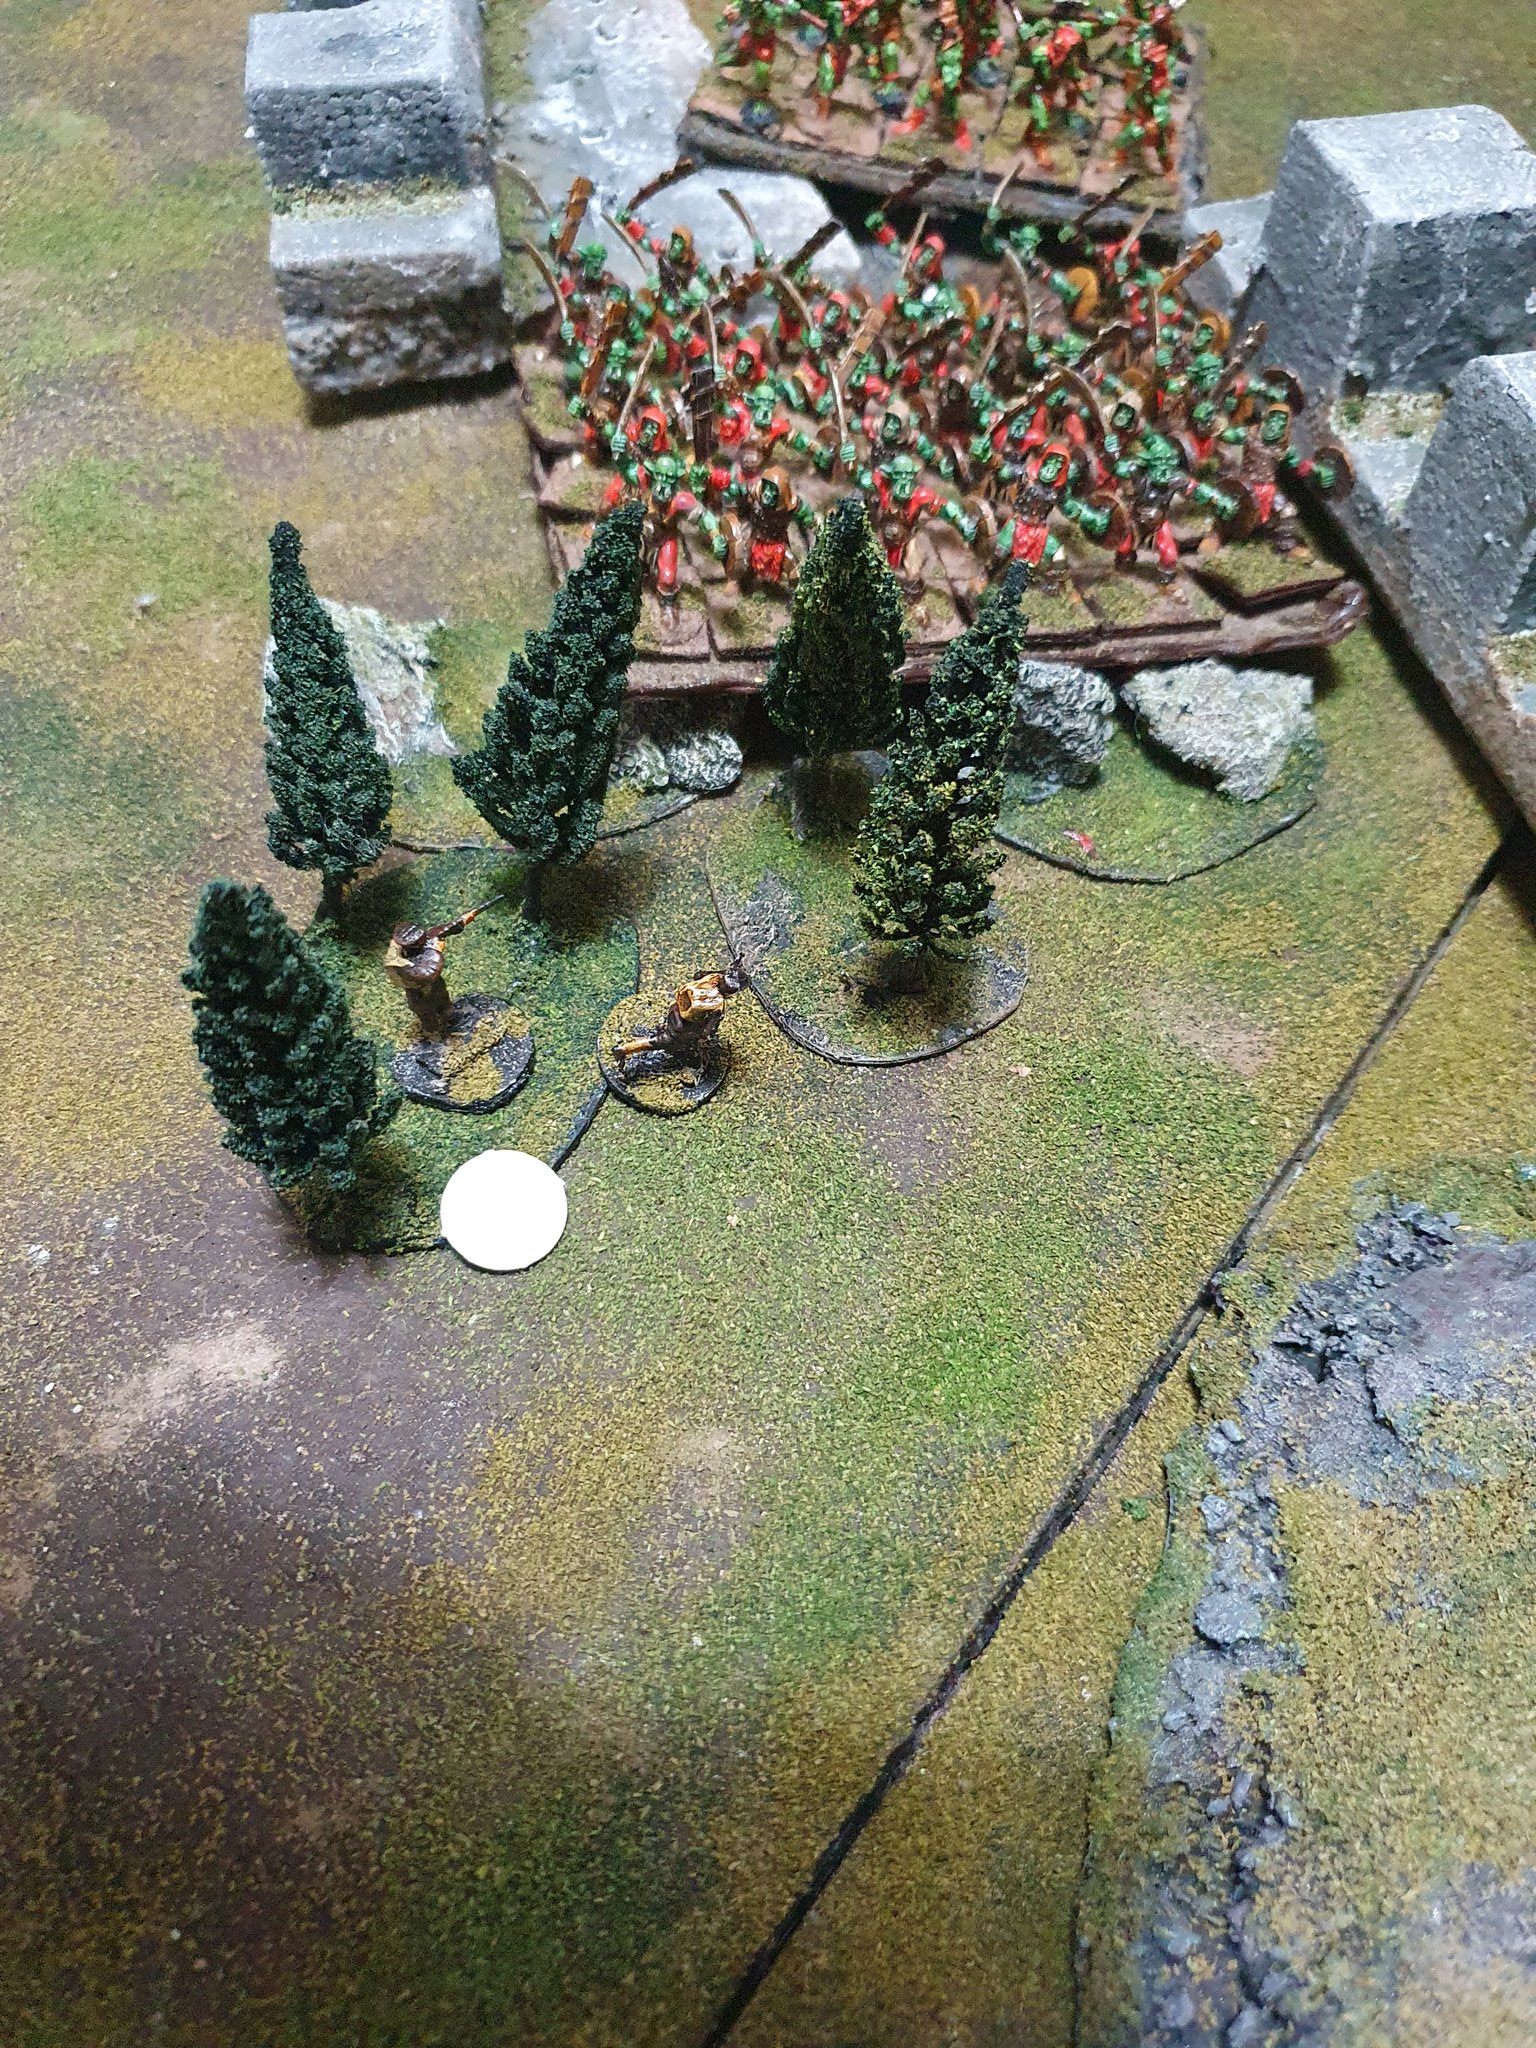
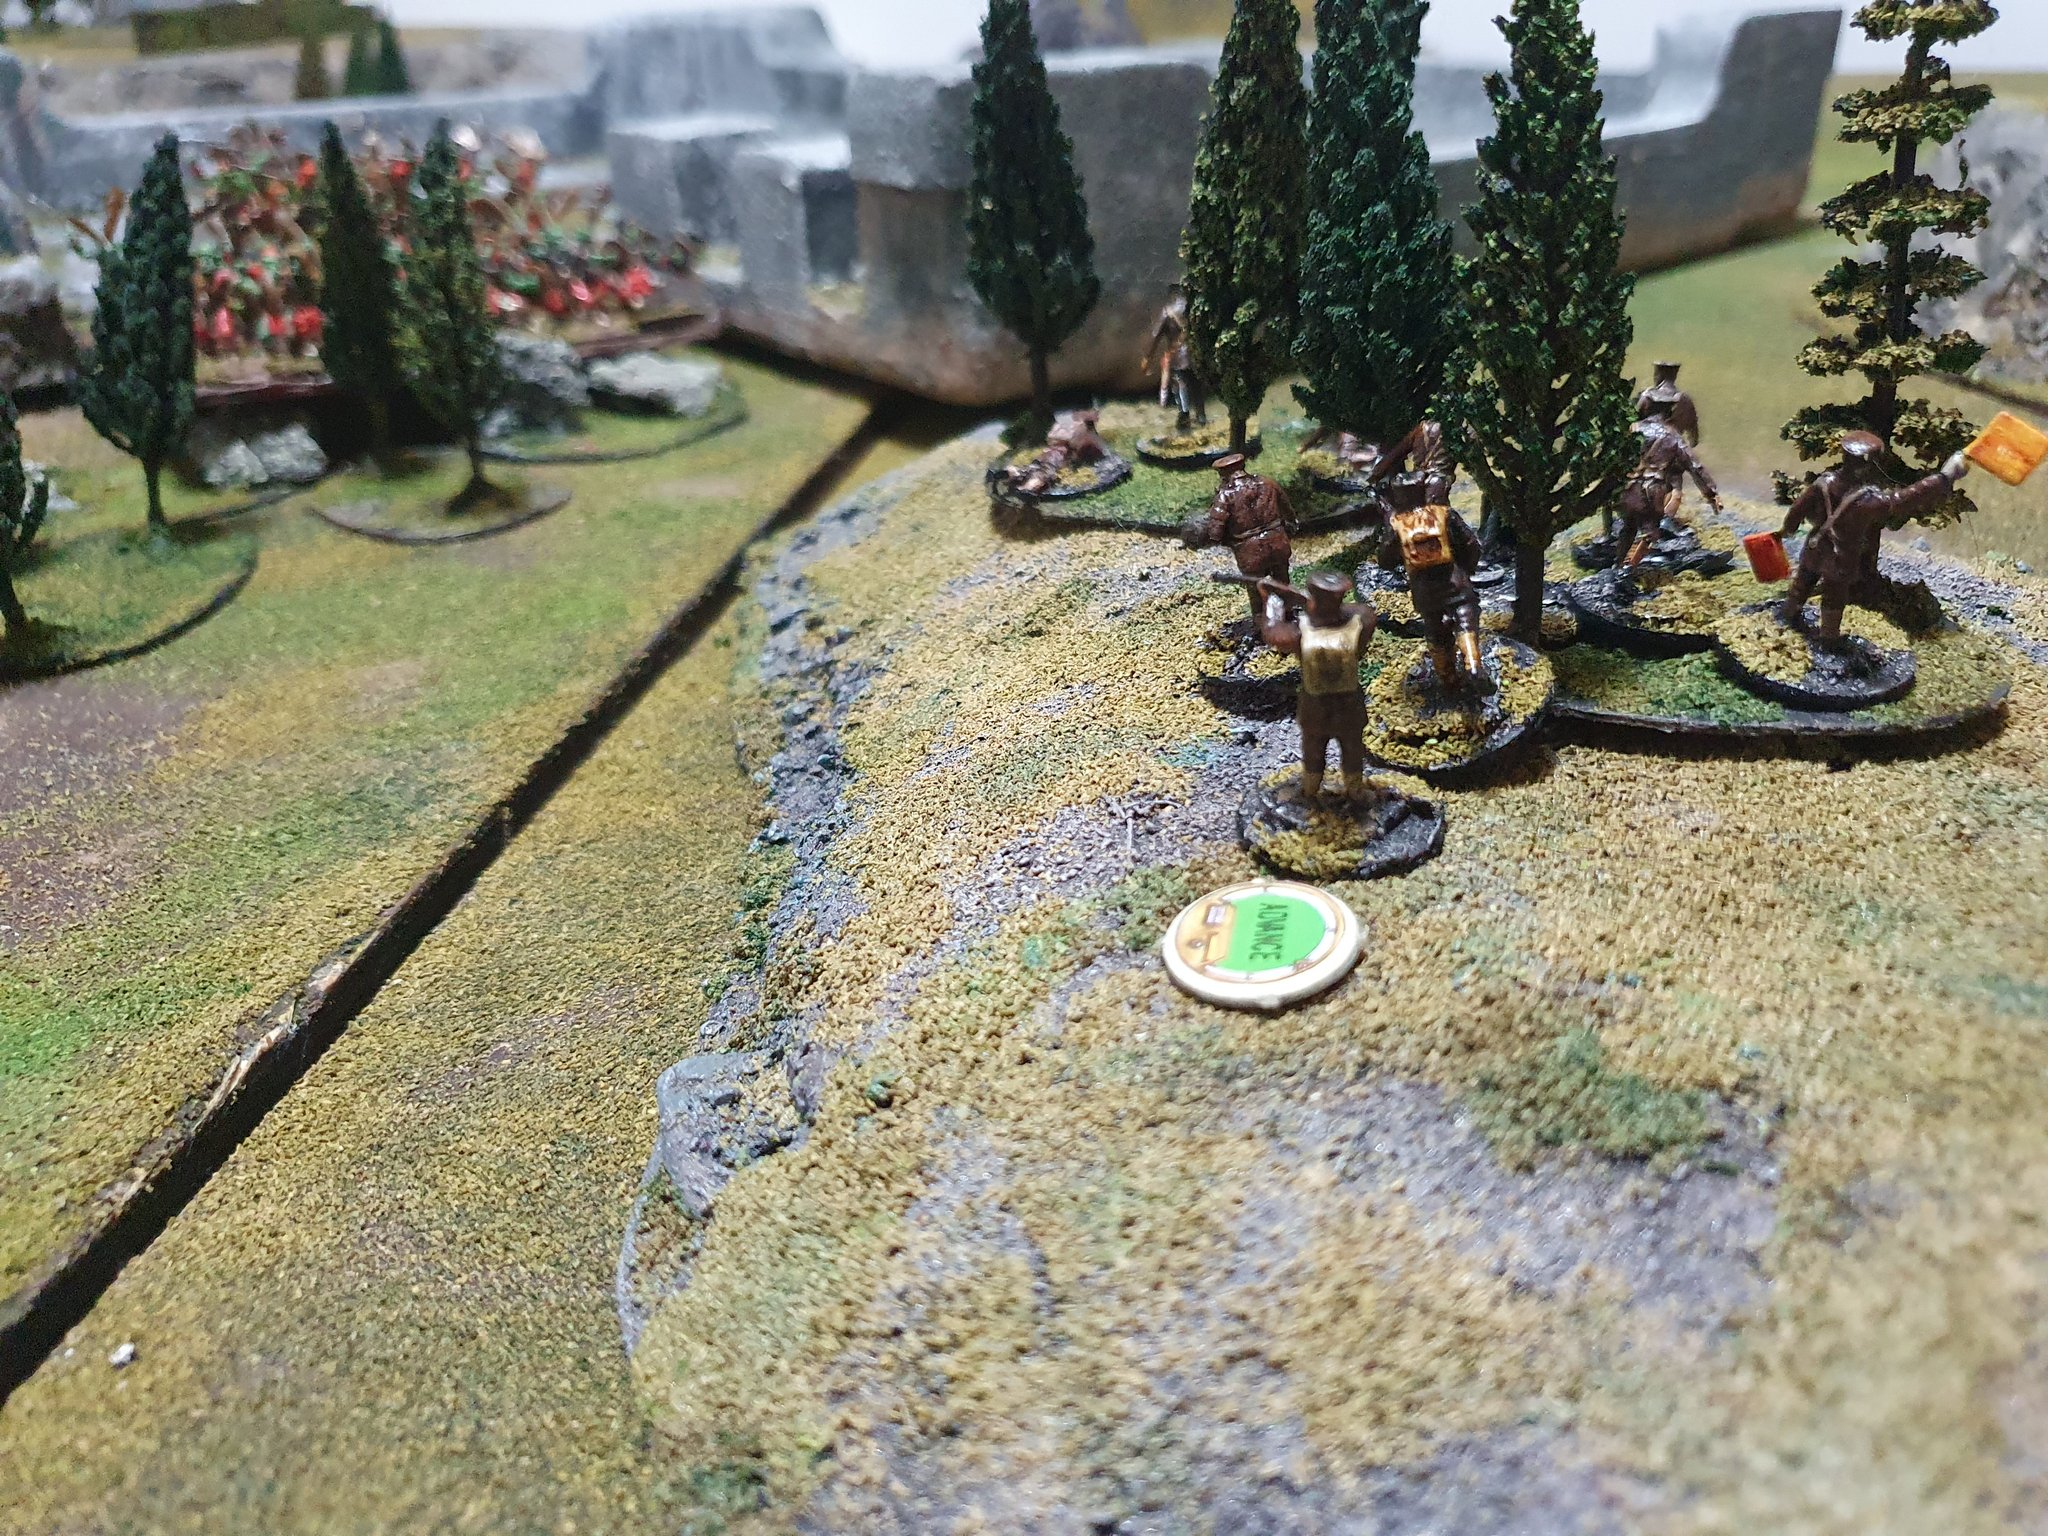
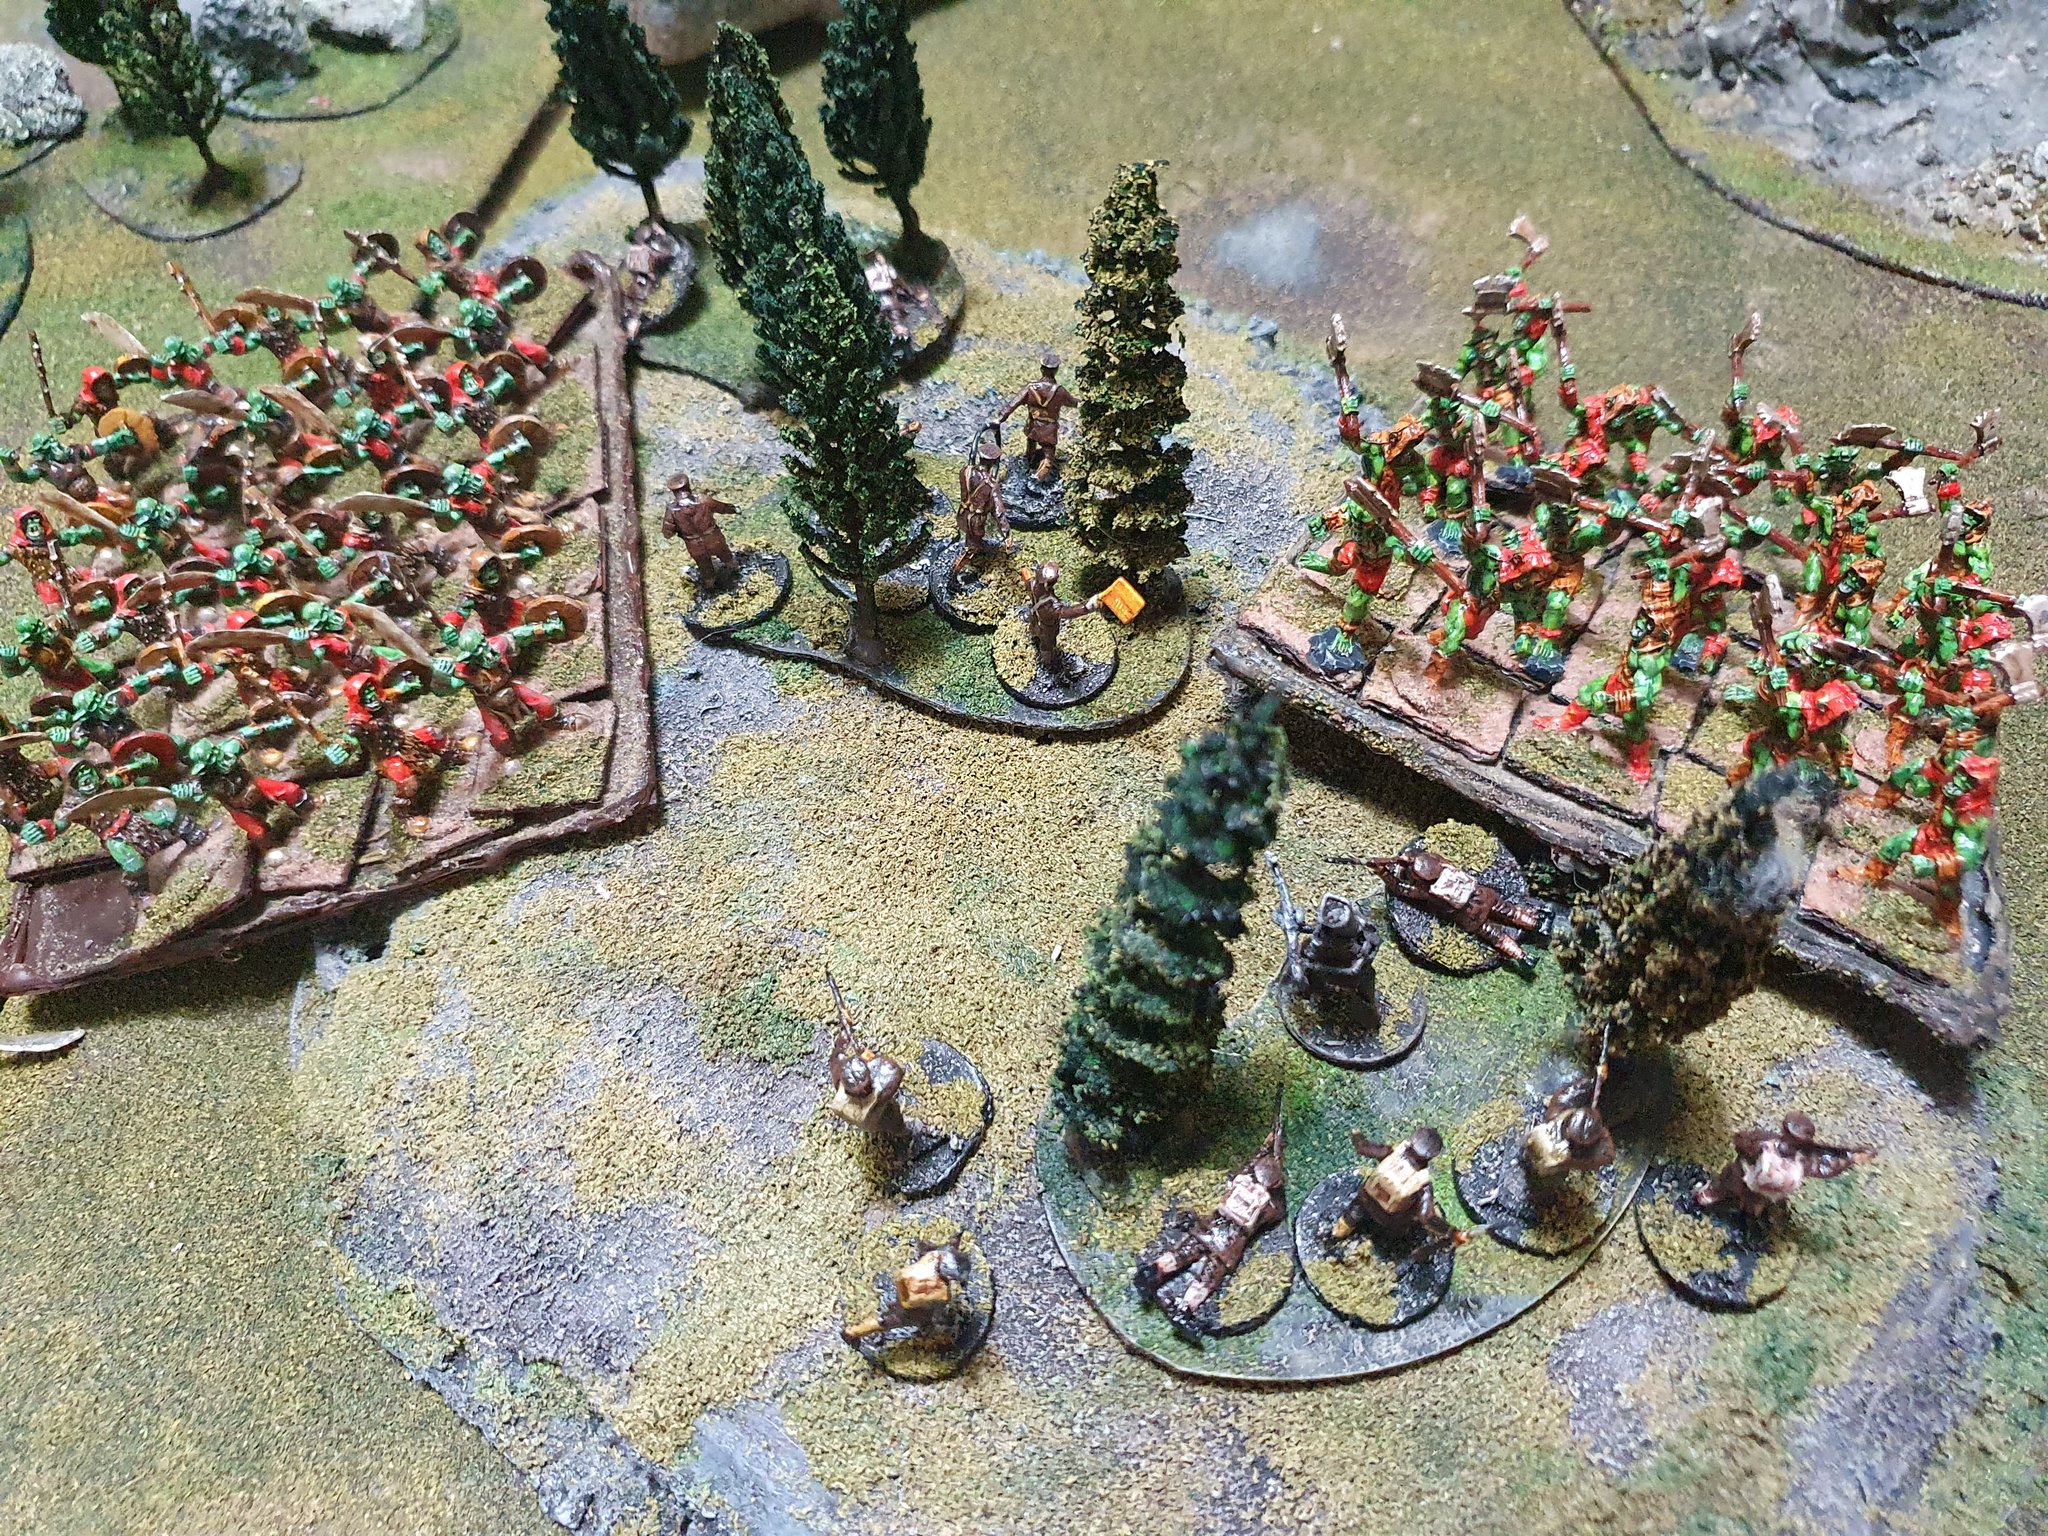
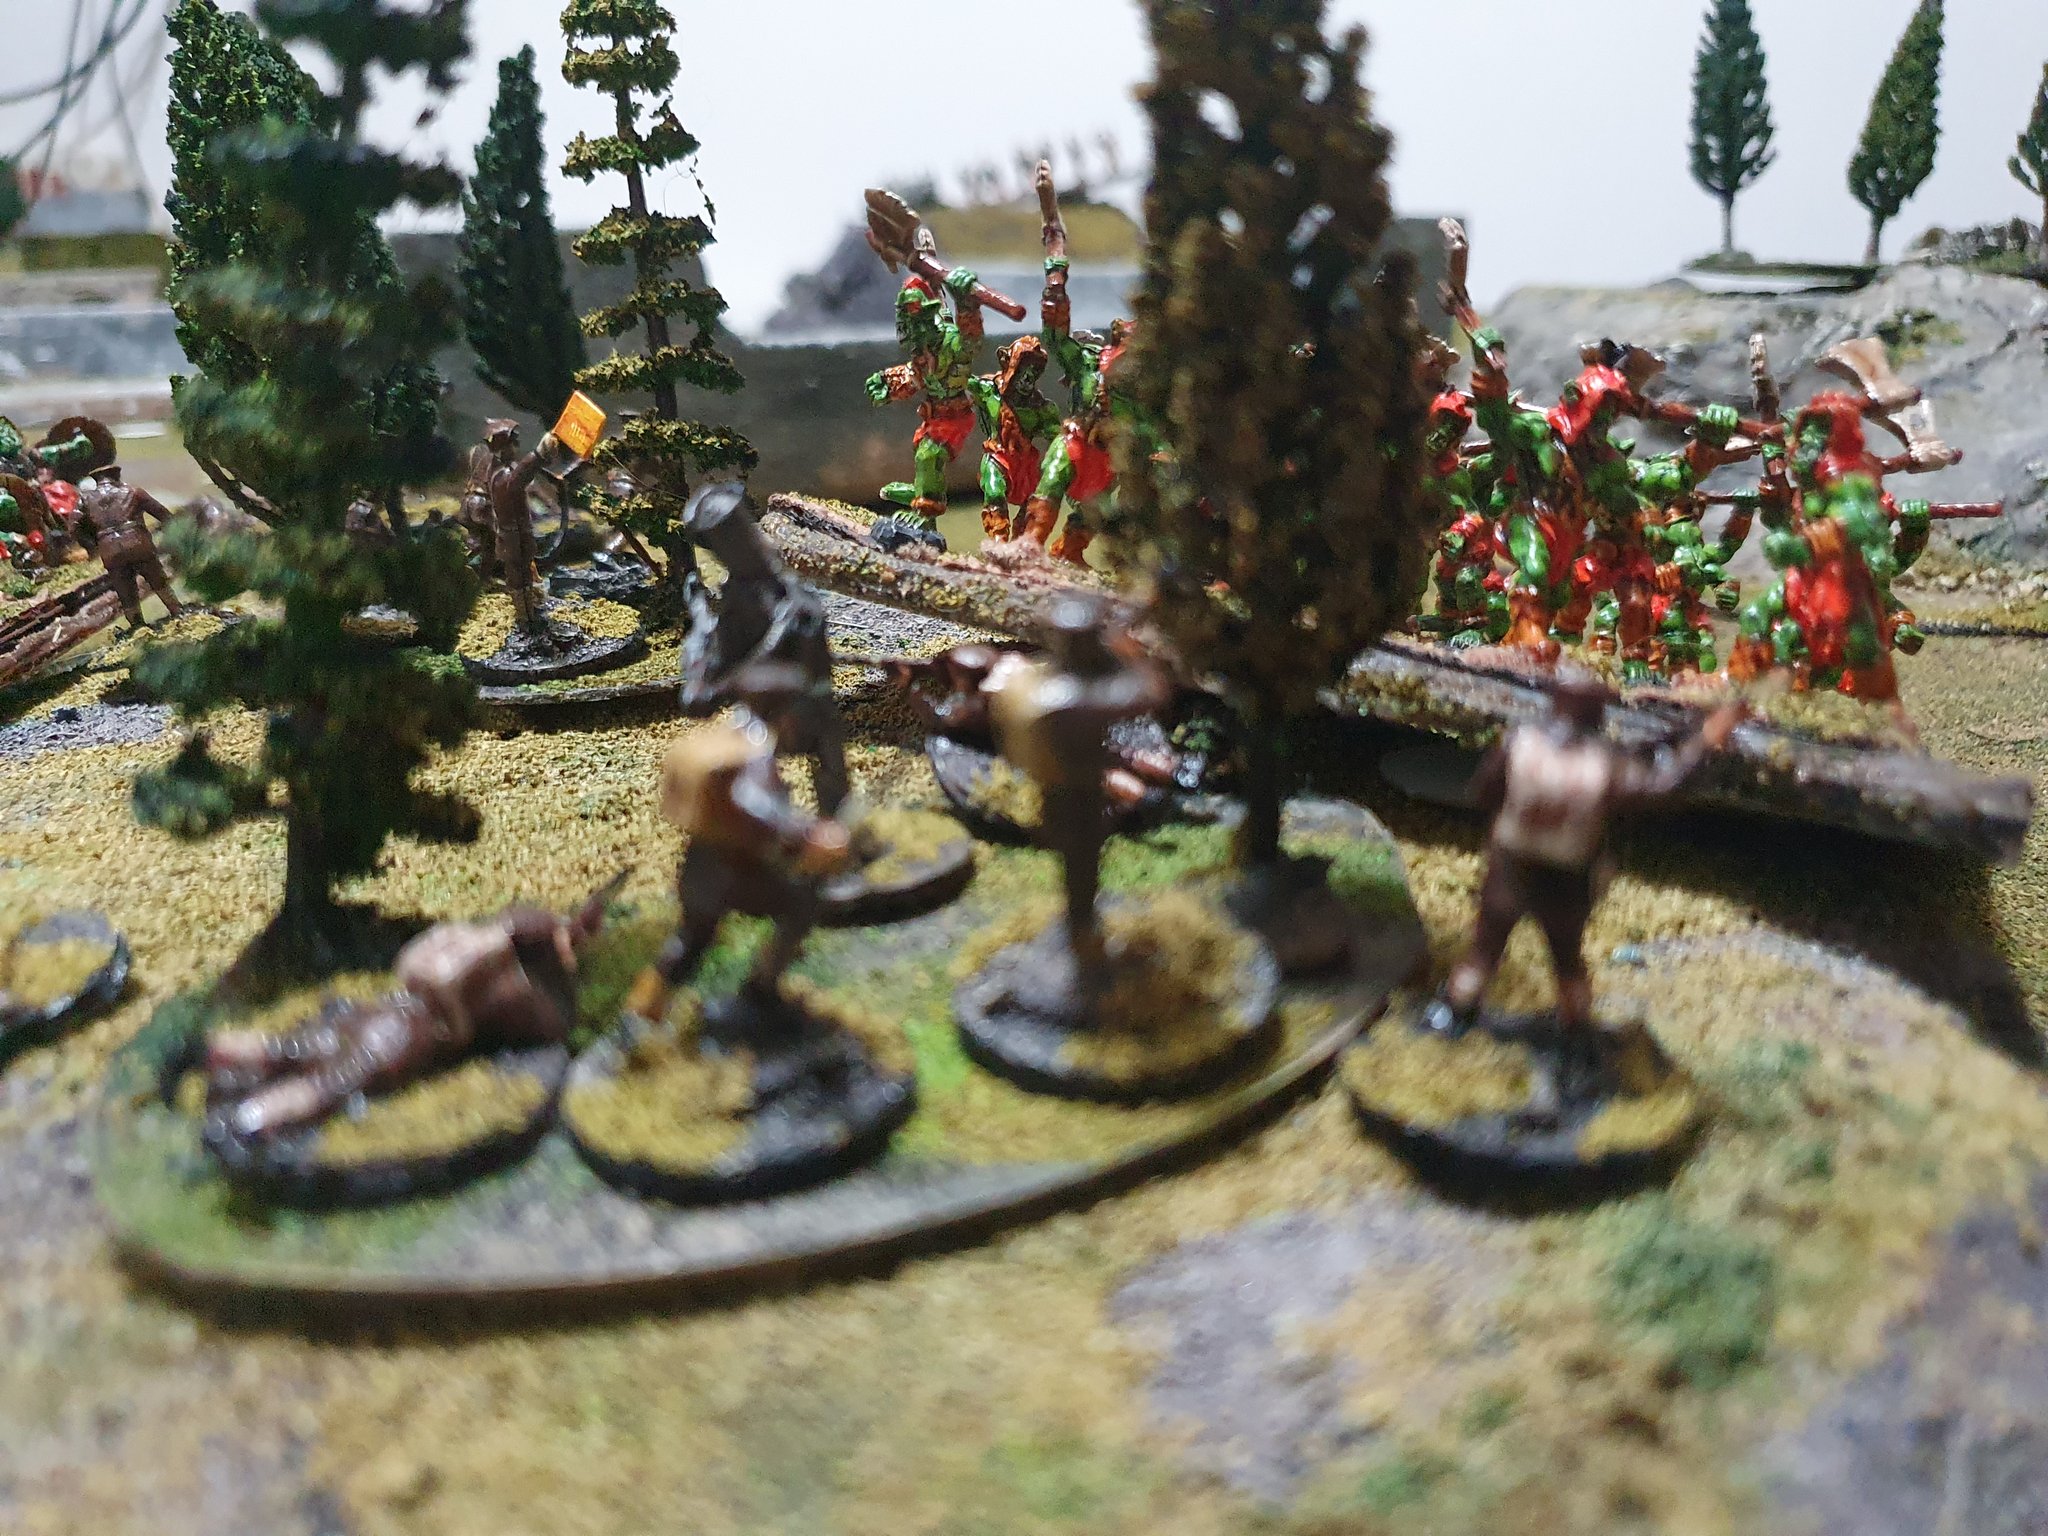
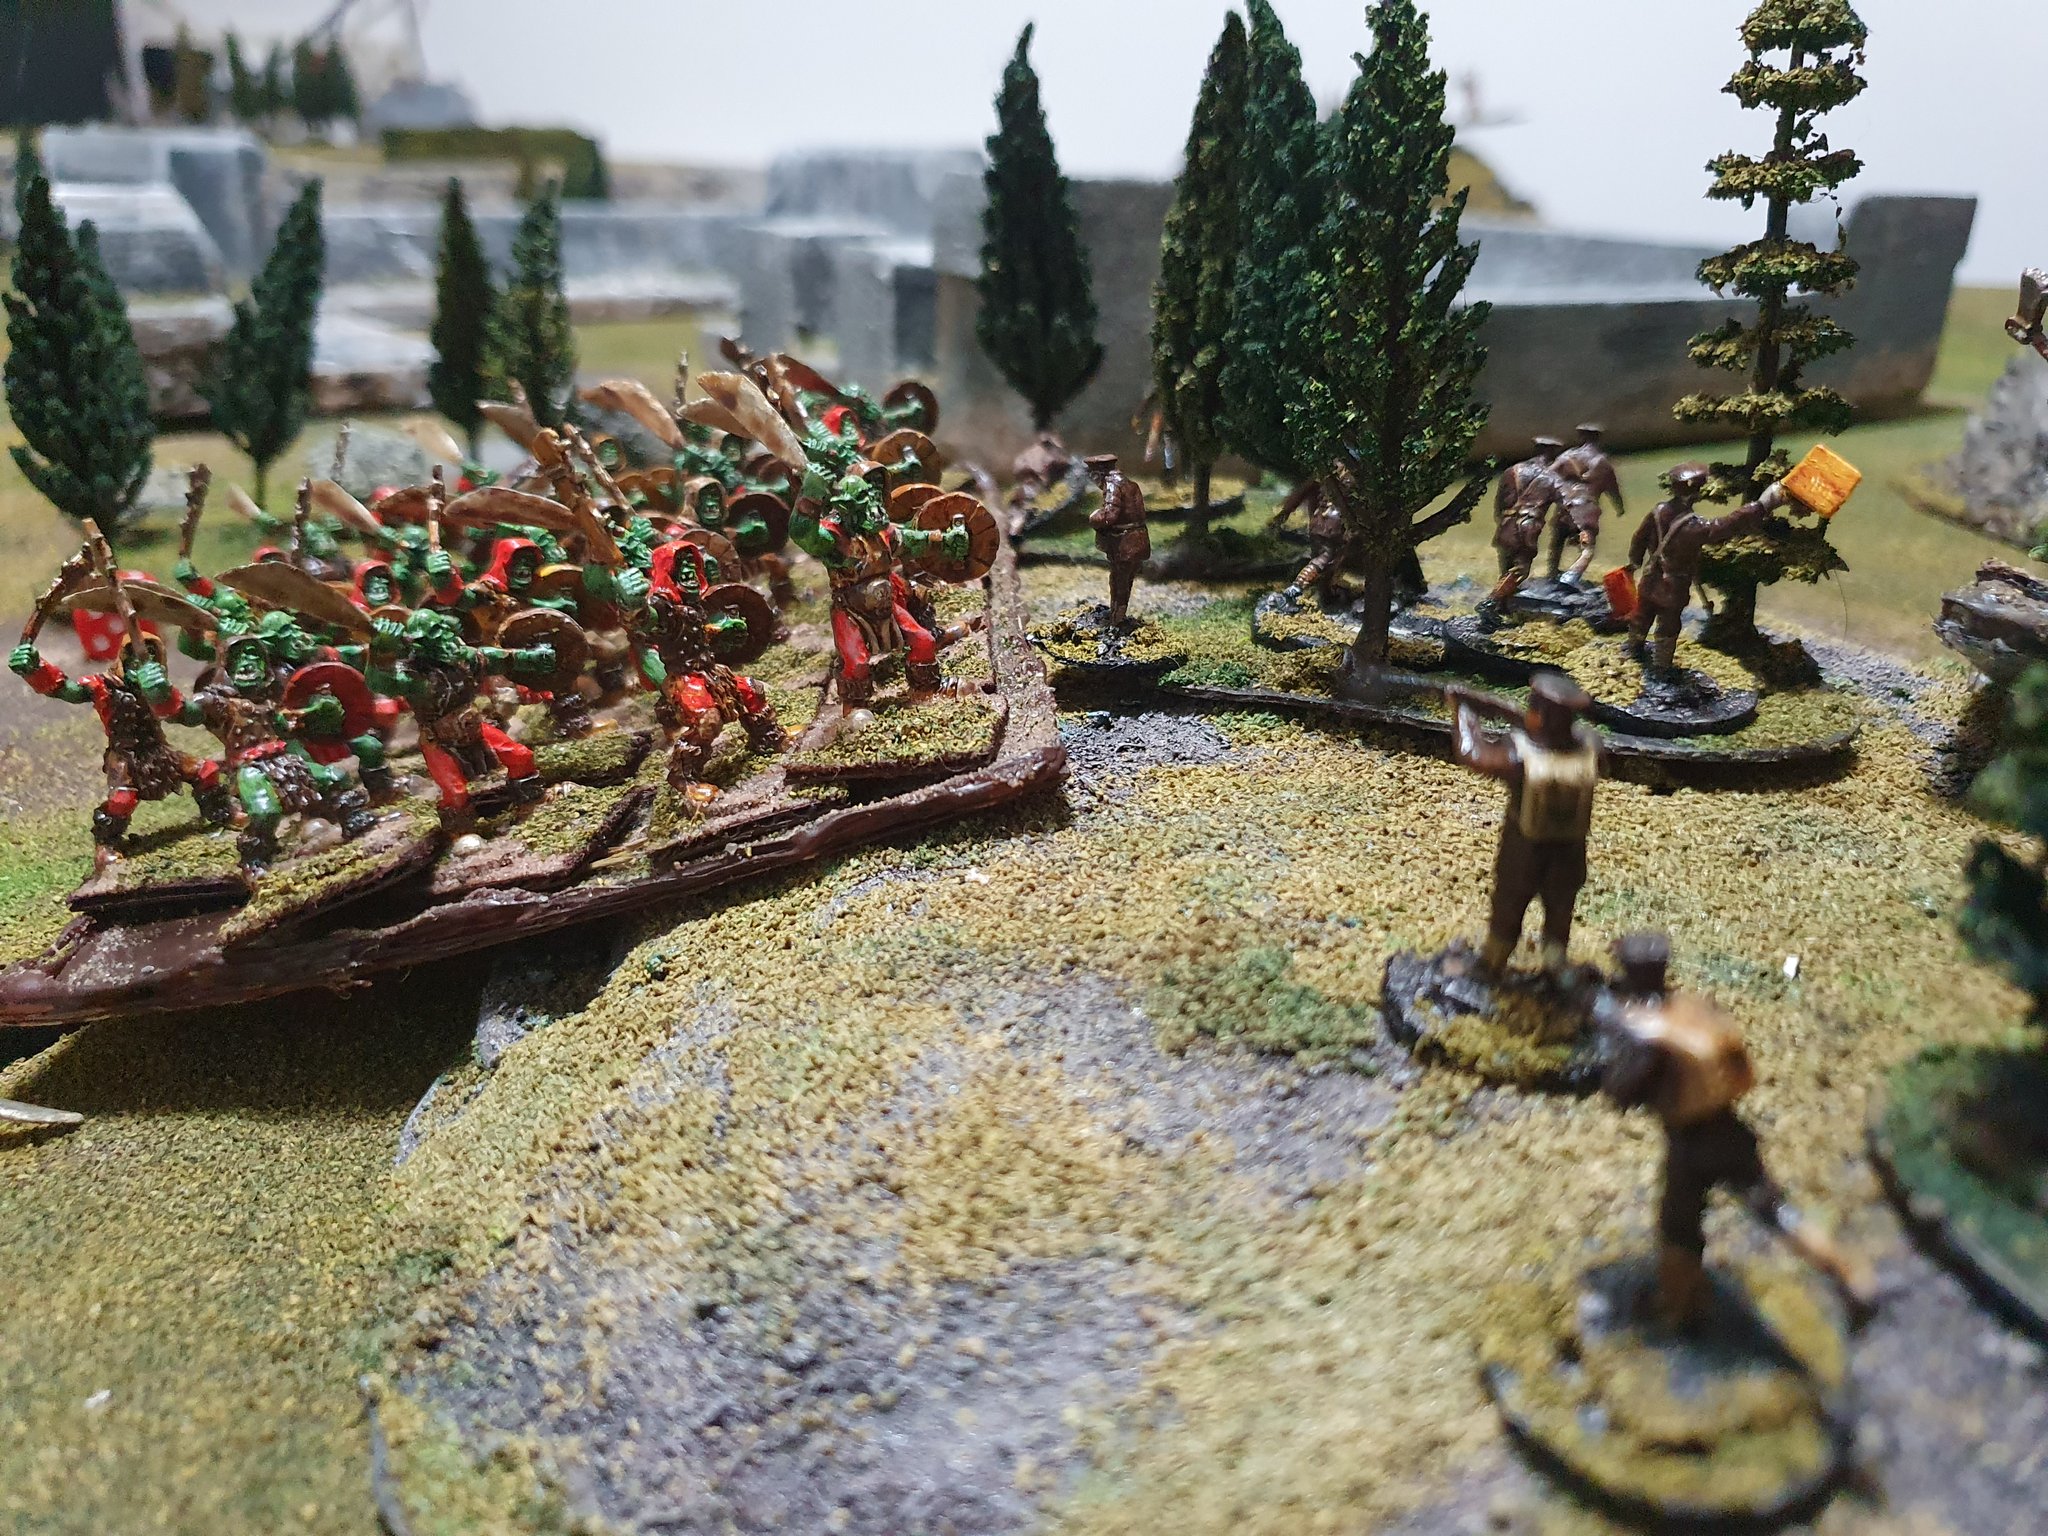
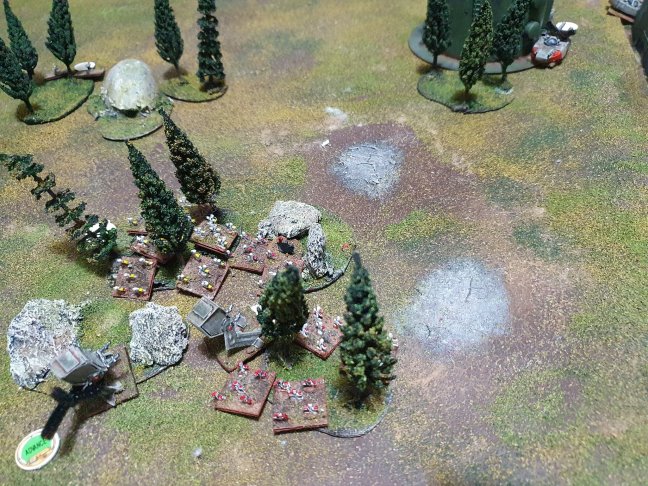
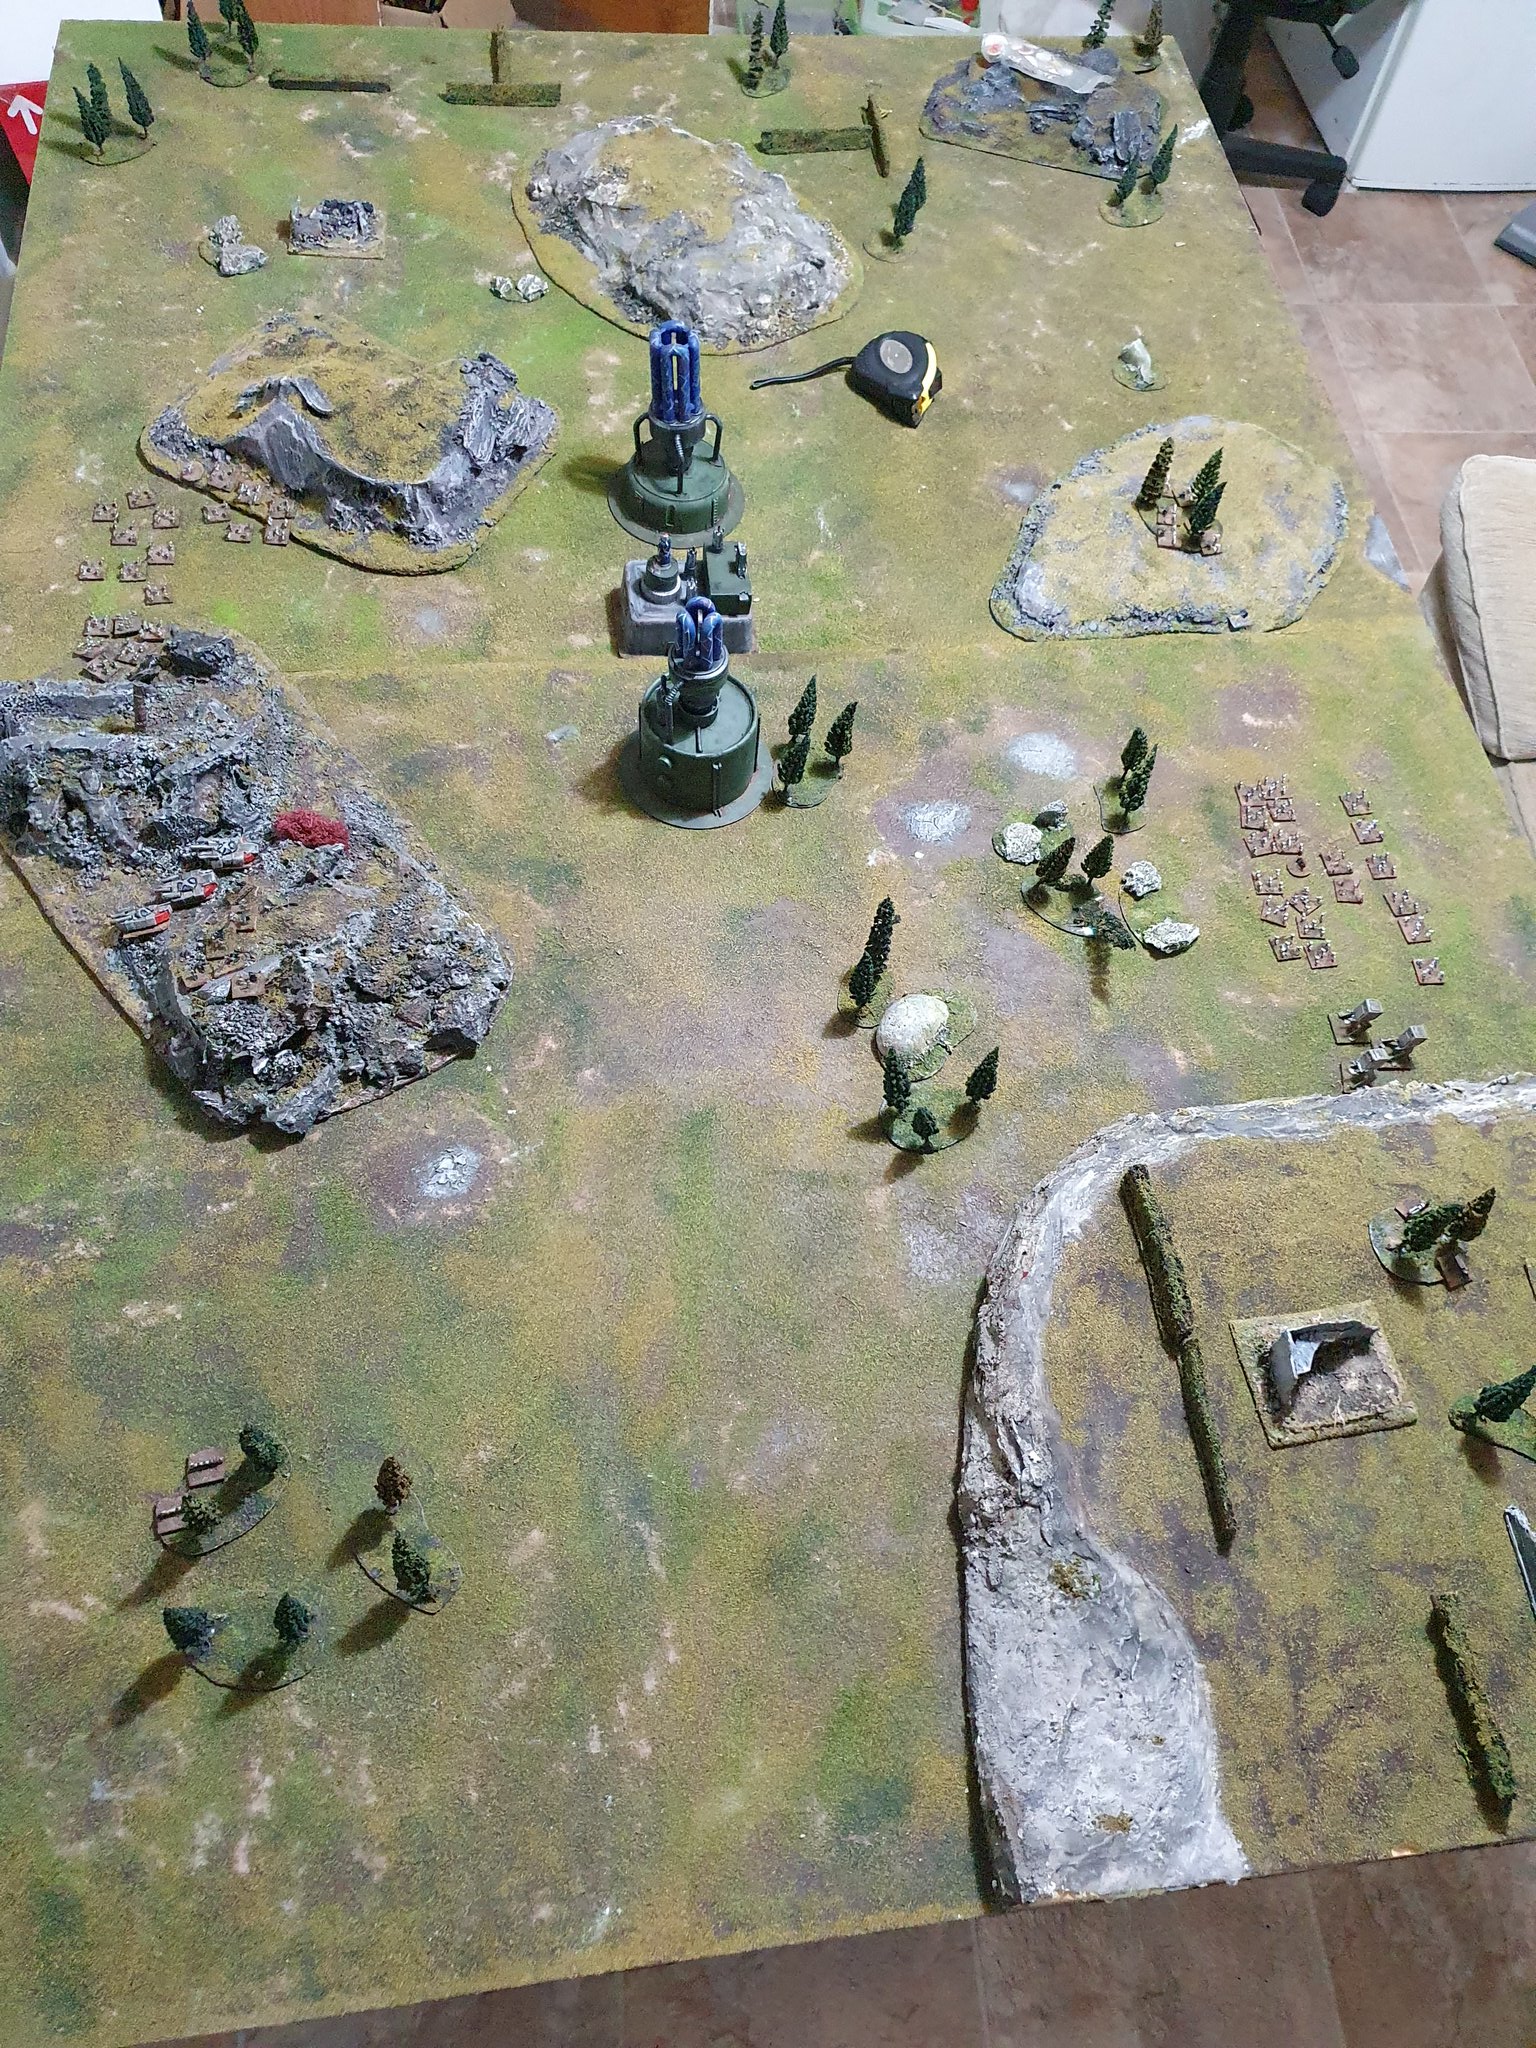
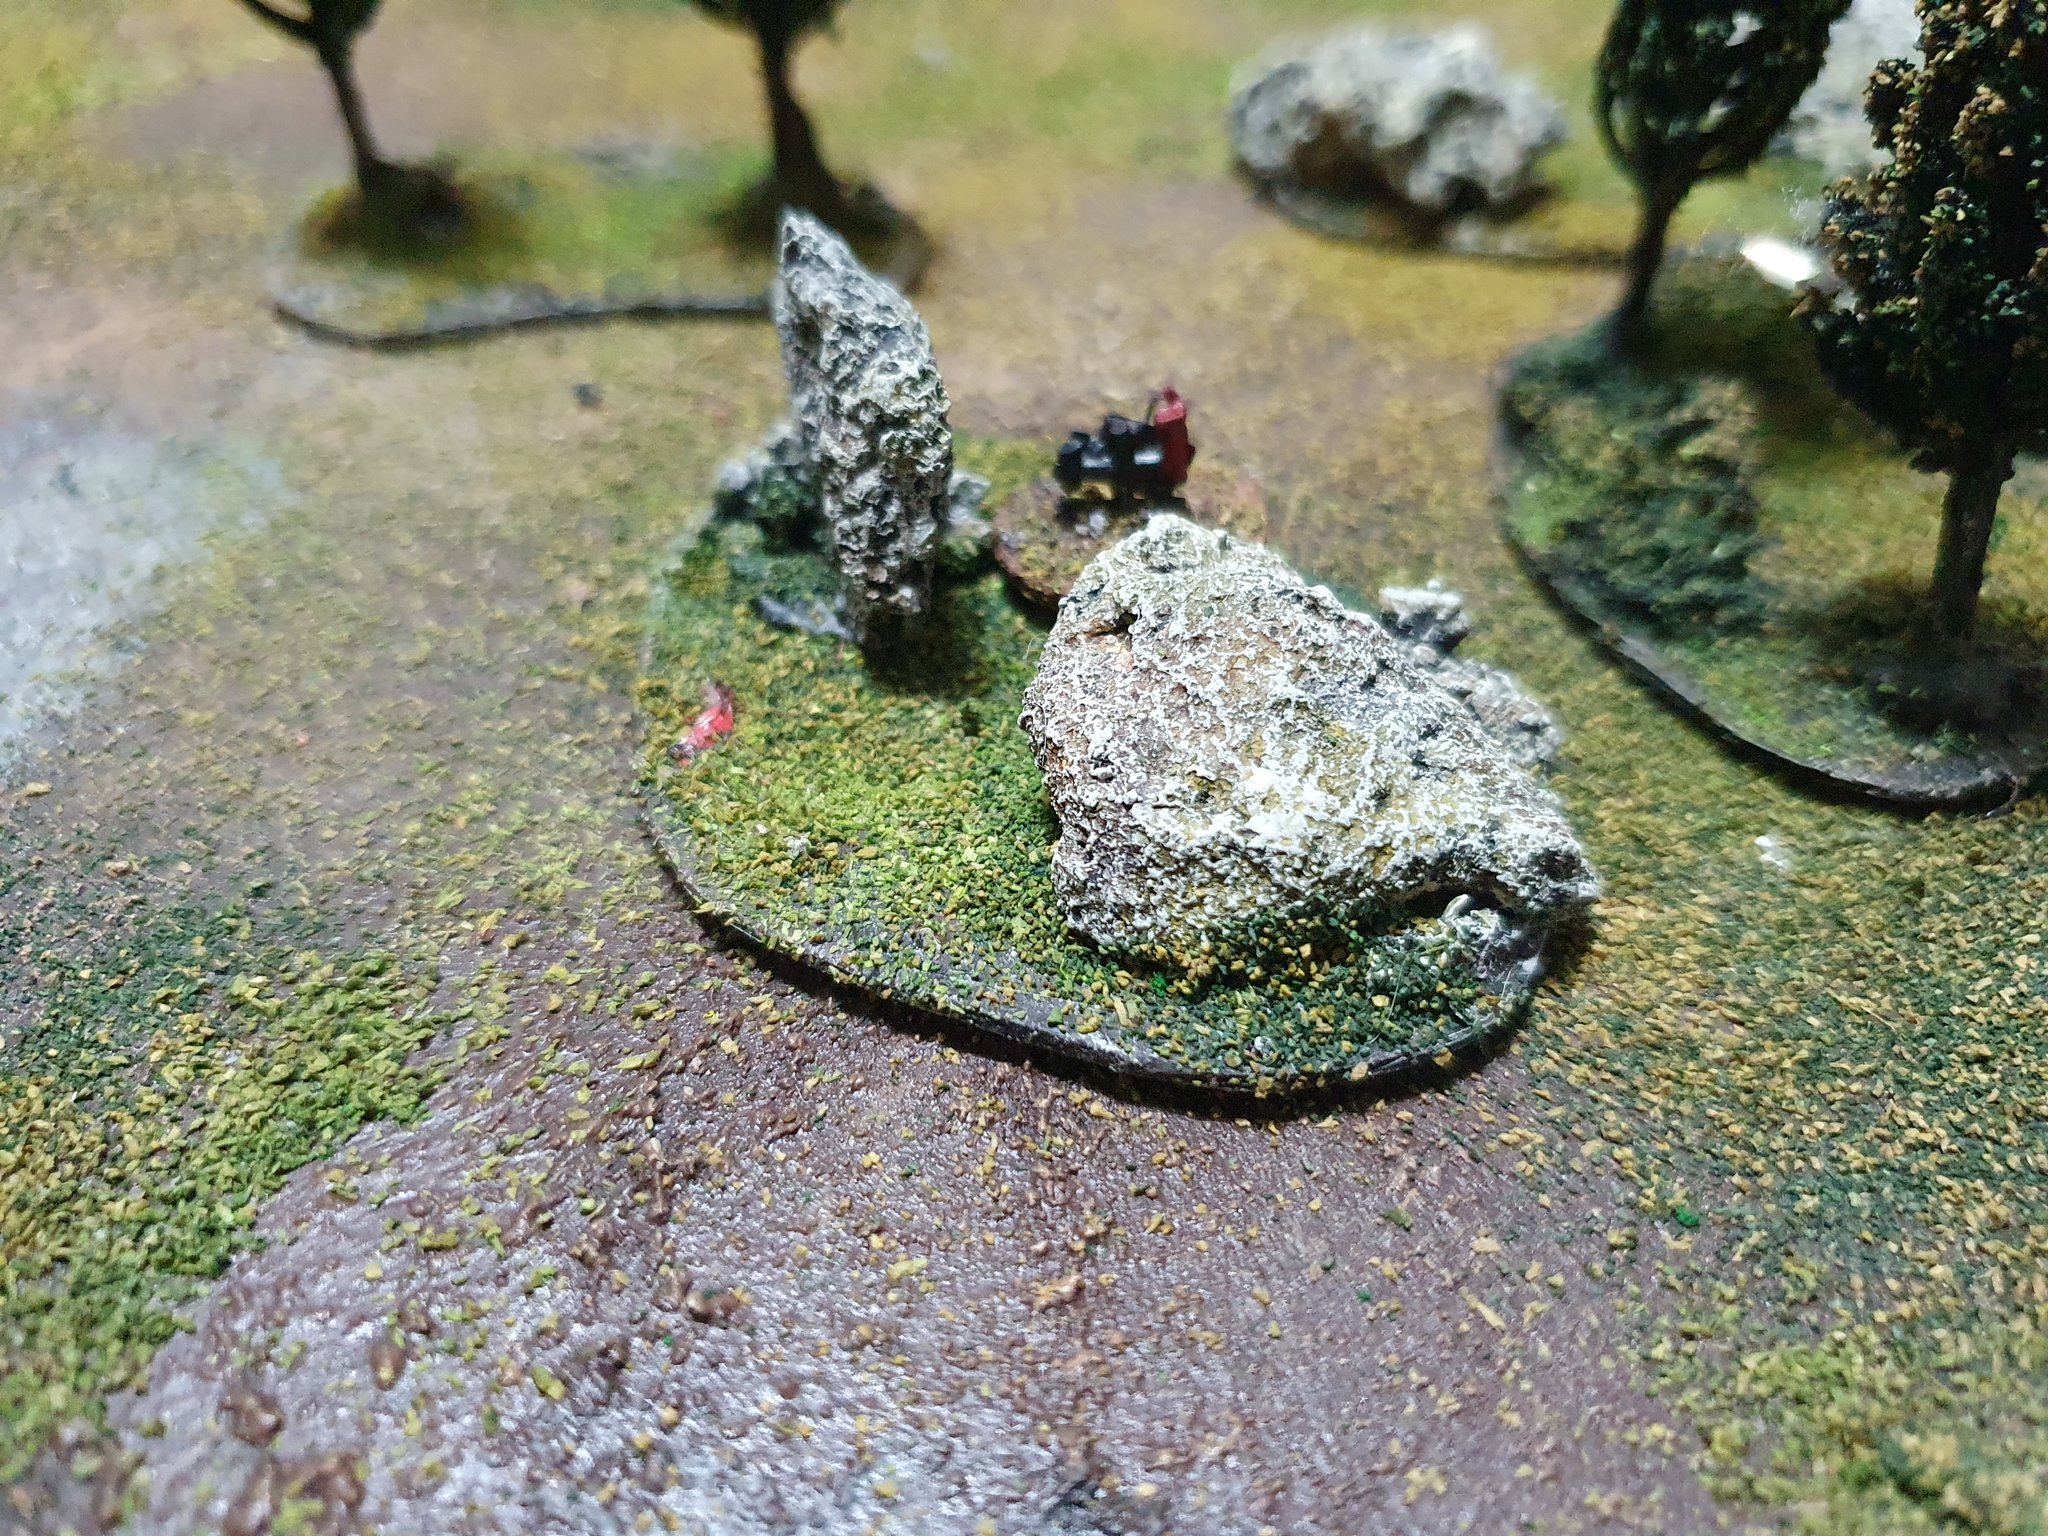
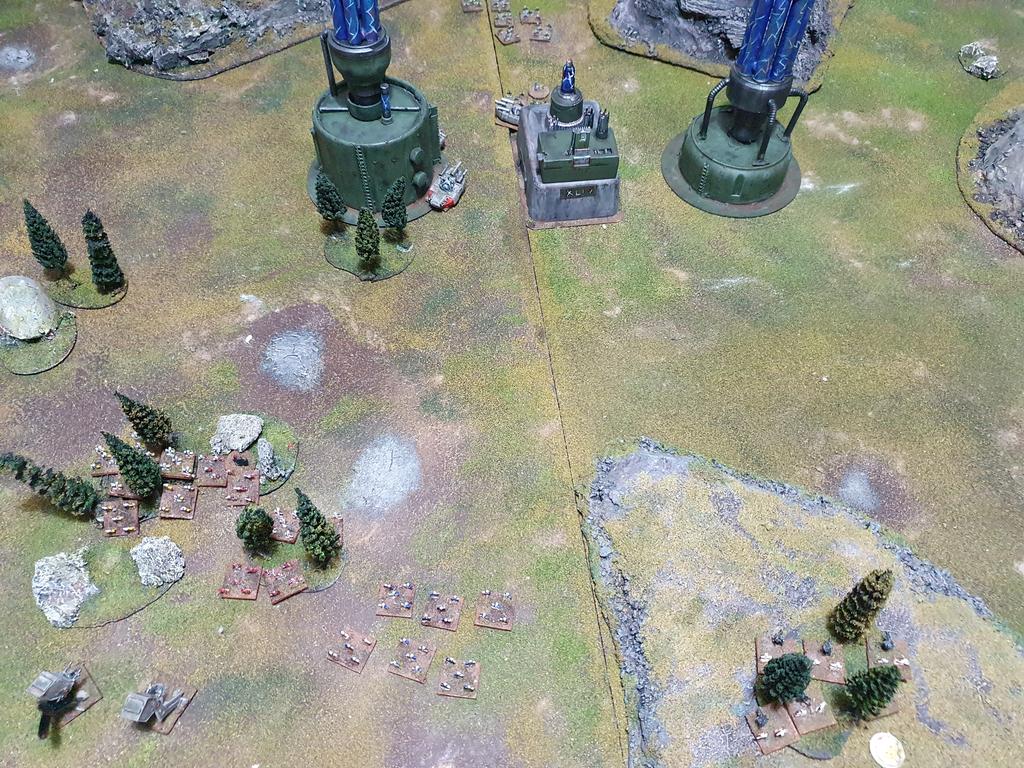
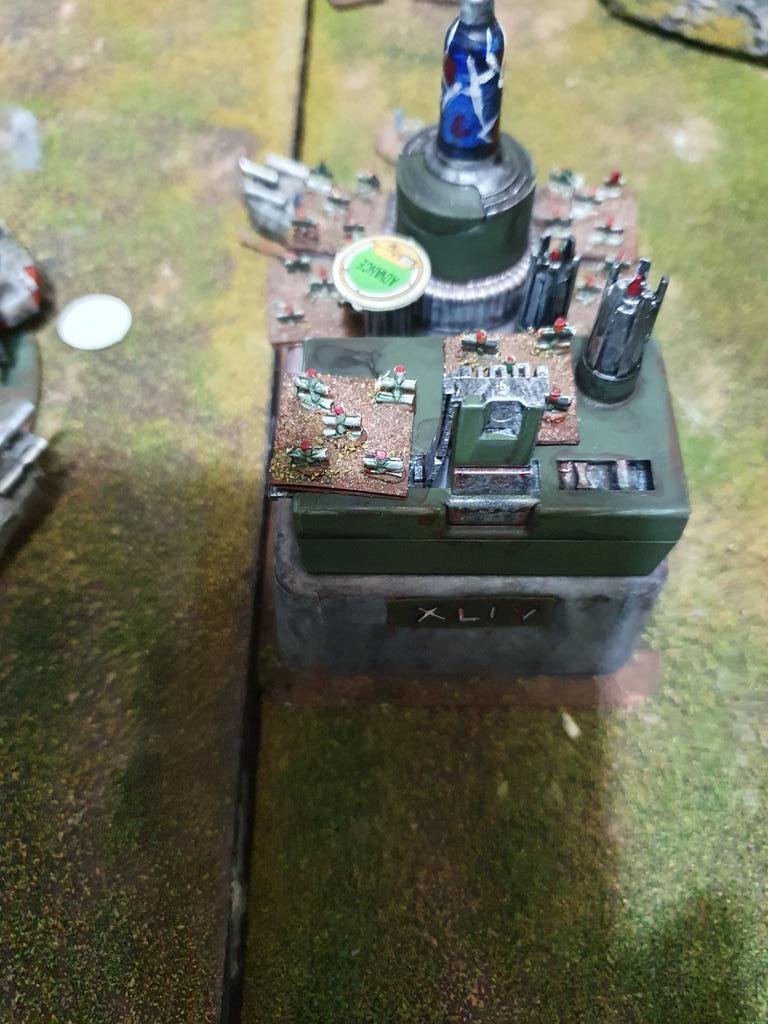
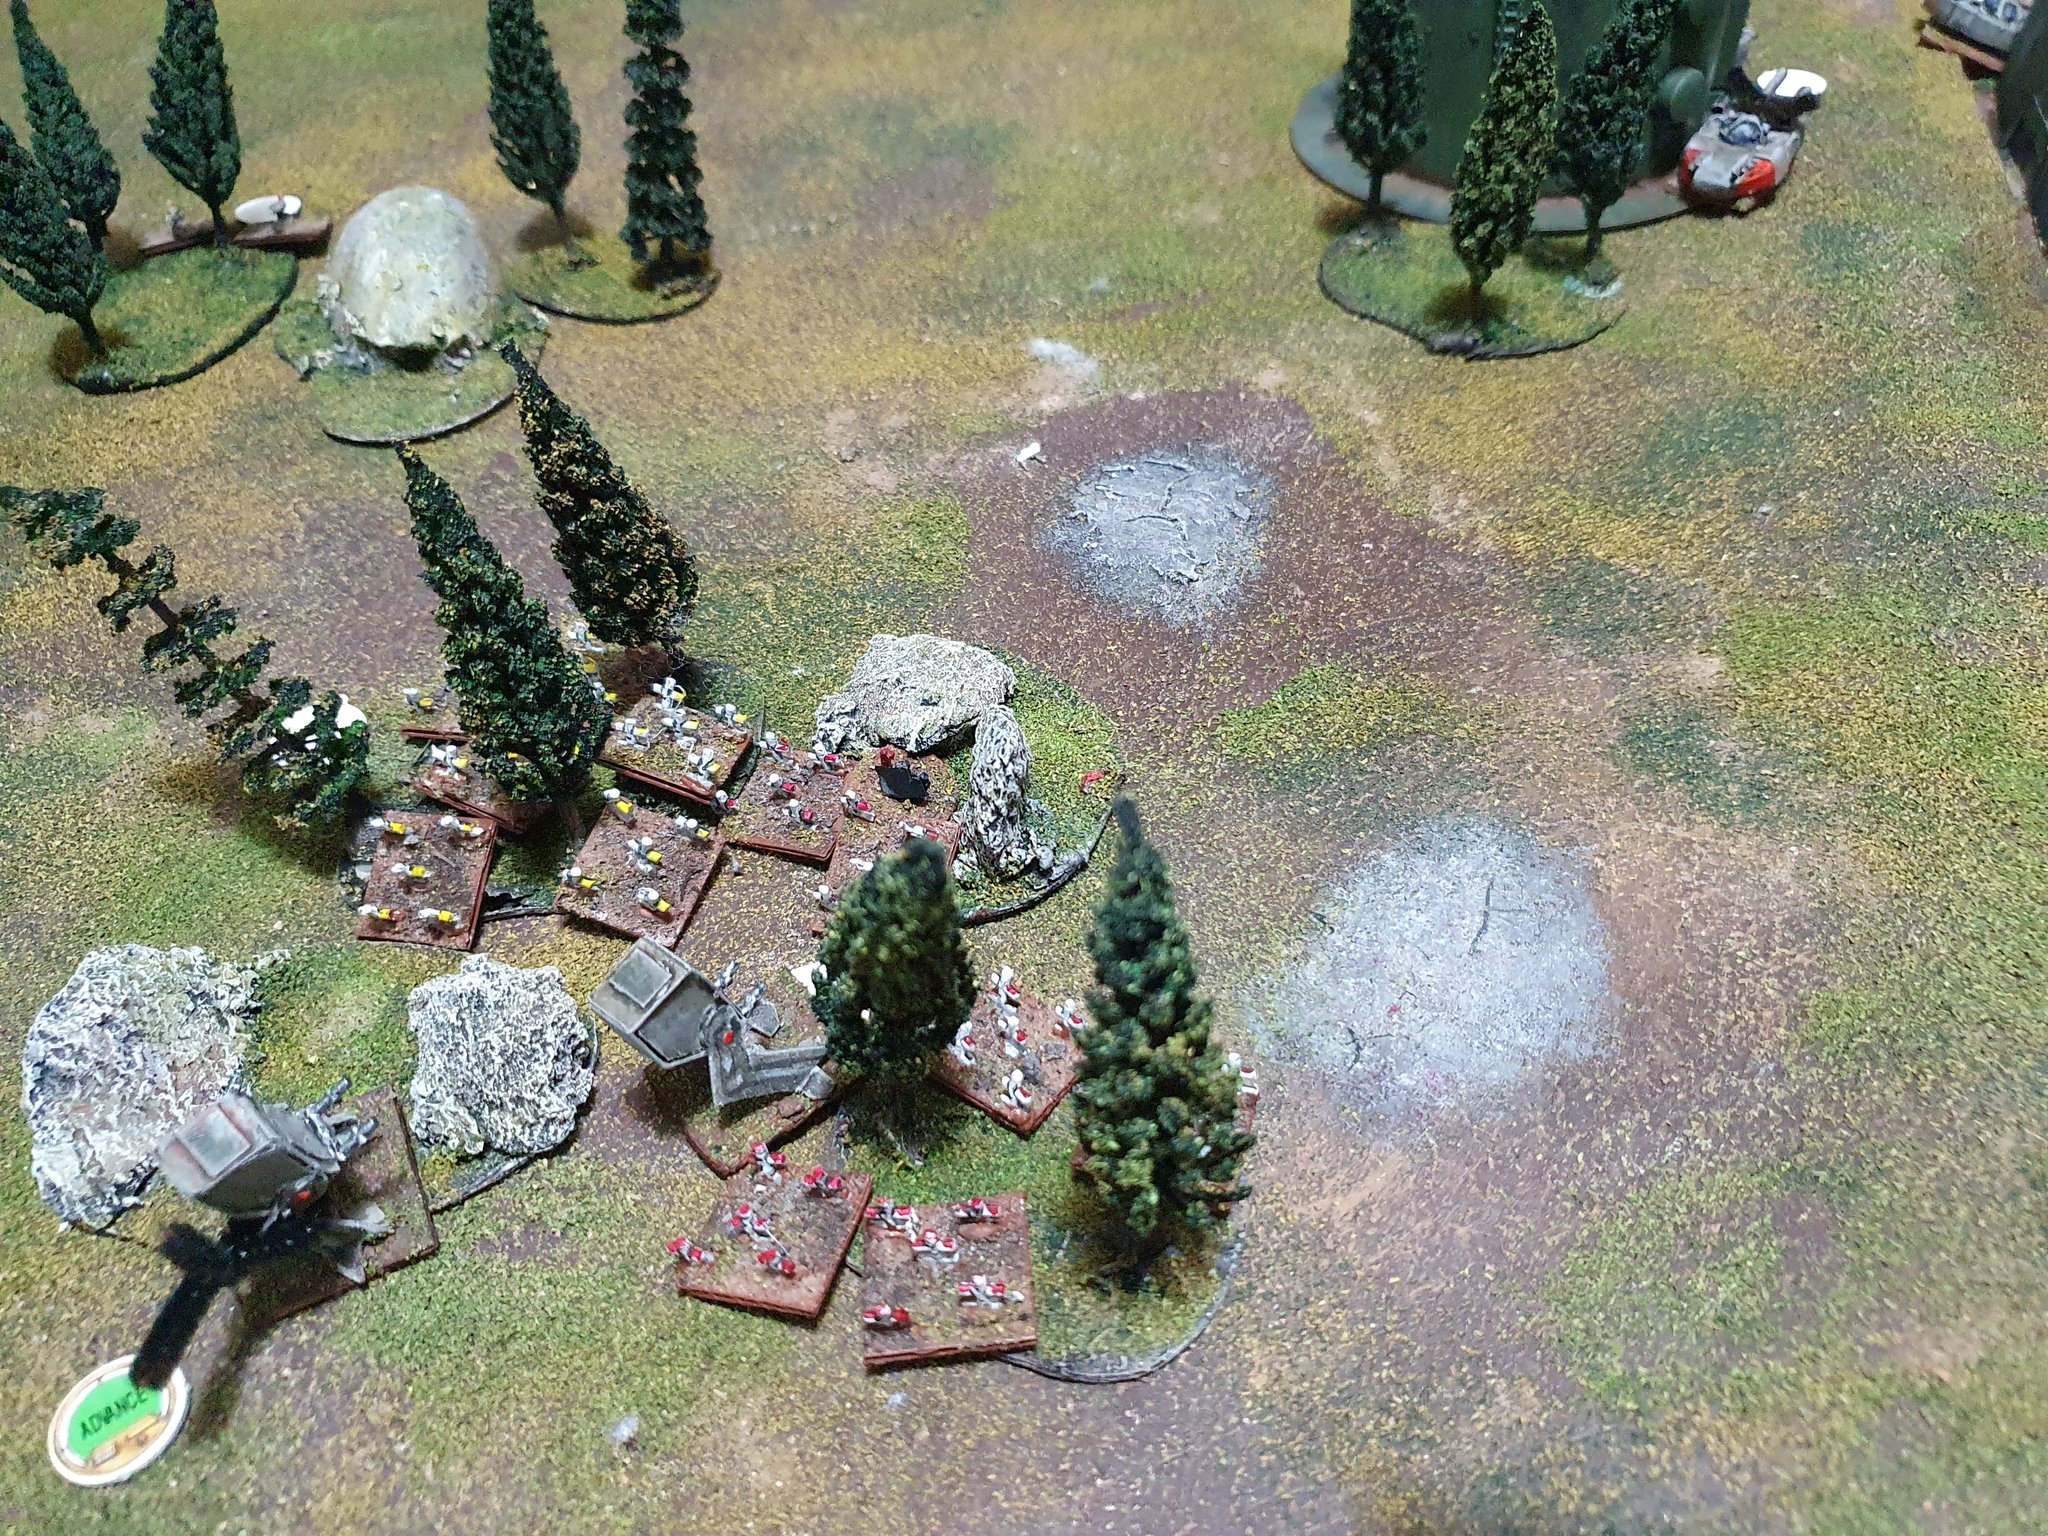
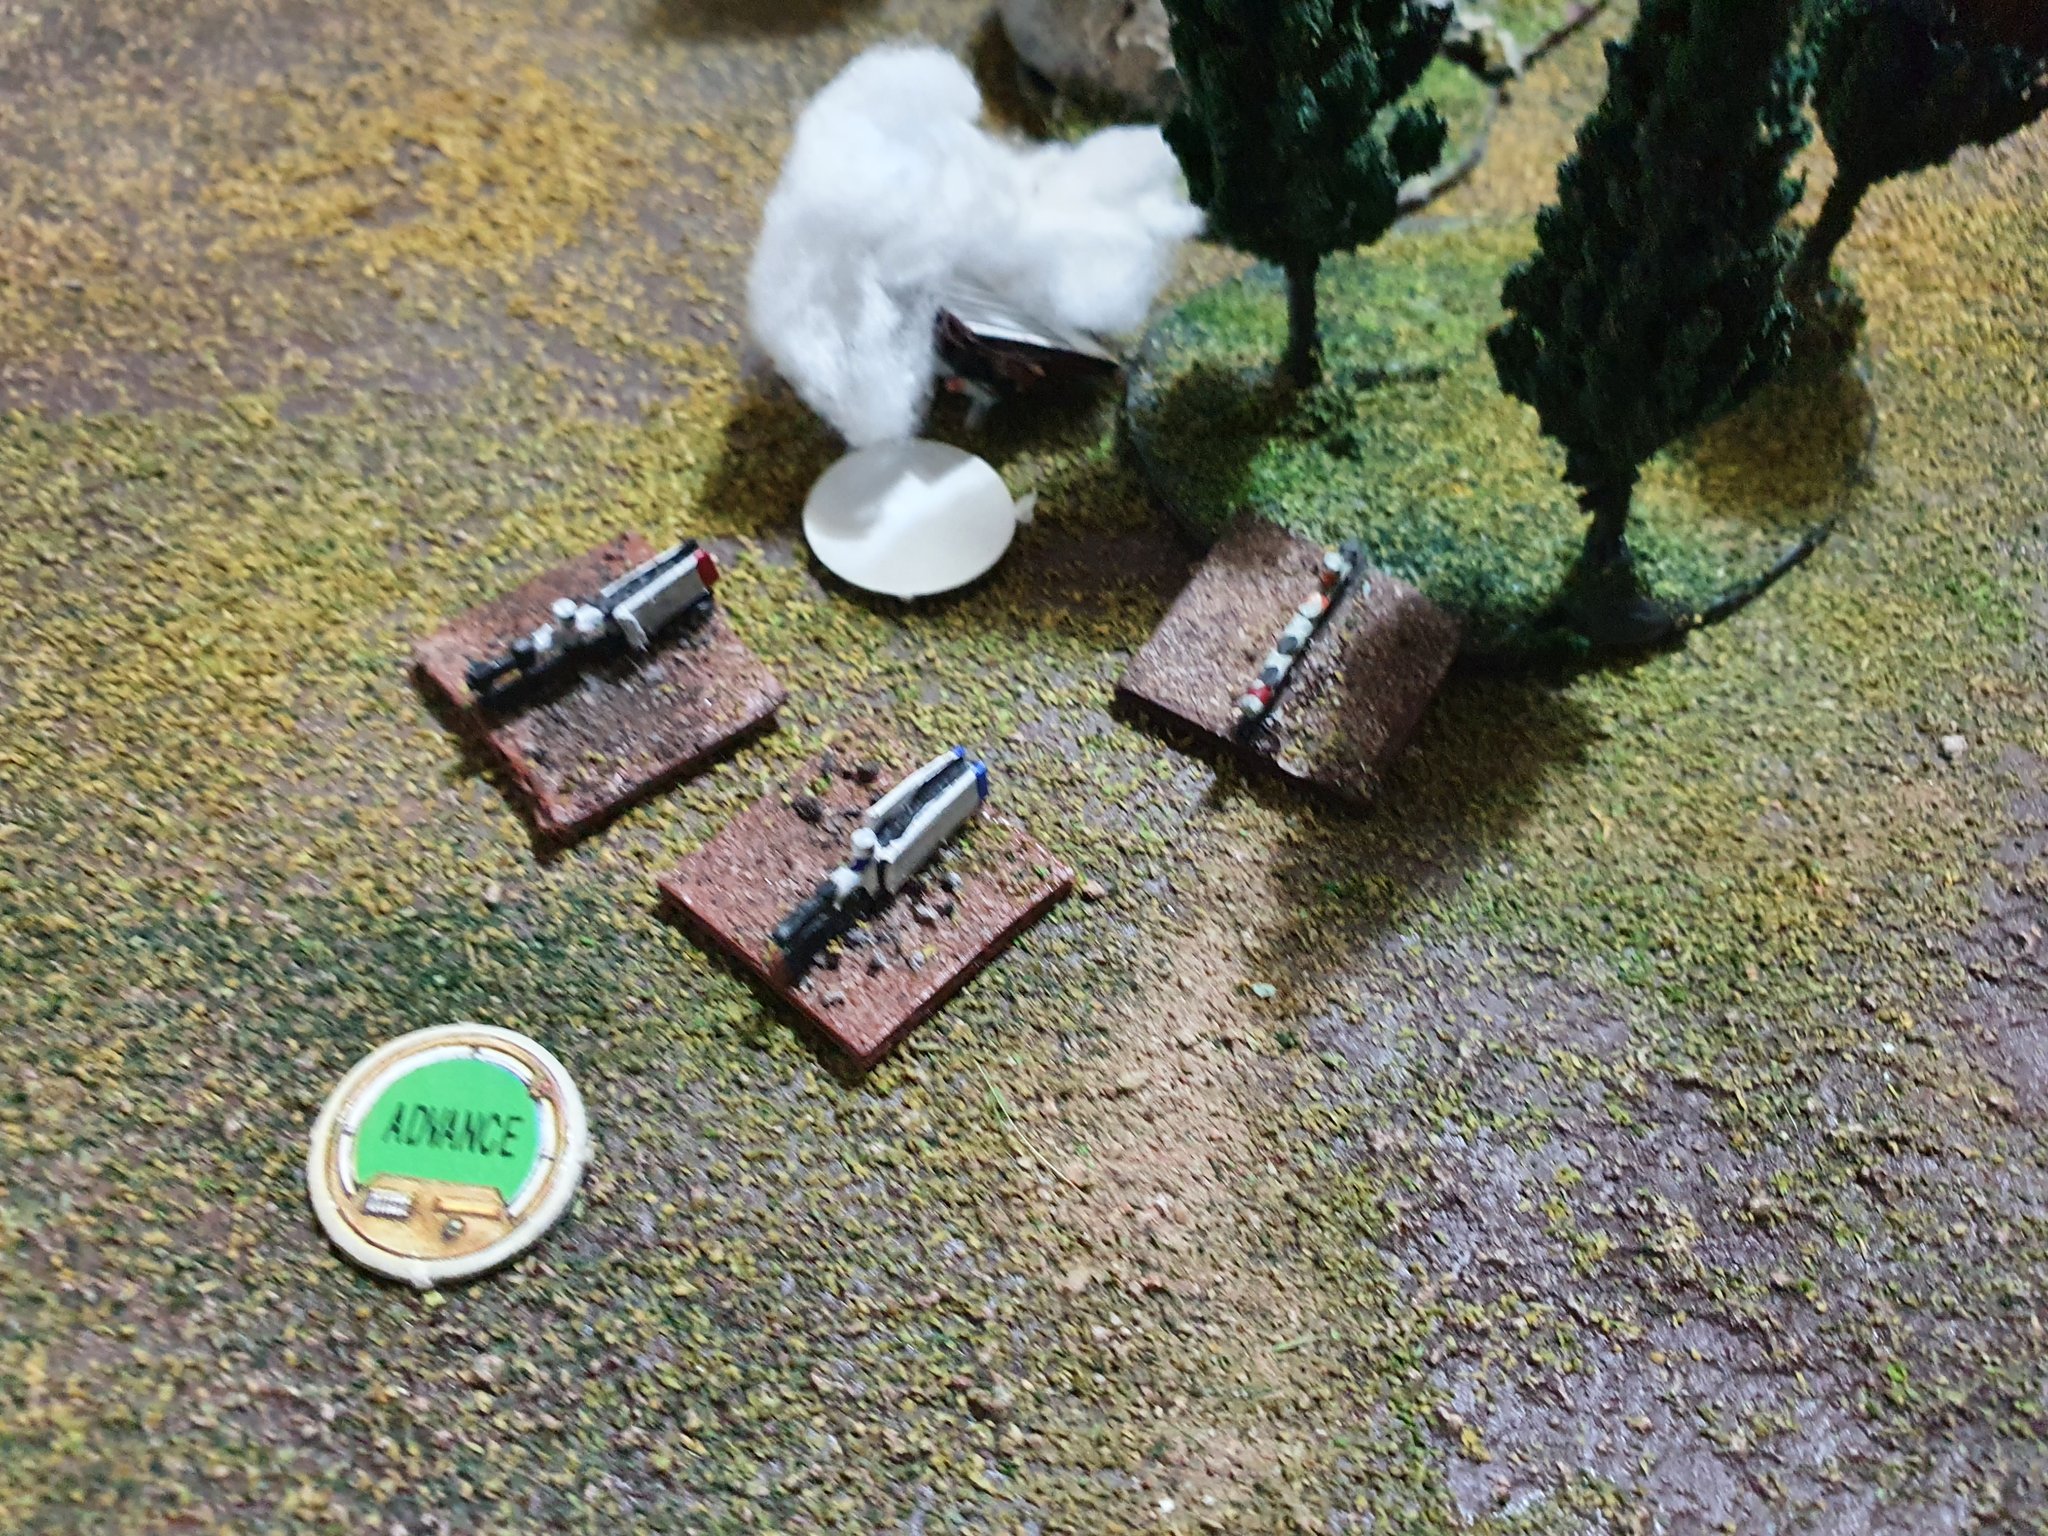
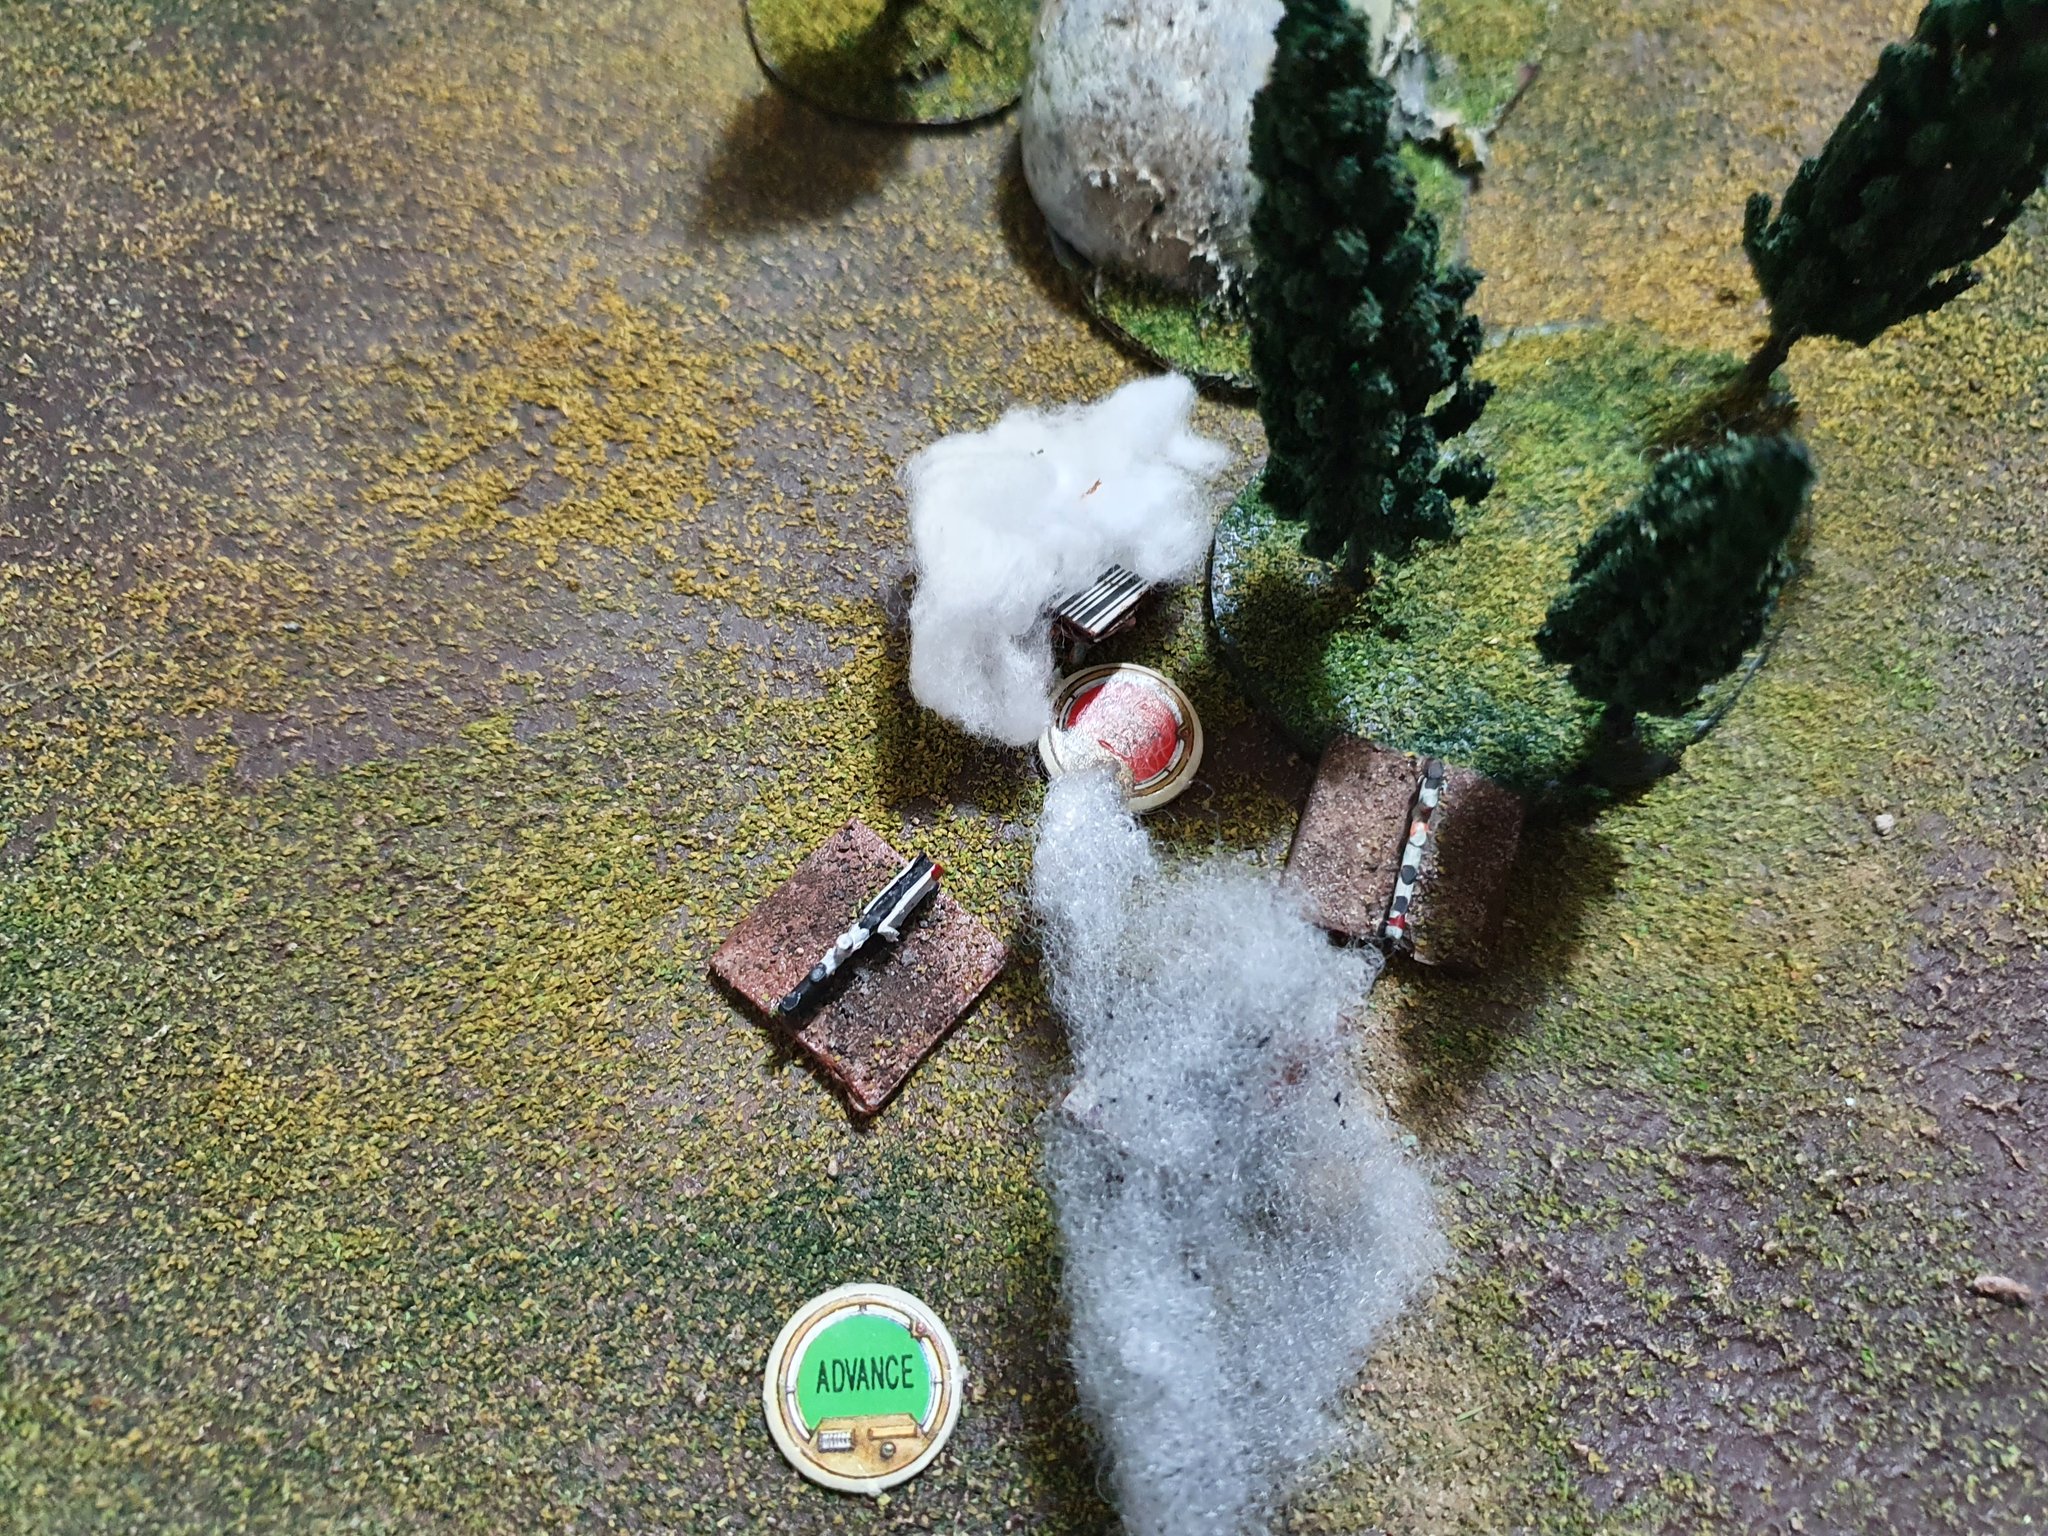
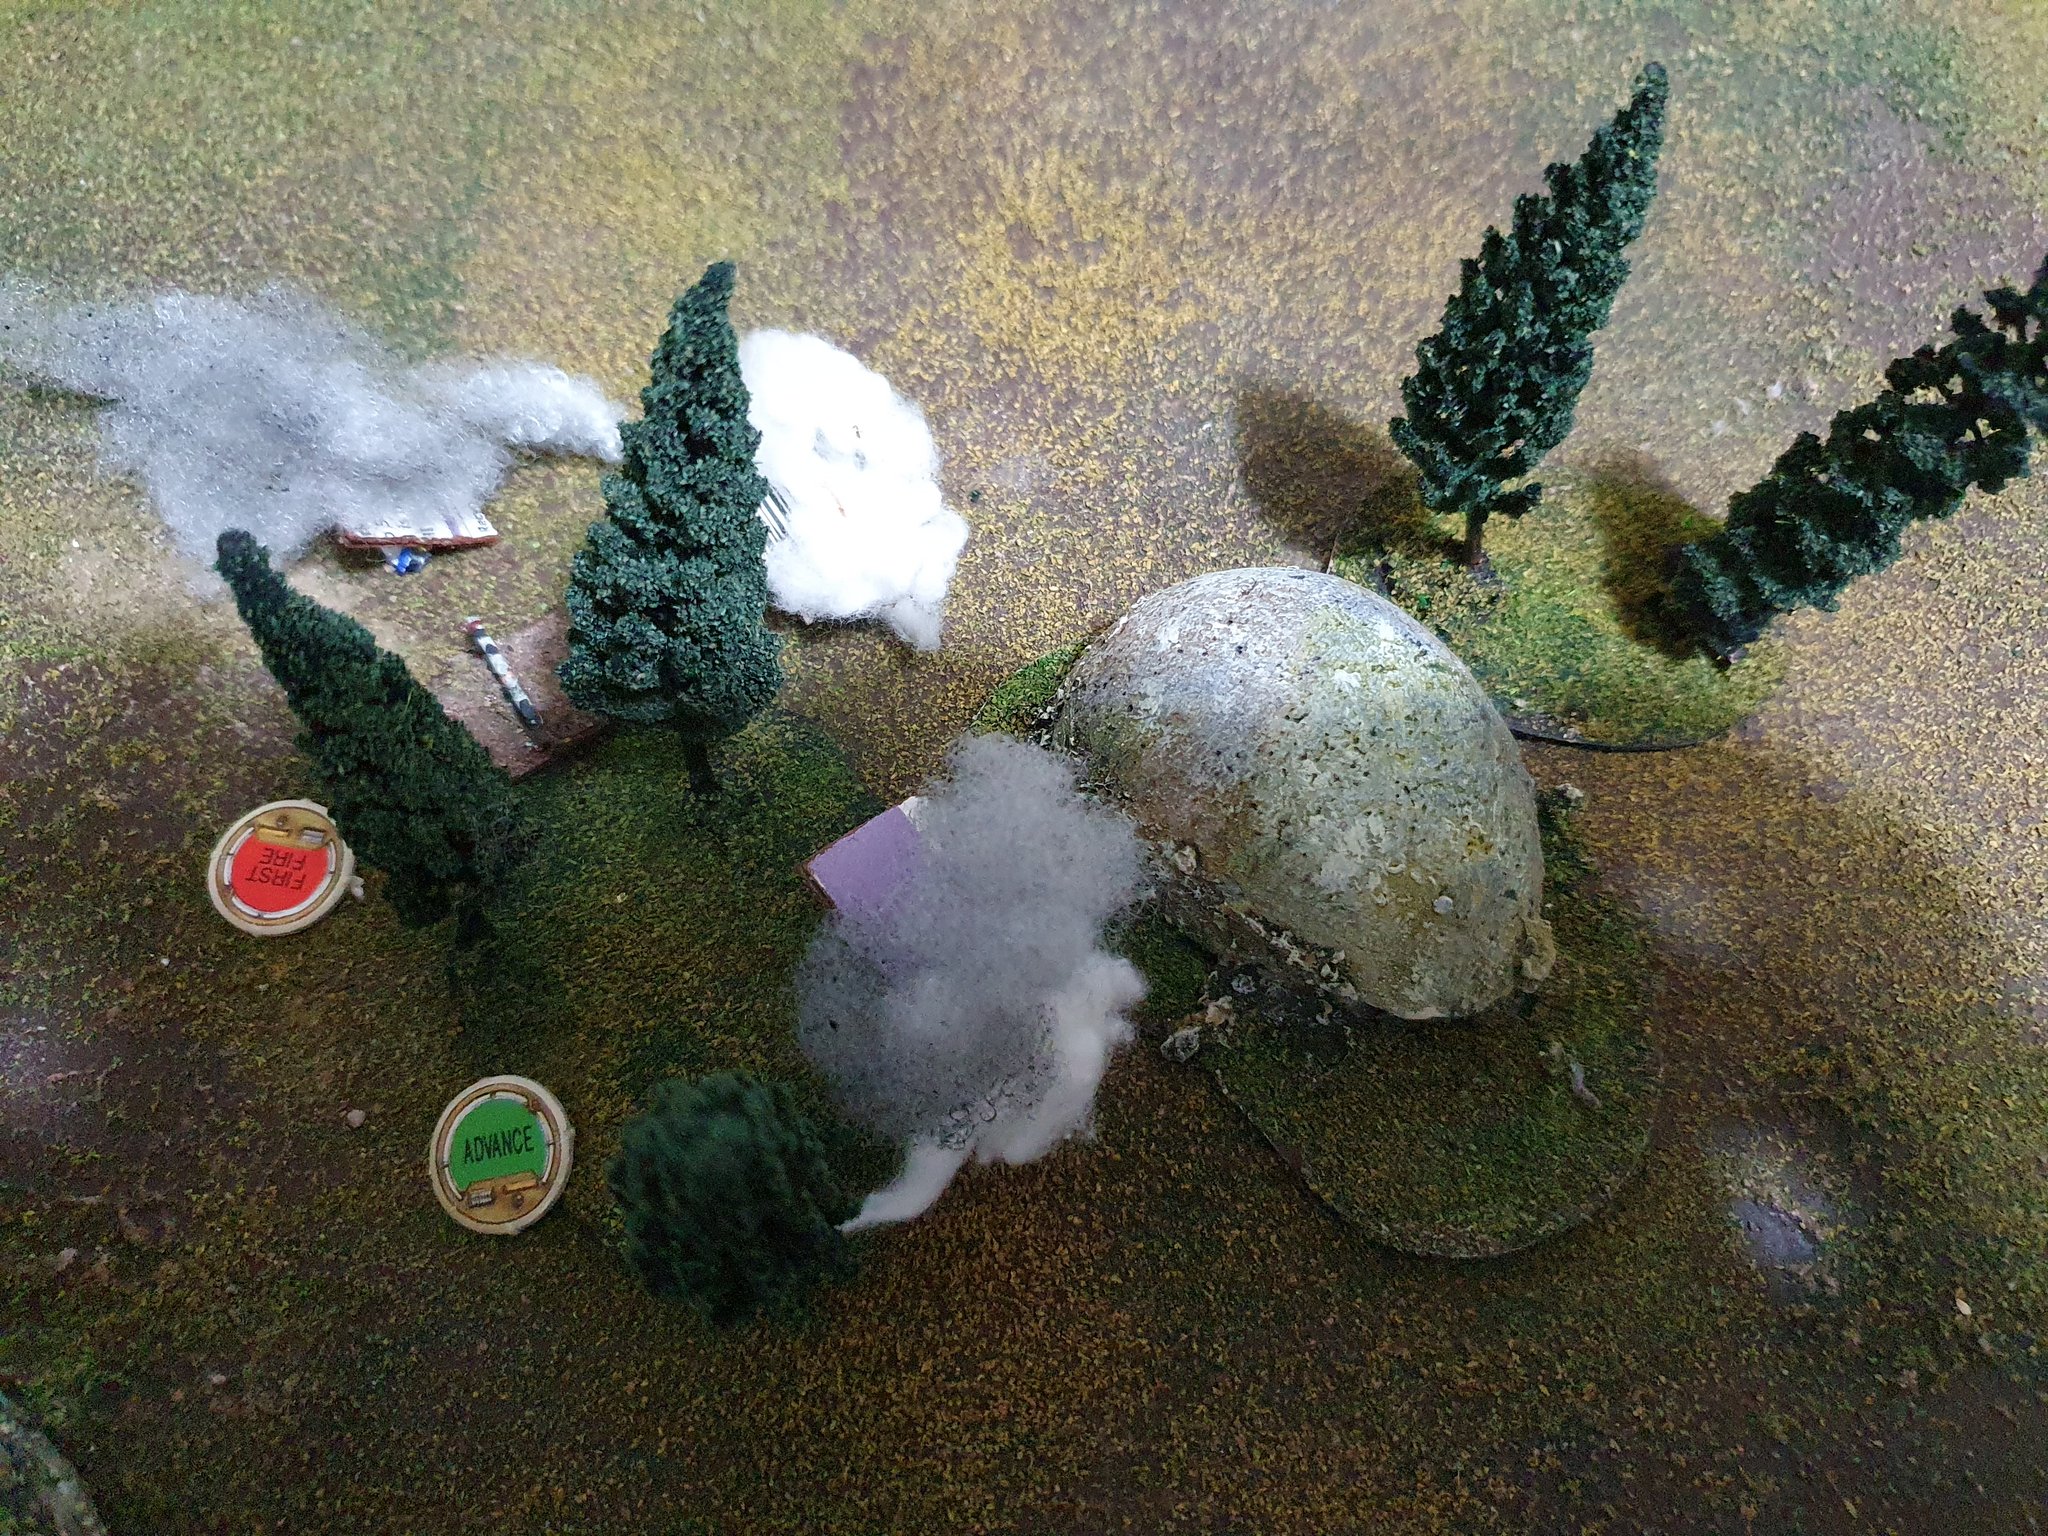
Lt. Carruthers’ Sky Marine platoon deploys to the left, with support from an Artificial, Gazhrag’s boyz to the right. The objective is the sacred stones in the middle of the ruined temple… wonder what the Orc Warlord might be wanting with all these stones? Sky Marines deploy forward with command section and mortar anchored on the low hill in the centreAnd there’s the OPFOR…The ladz barrel forwardNo. 3 Squad takes casualties from surprisingly effective Orc archeryNos. 1 & 2 squads hold the hill overlooking the temple, but it looks like they’re getting company soonBlack Orcs crash into the Sky Marines on the hill Sky Marines retreat in good order despite taking savage losses, but the Orc regiment following the Black Orcs catch them in the openSky Marines fight bravely, but 30 Orcs are 30 OrcsCommand section let fly with rifles and mortar, Jim running down all his Command Points to hammer these ladz before they massacre his troops up close and personal. The “1” you can see is the regiment failing it’s morale check – being within 12cm of unsuppressed enemy troops they are captured (or cut down by quickfire .303 rounds and bayonets)Next turn Jim won the initiative and turned the attention of the command section onto the Black Orcs – concentrated casualties in the regiment’s rear quickly caused them to become suppressed and surrender too!However, the command section can’t face two ways at once and the second prong of the Orc attack strikesTwo survivors are all that’s left of No. 3 squad!Surviving Sky Marines consolidate on the low hill for a last stand
But to no avail, as the Orcs crash into them from both sides!
“Those creatures are tremendous in stature!”“Wait until you see the reds of their eyes, lads”
And so Gazhrag The Bloody scored another victory, albeit having lost half his archers, his elite Black Orcs and a regiment of regular Orcs in the process… and we ironed out a few more kinks in the Hyperian Wars ruleset, hopefully bringing the publication date to three days before the heat death of the universe.
Stay thrifty out there – Jim’s got something he’s really excited to tell you all about… 😉
As the Grim Darkness of the.. present day.. grinds on, we fancied taking our wargaming as far away from reality as possible- the other week it was Hyperian Wars (which gave us a load of ideas for game development), this time it was our 6mm “Epic” scale take on our rules engine in it’s sci-fi skin “Future Force Warrior”…
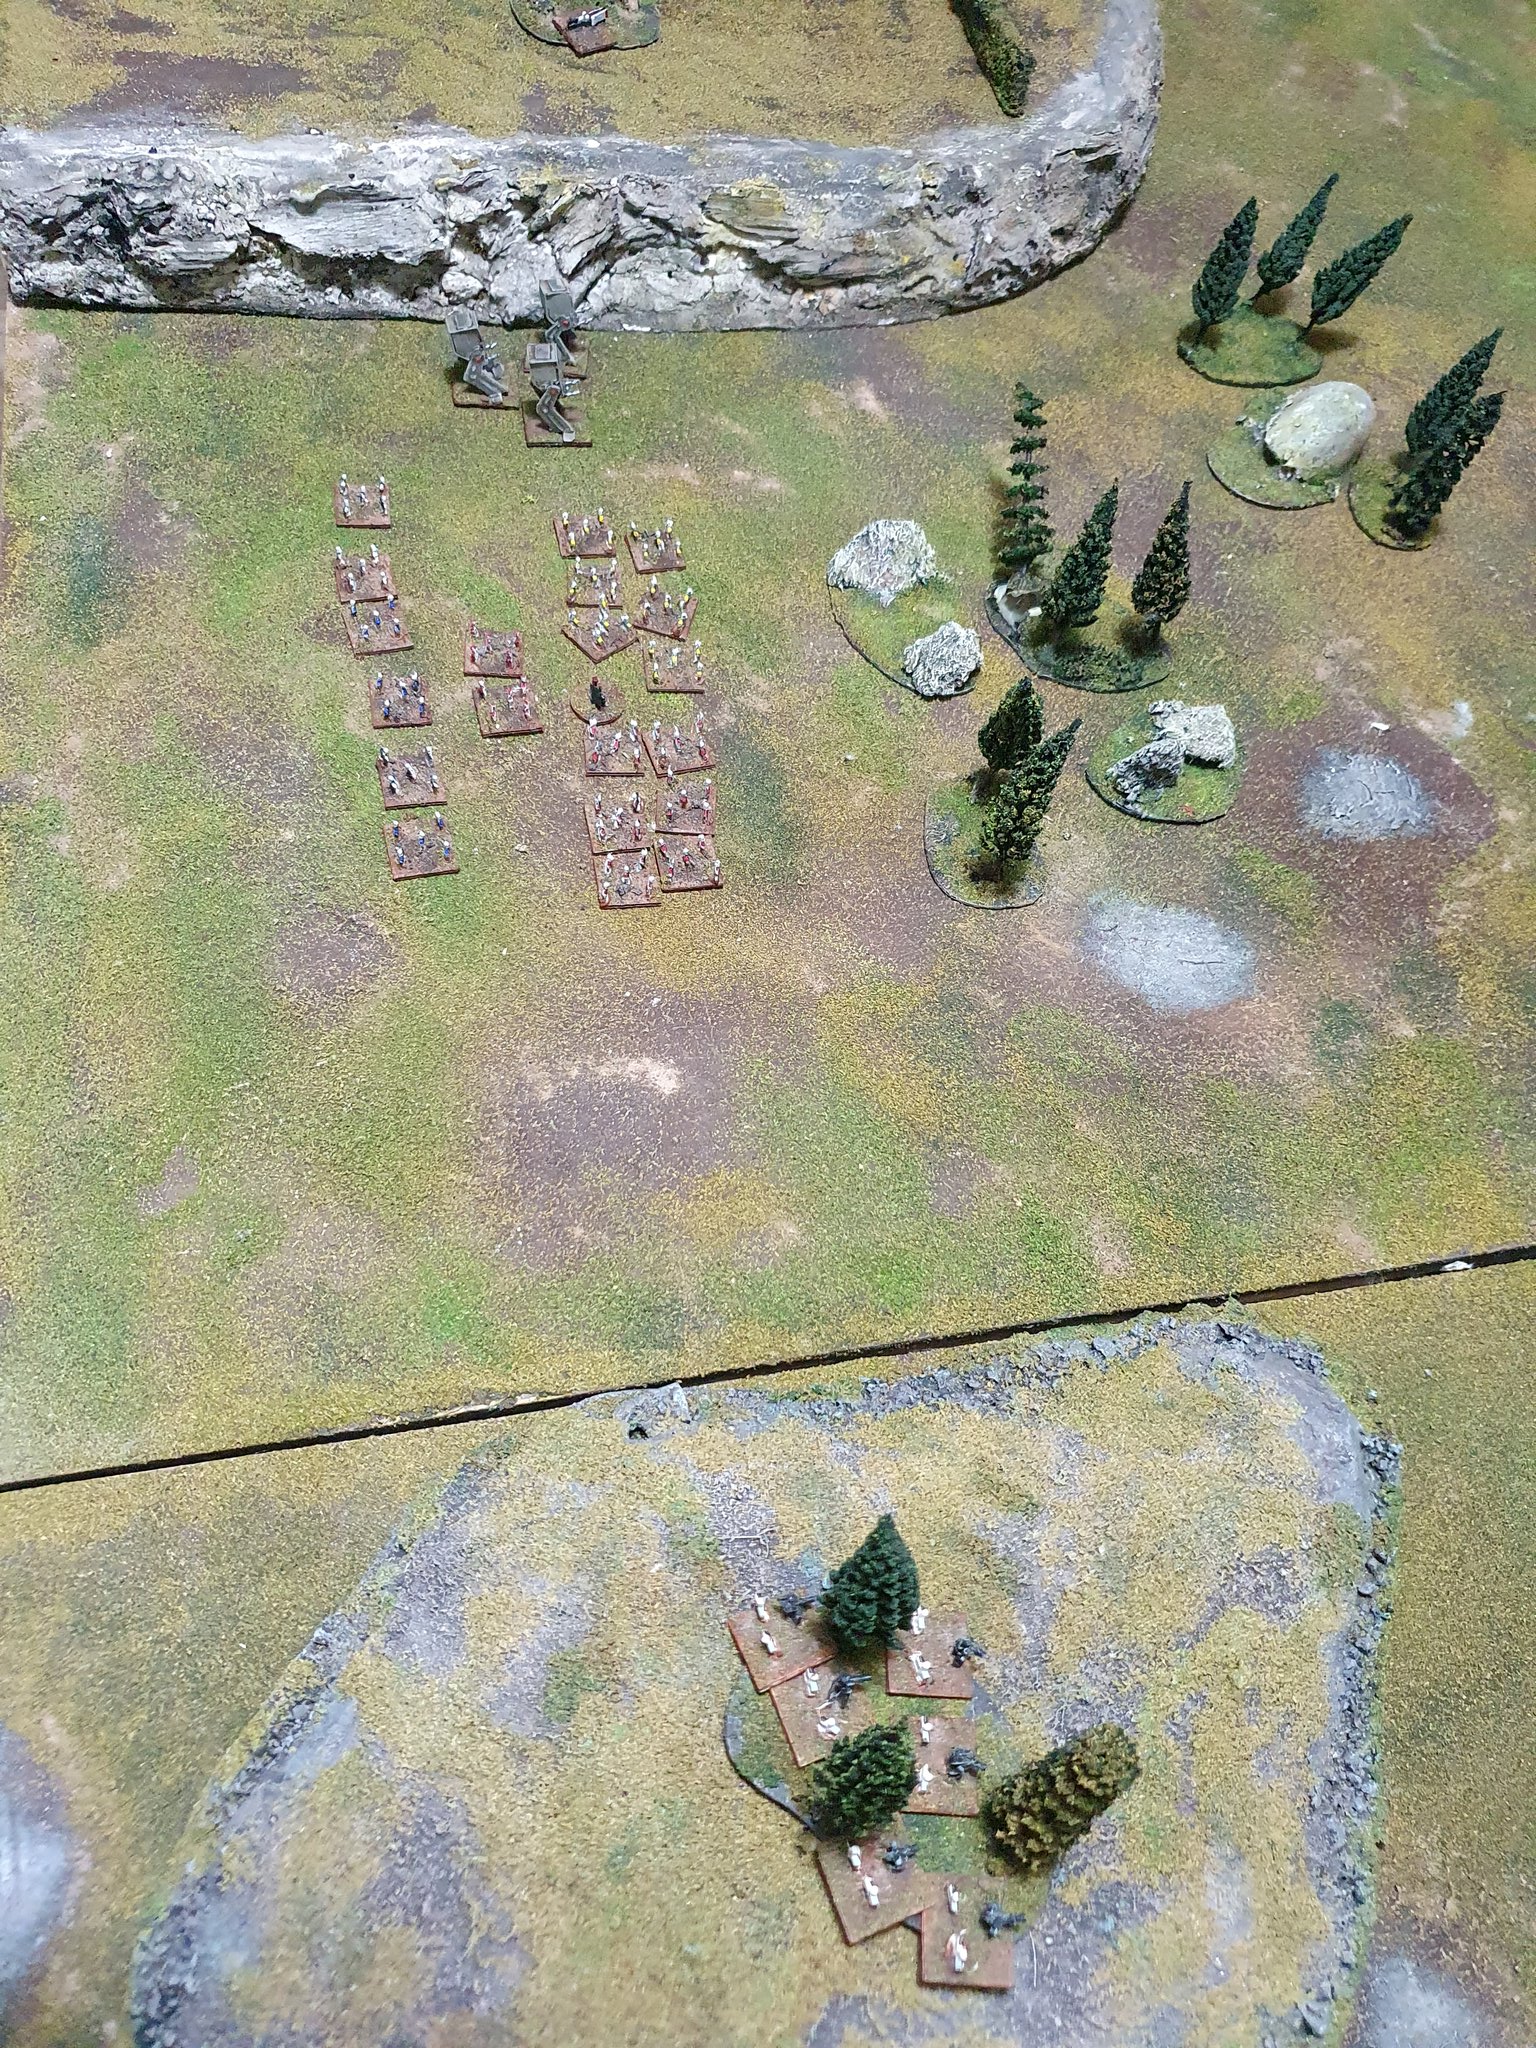
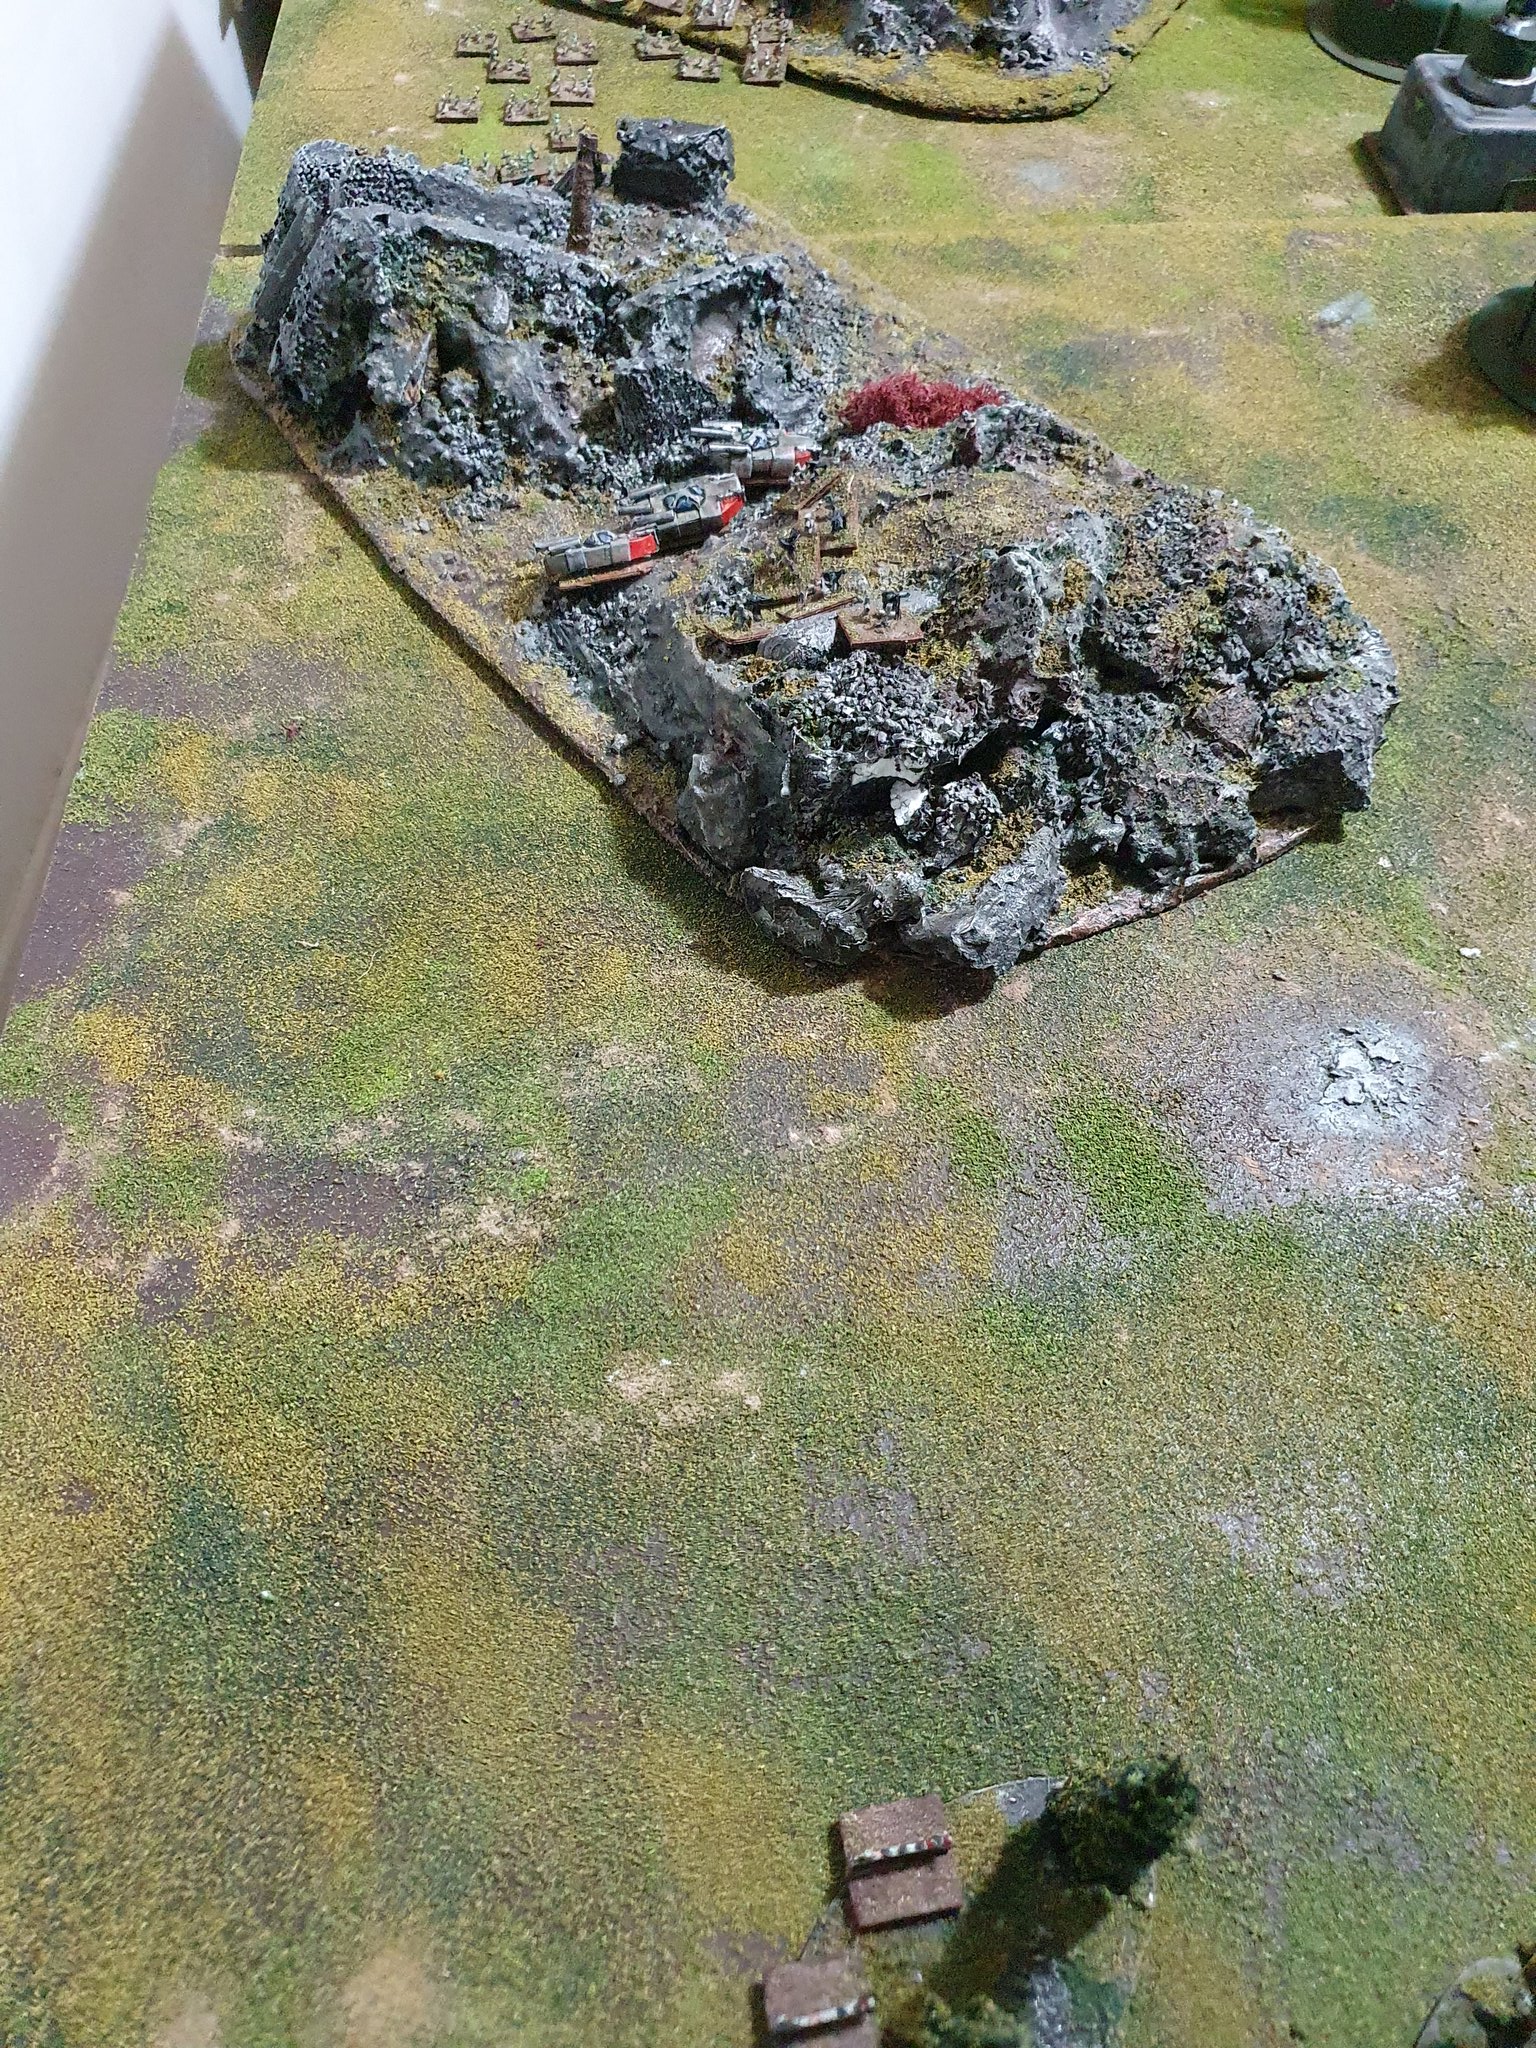
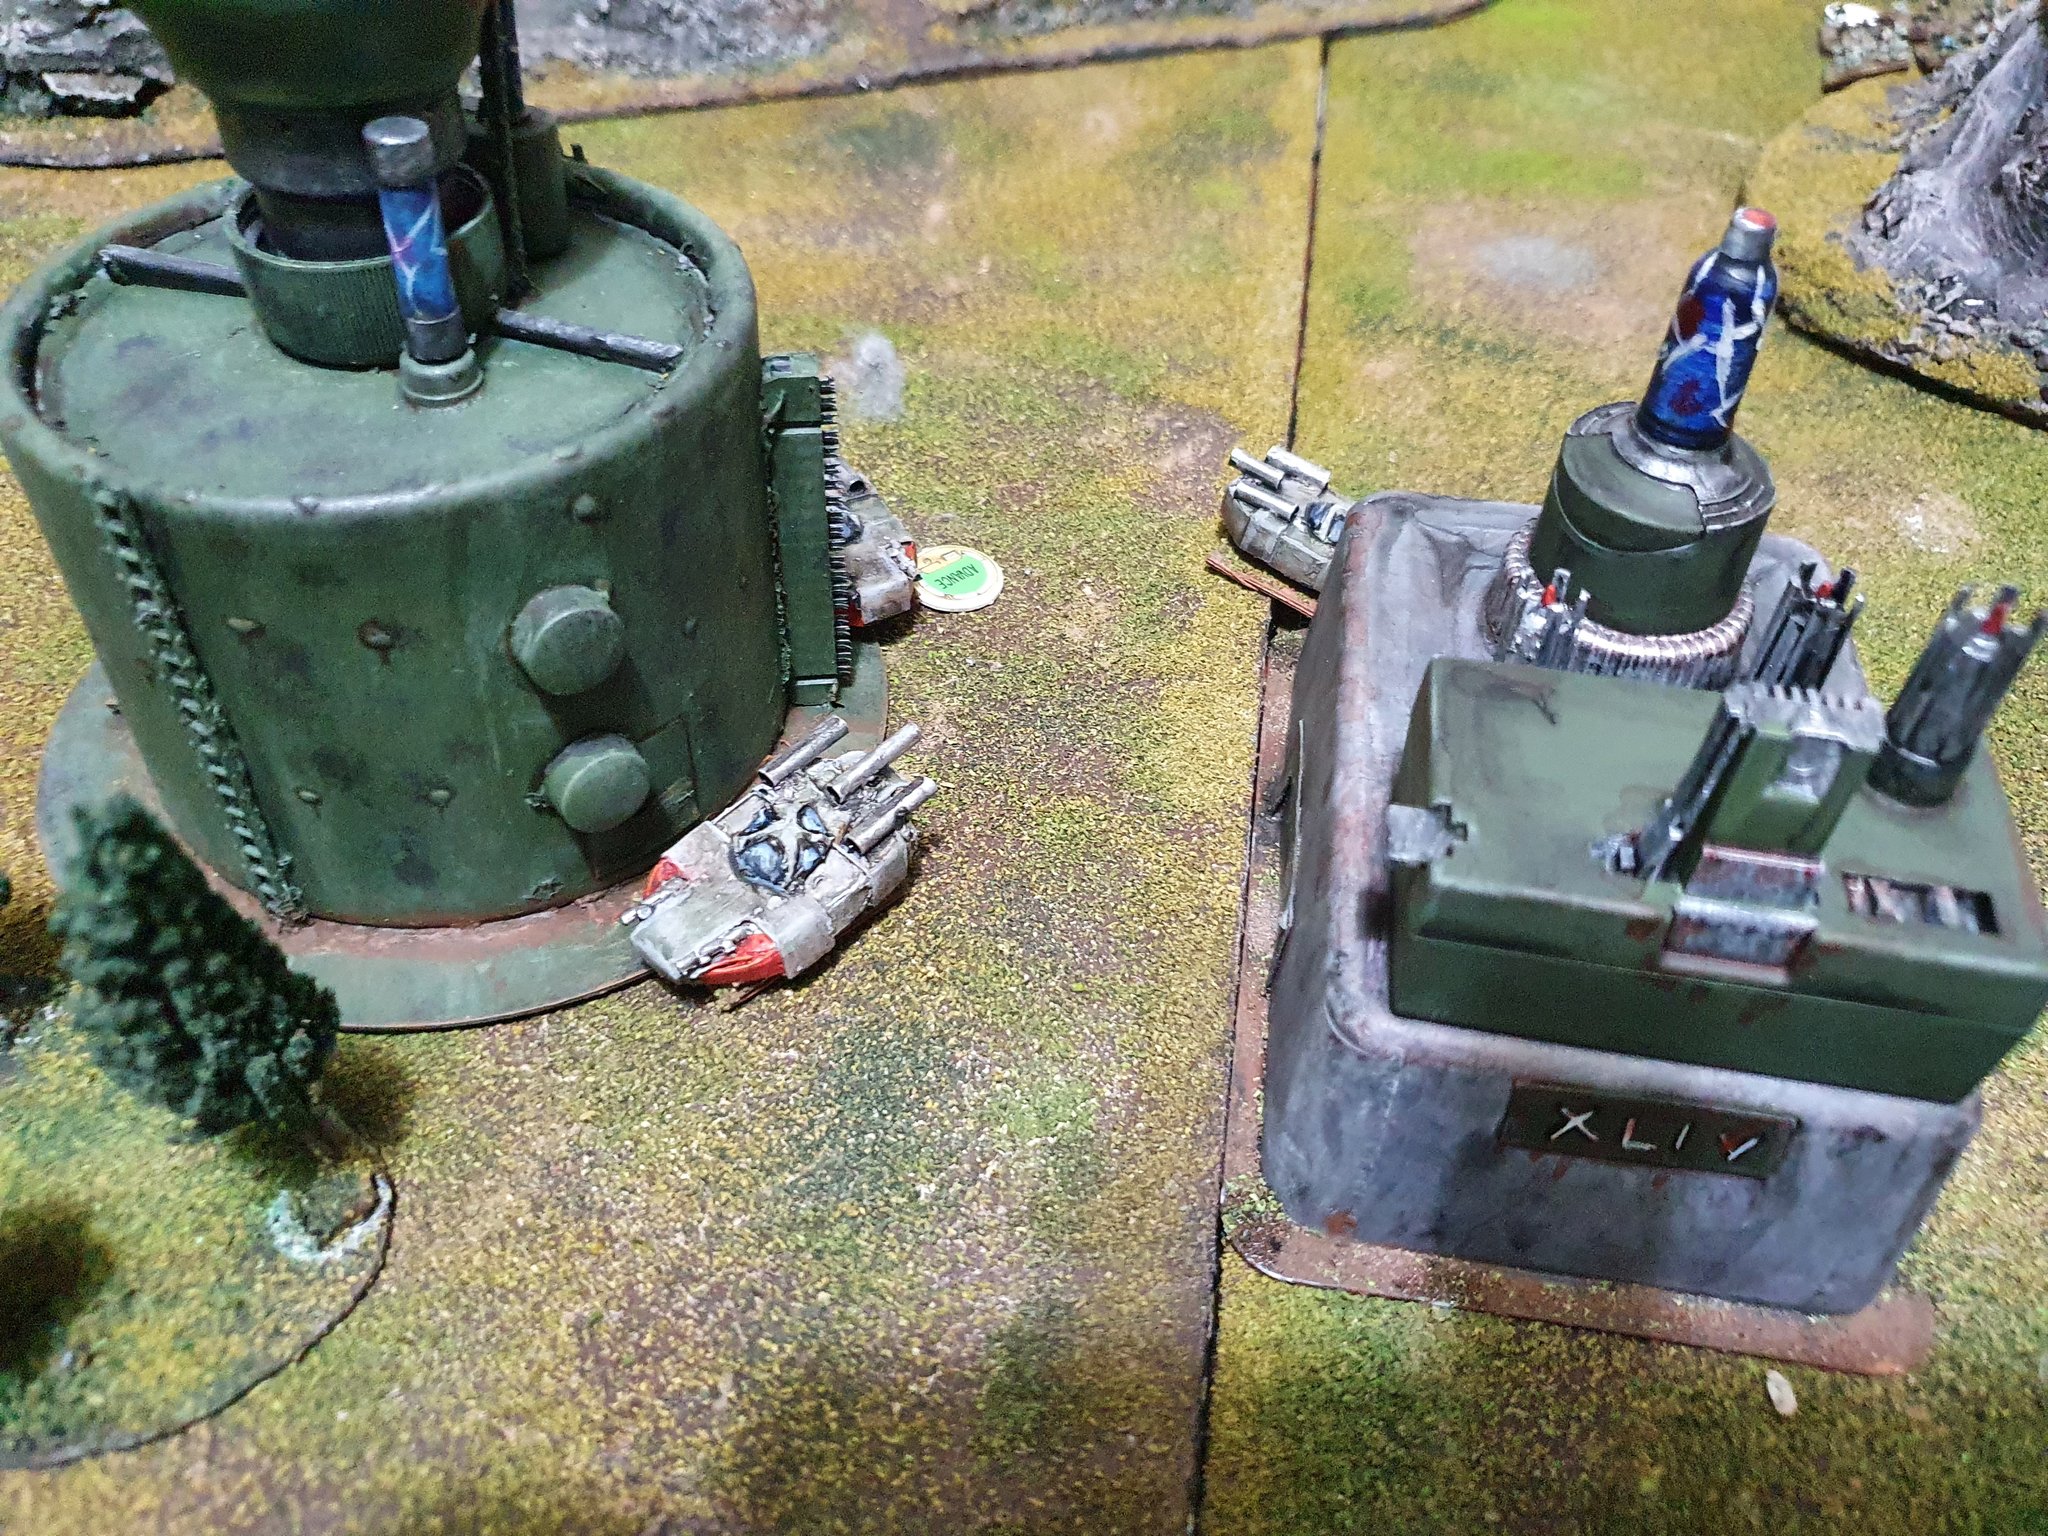
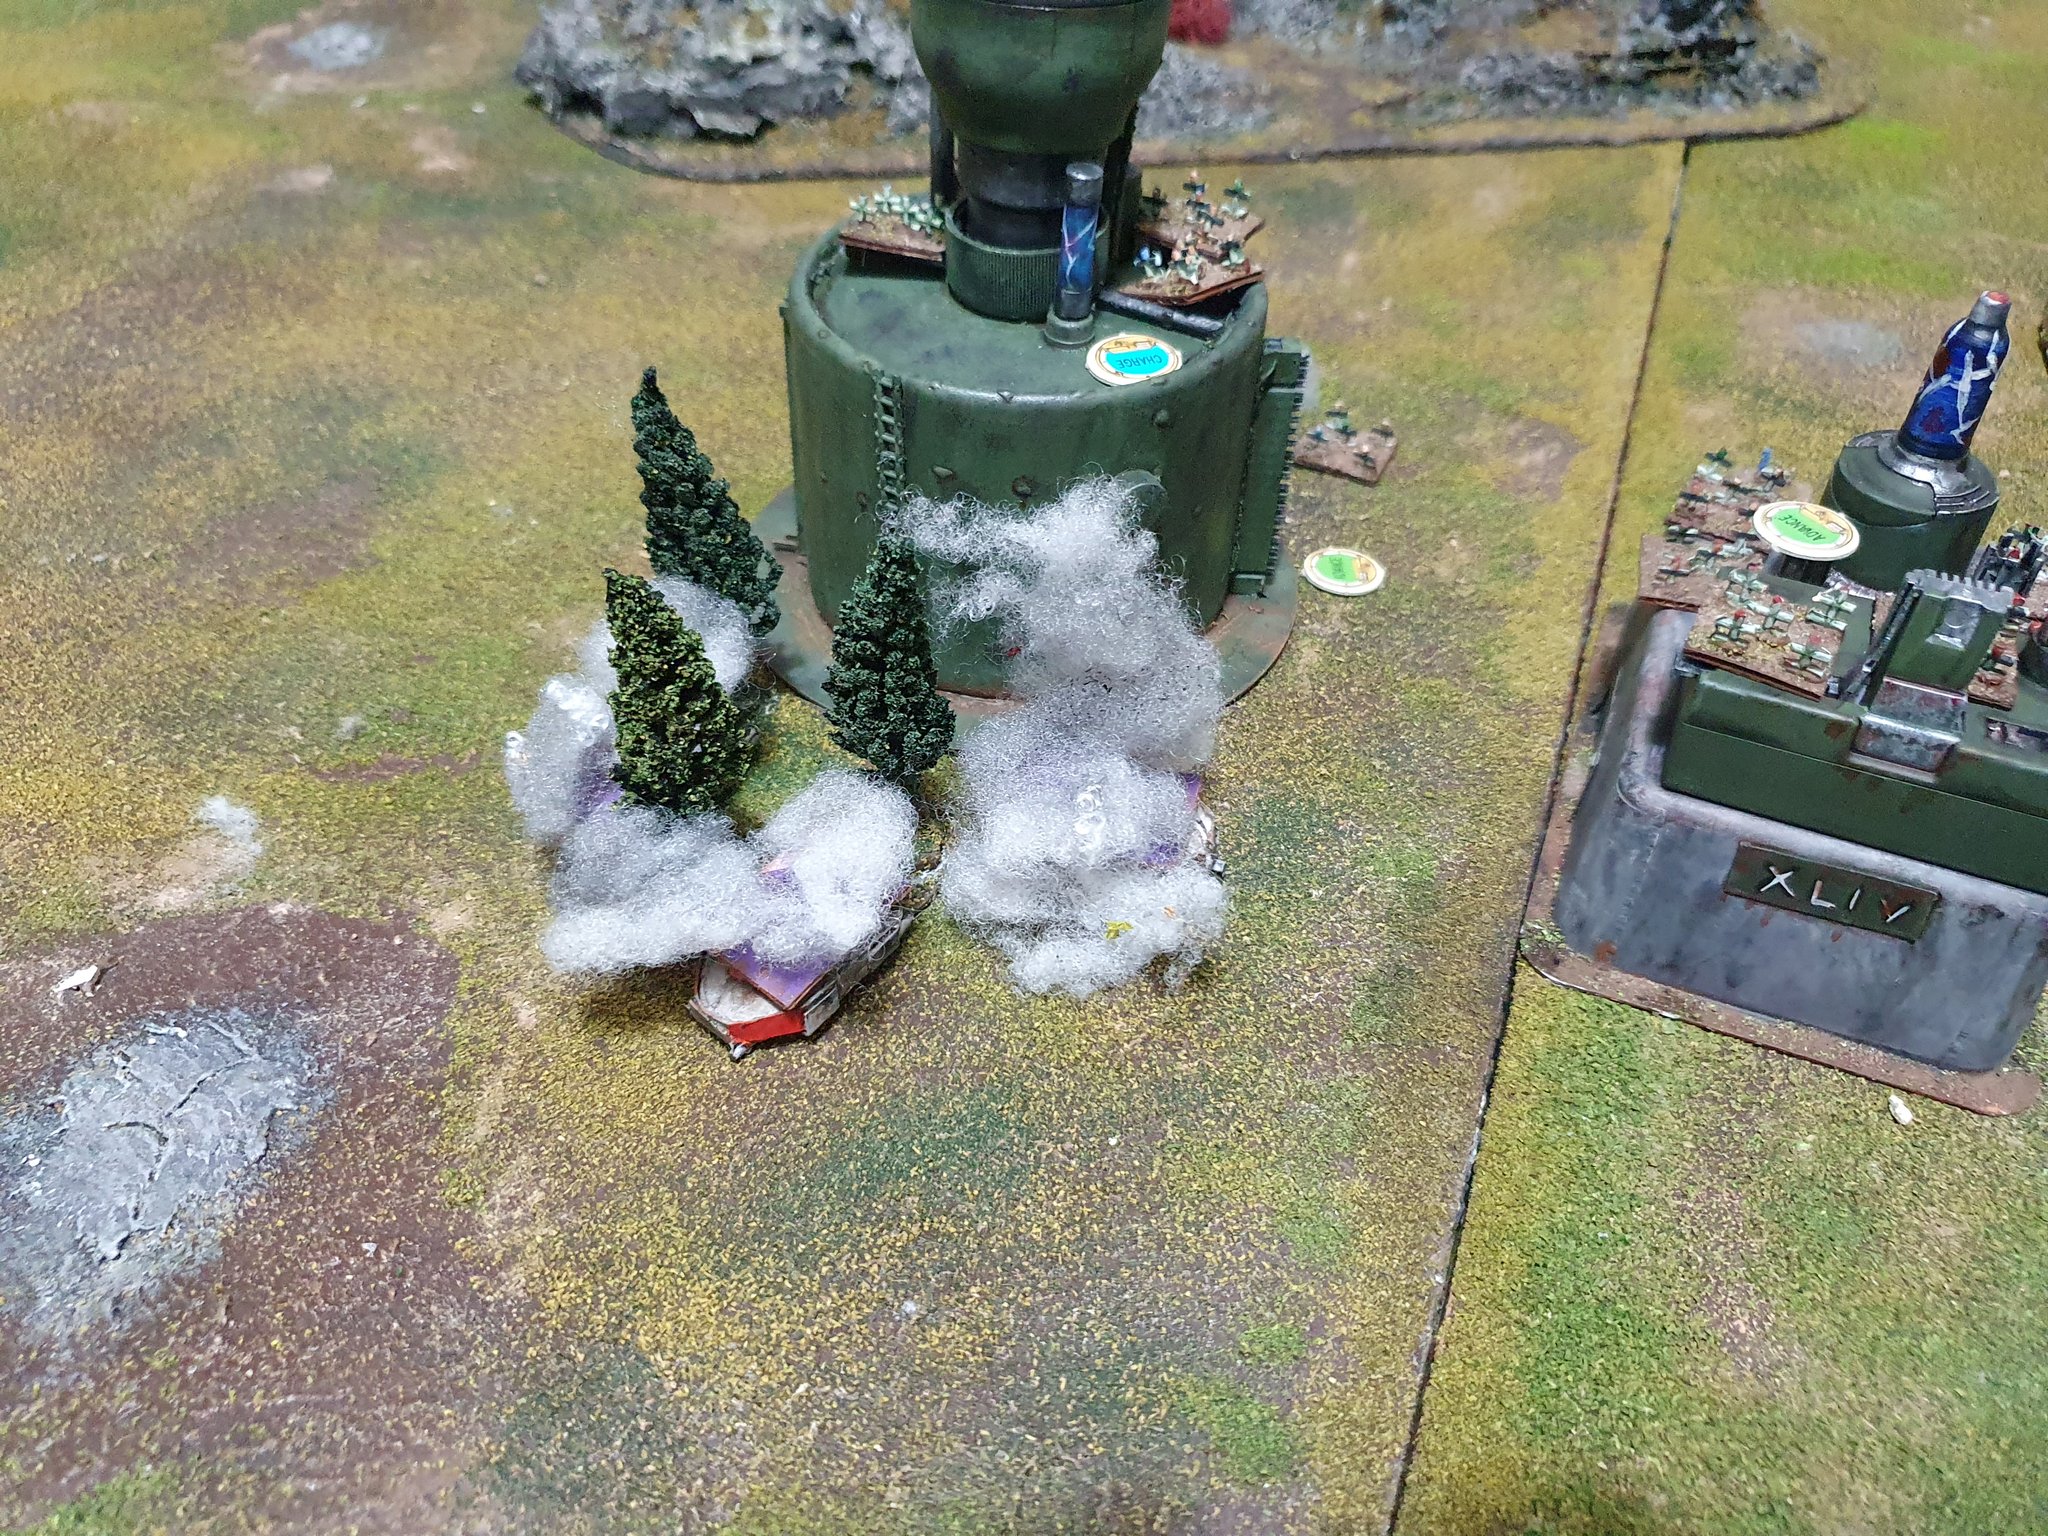
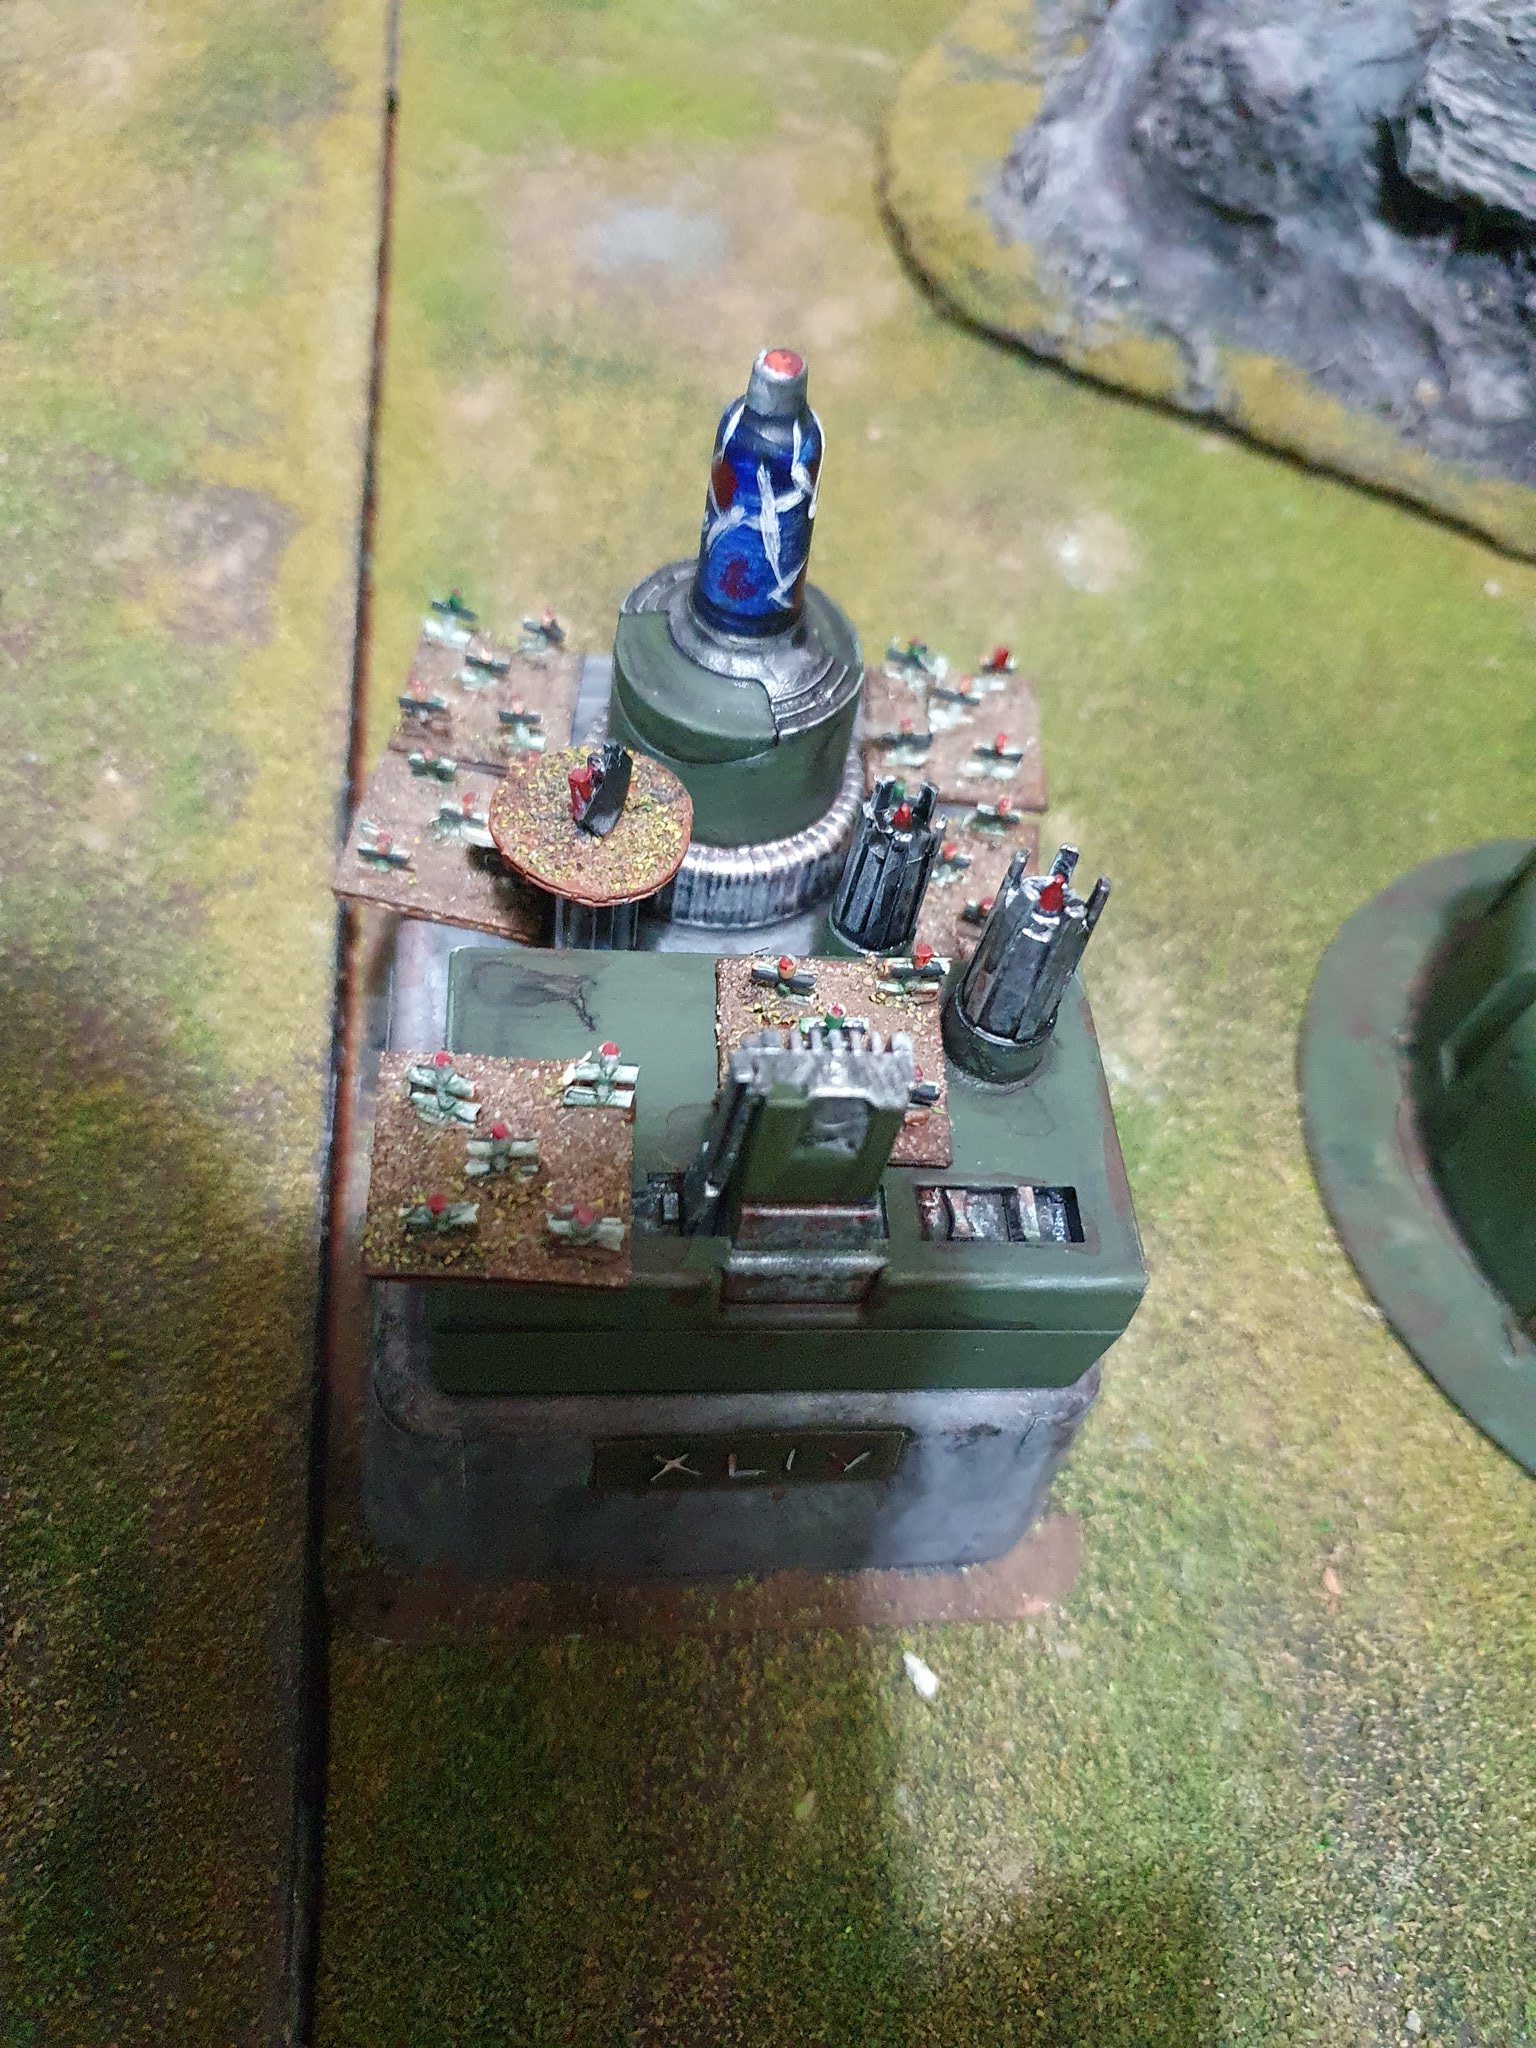
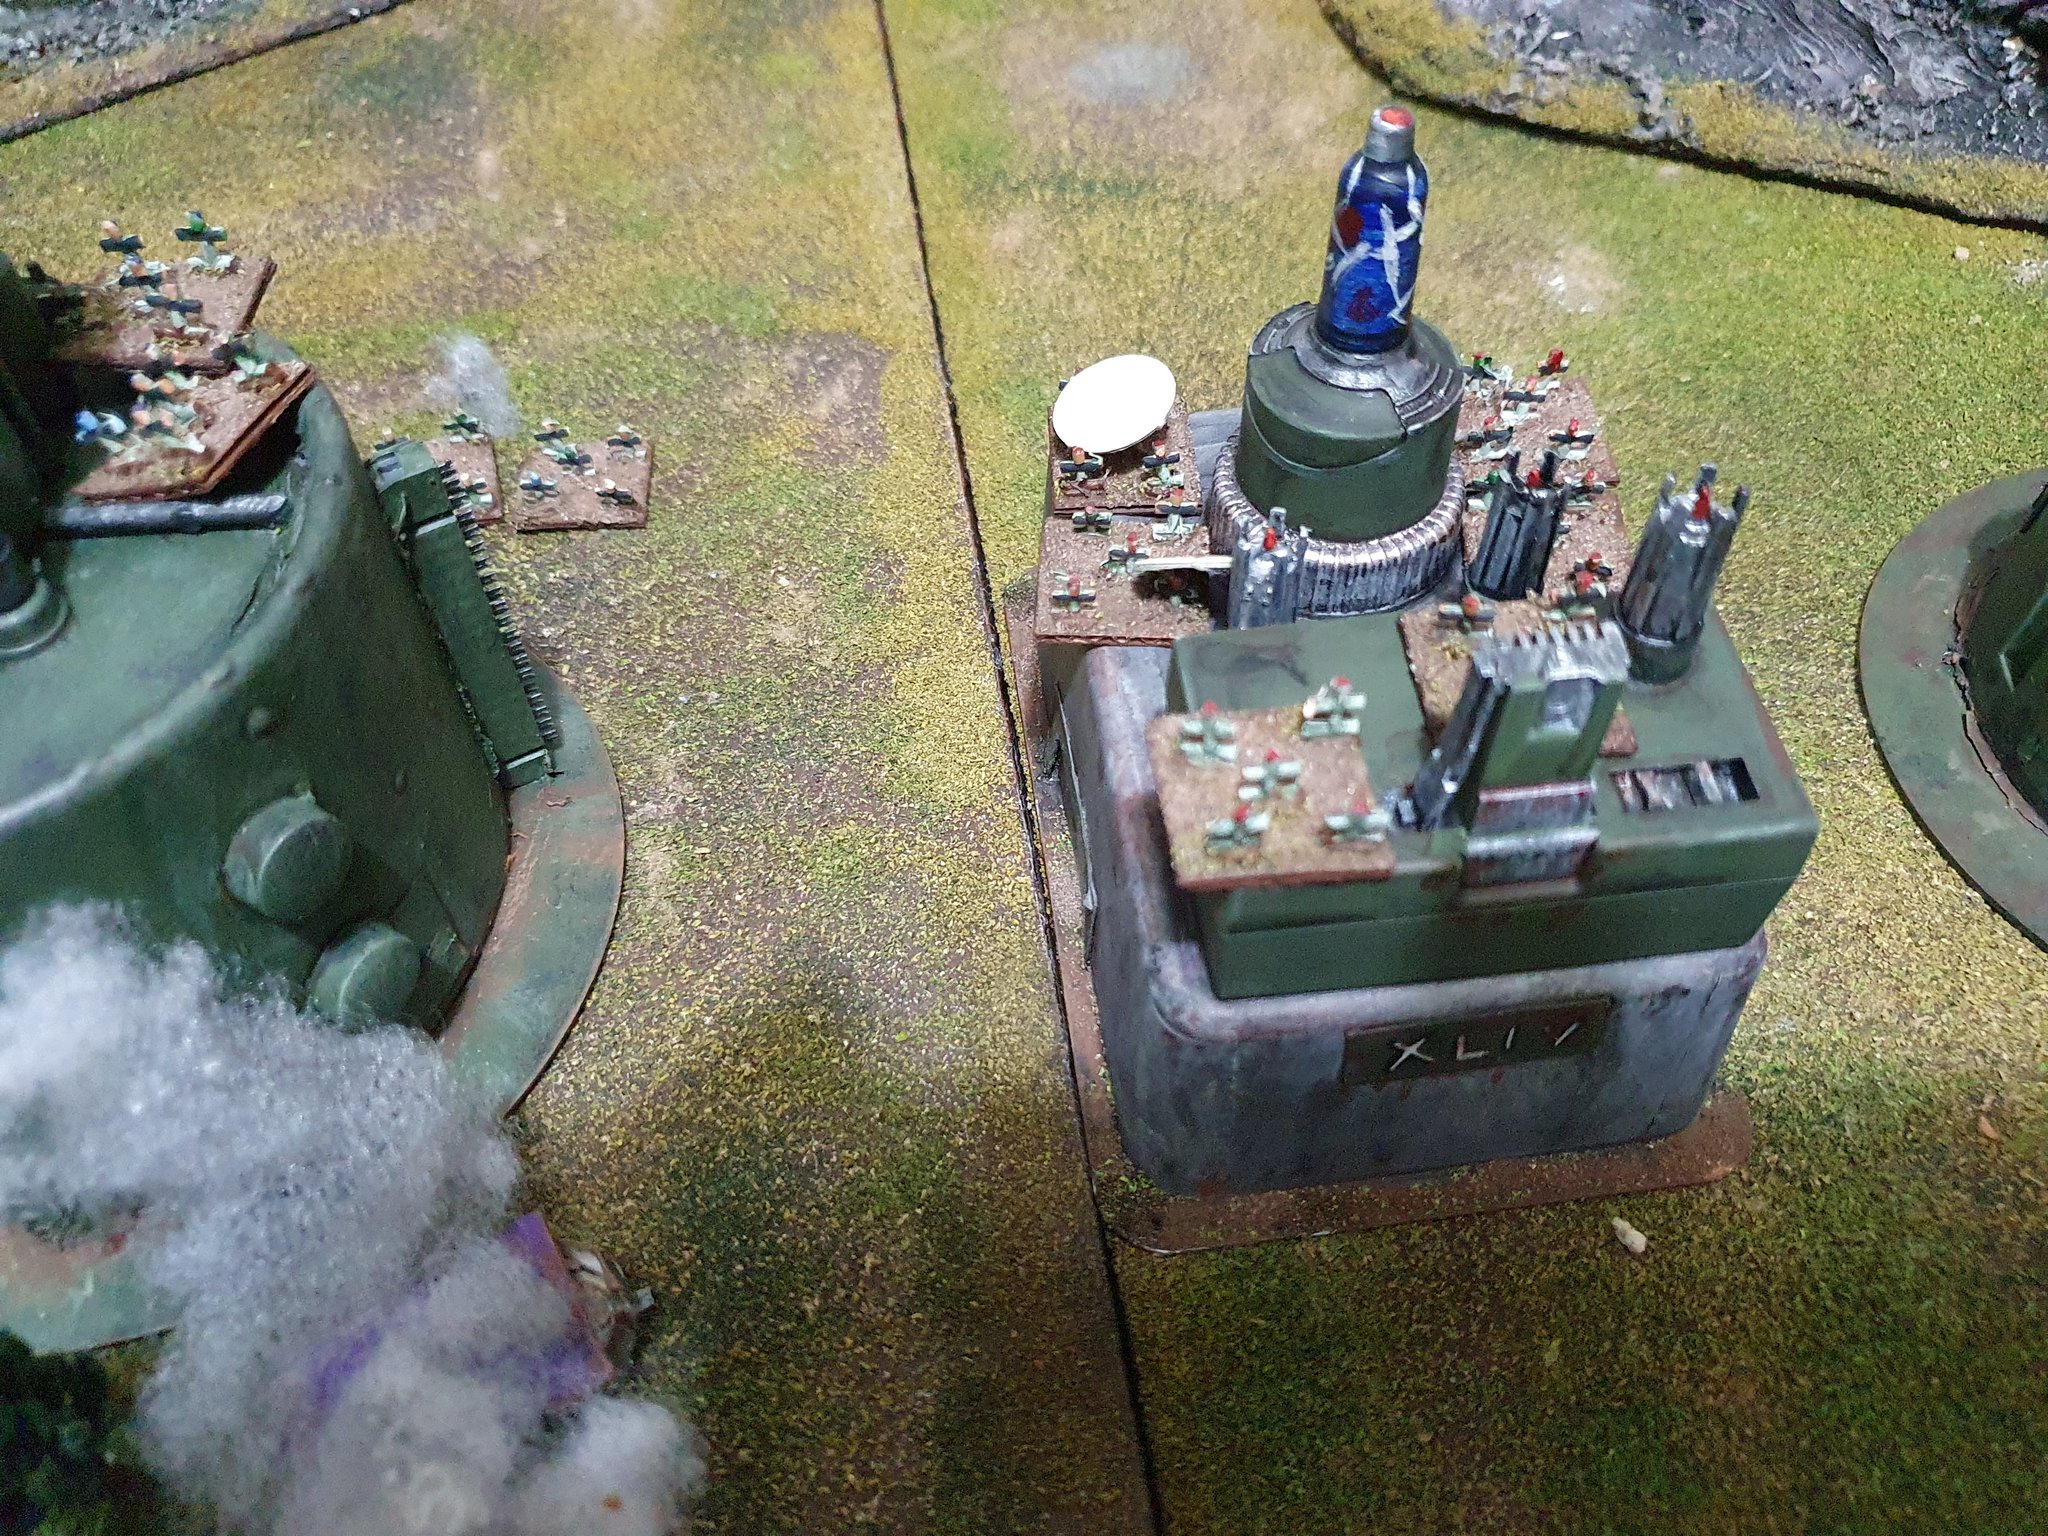
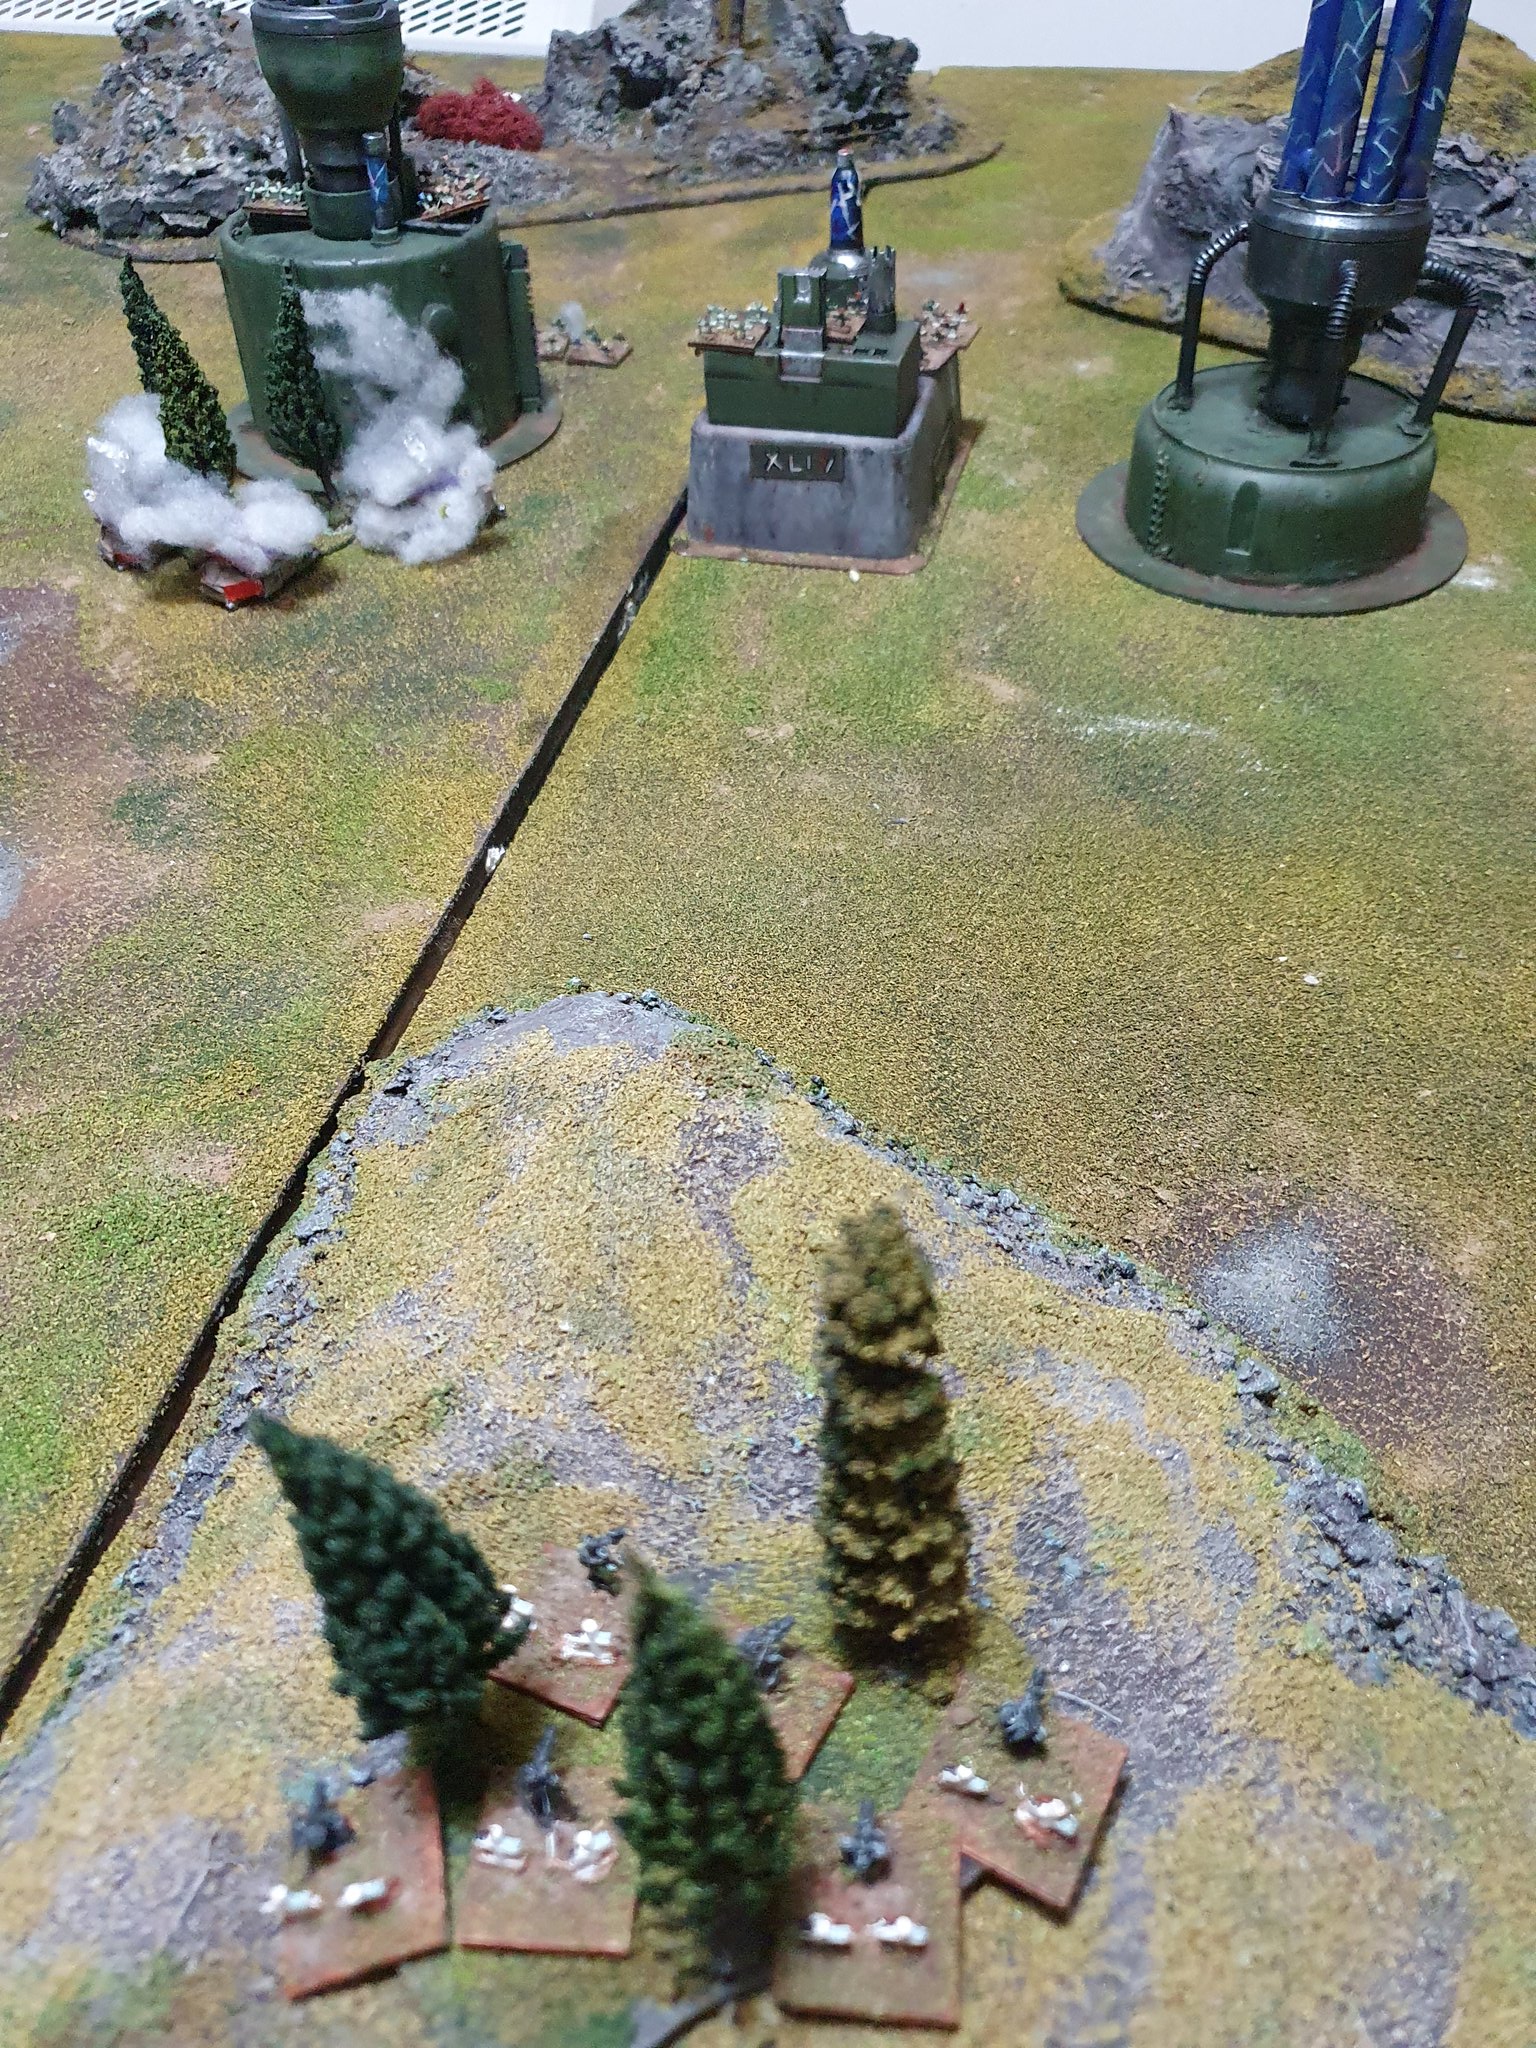
I laid out a somewhat similar battleground to last week’s fight, substituting the ruined temple with plasma reactors and the Valiant 44th command centre – codename Objective Hamilton – which would be the objective for both sides… so theoretically at least, it would be best commander wins!
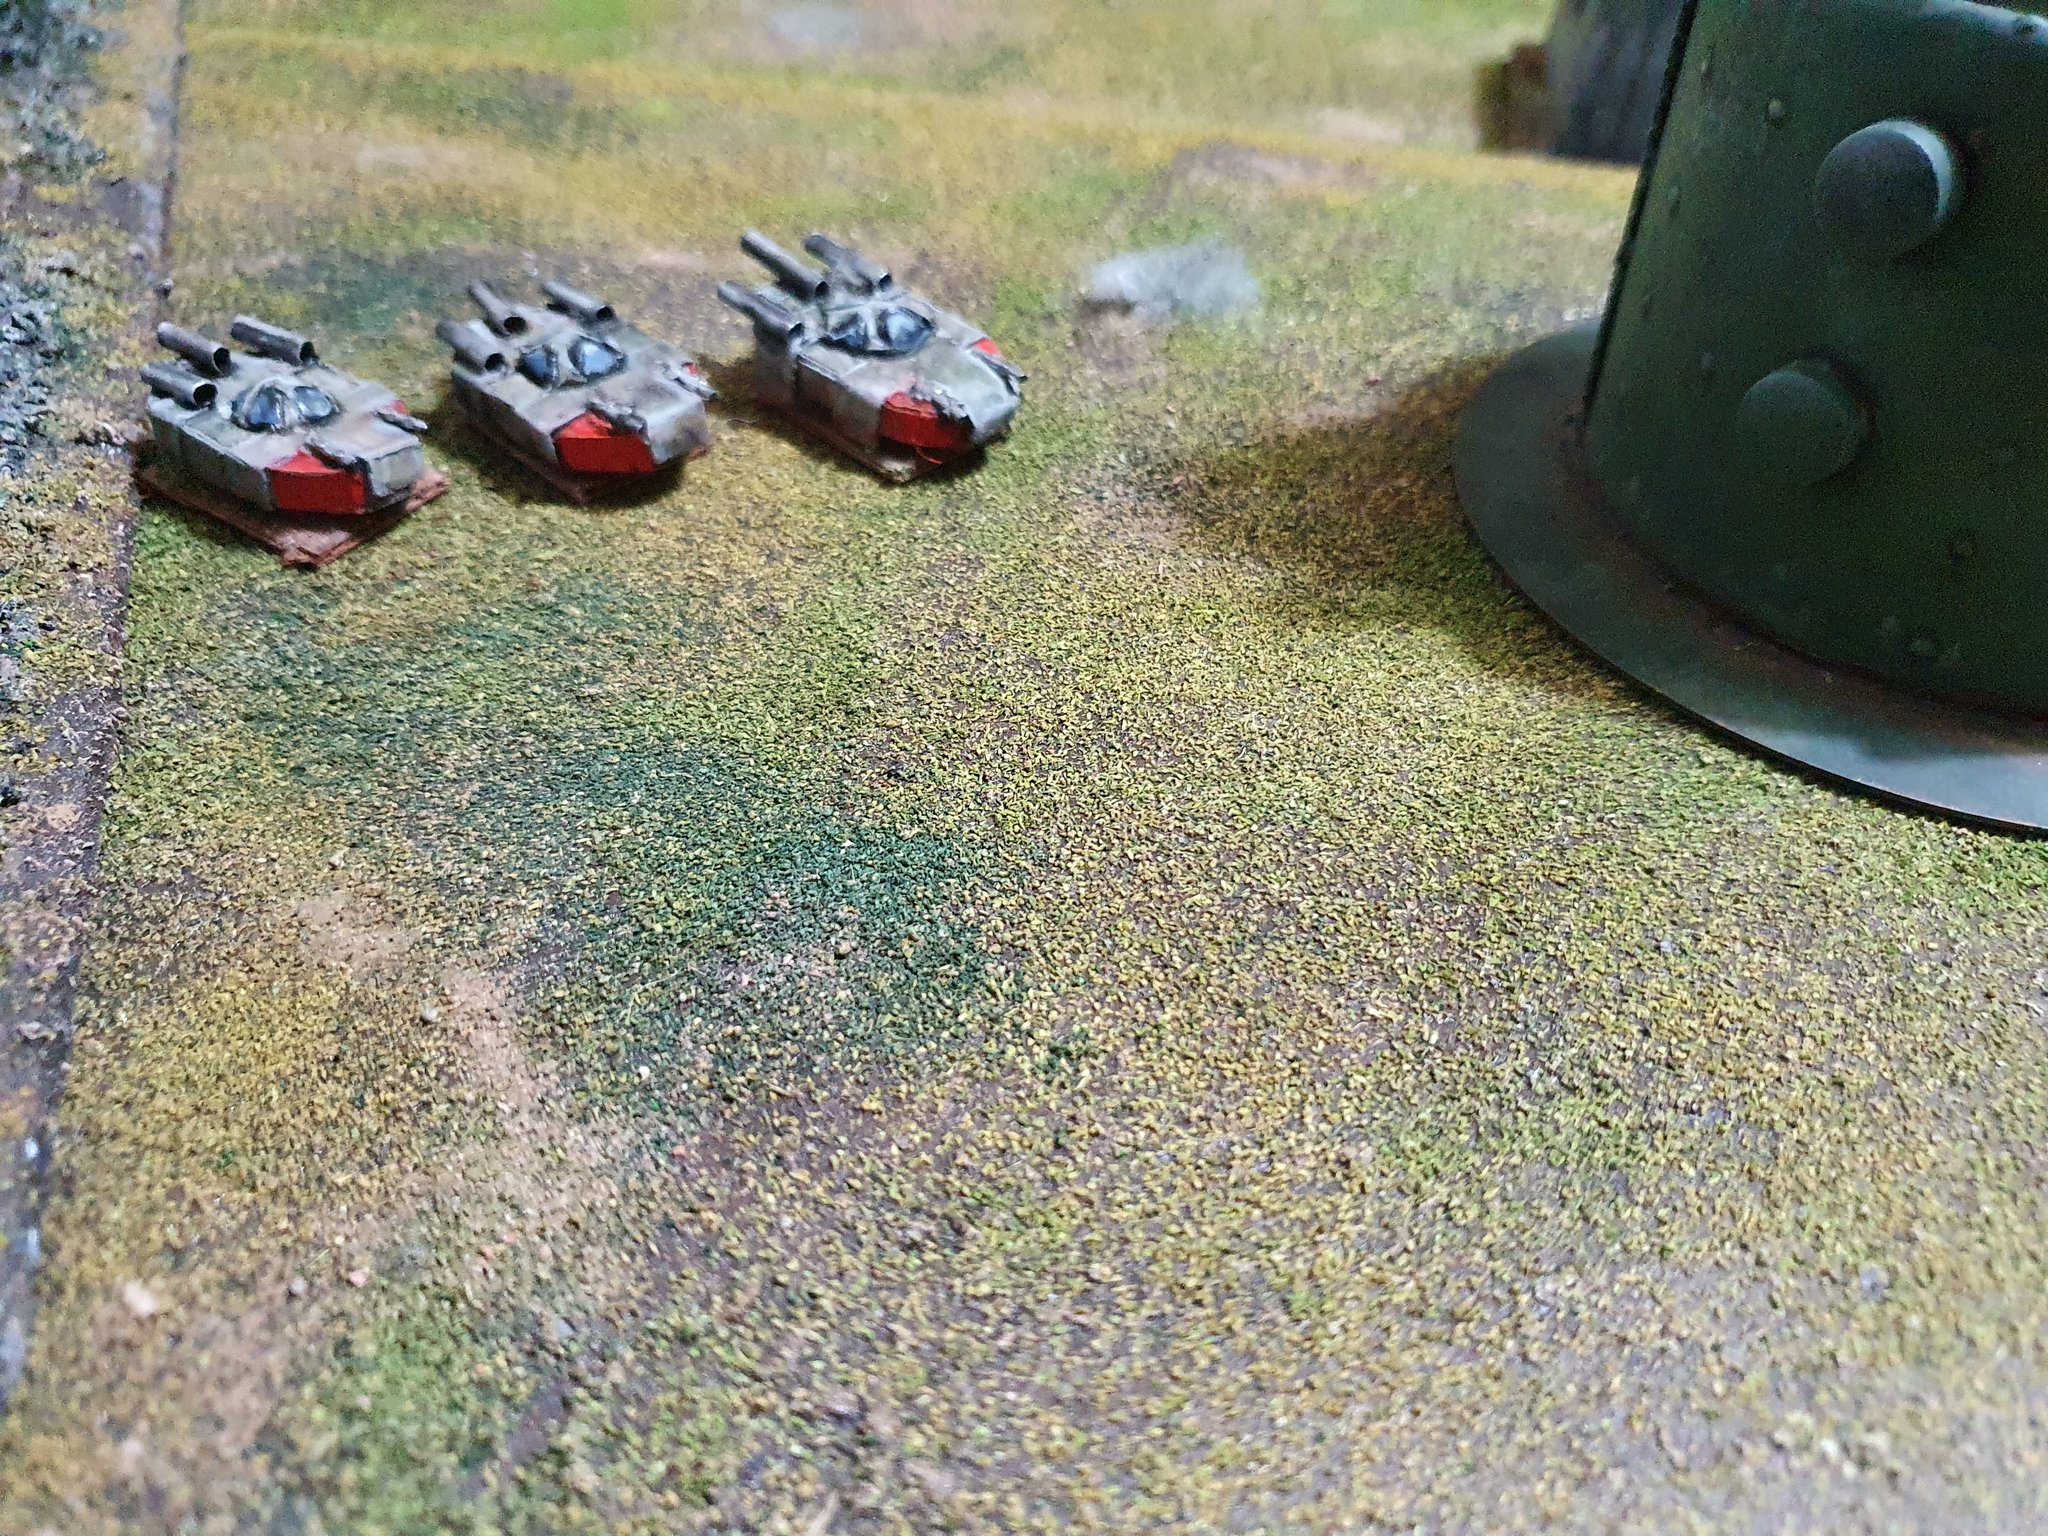
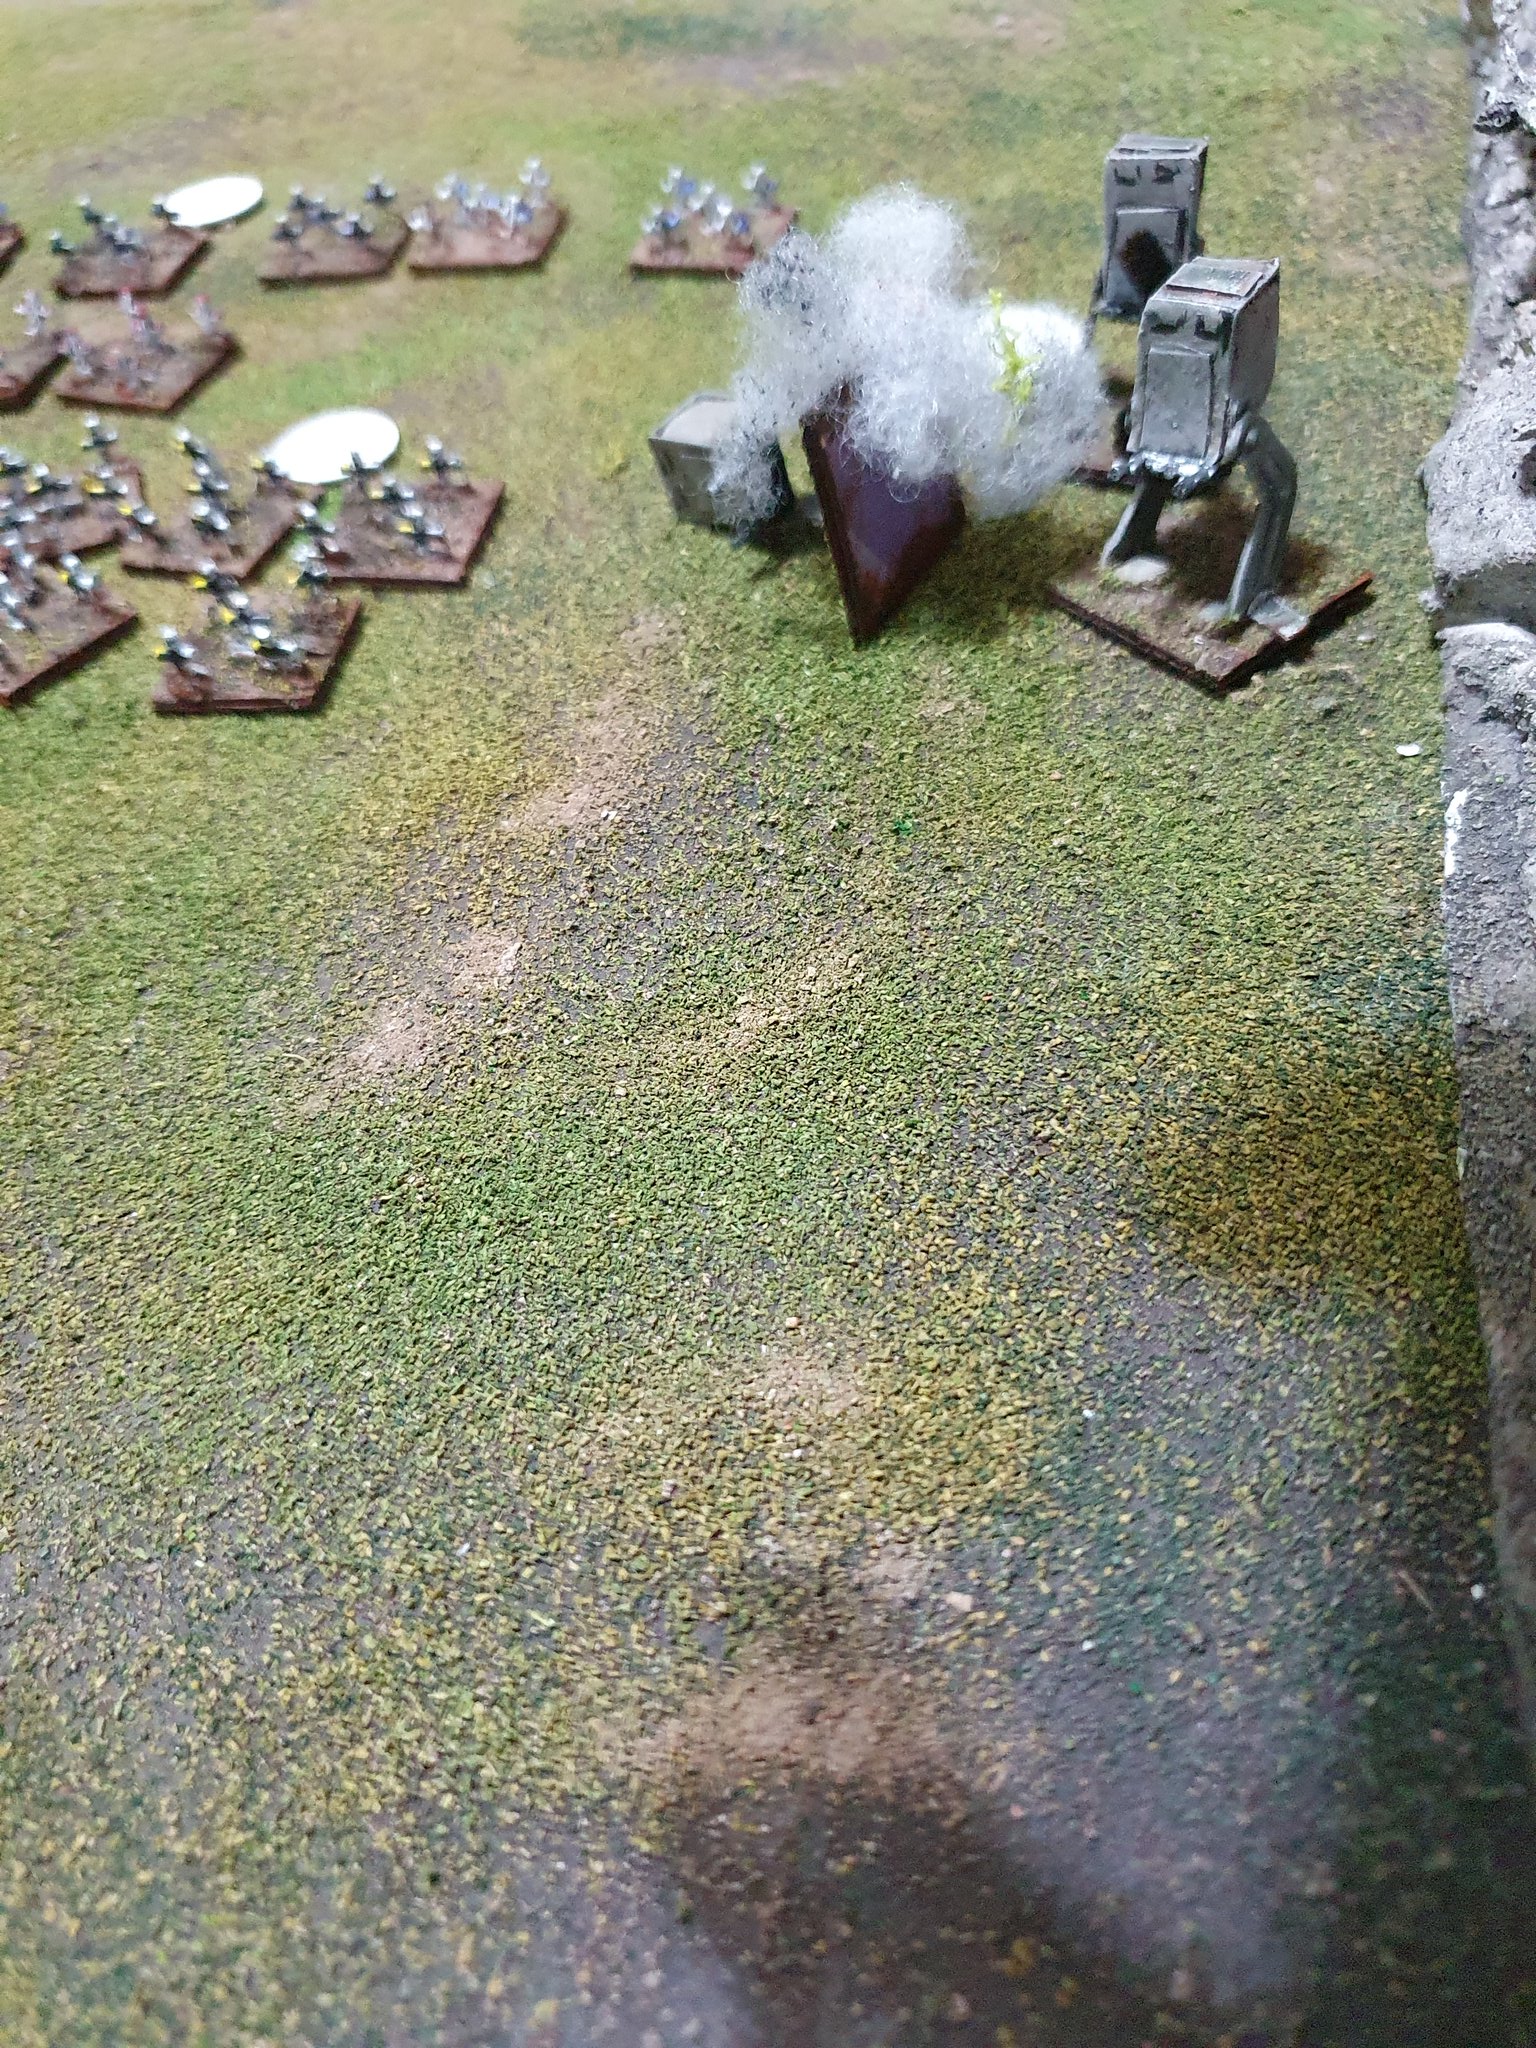
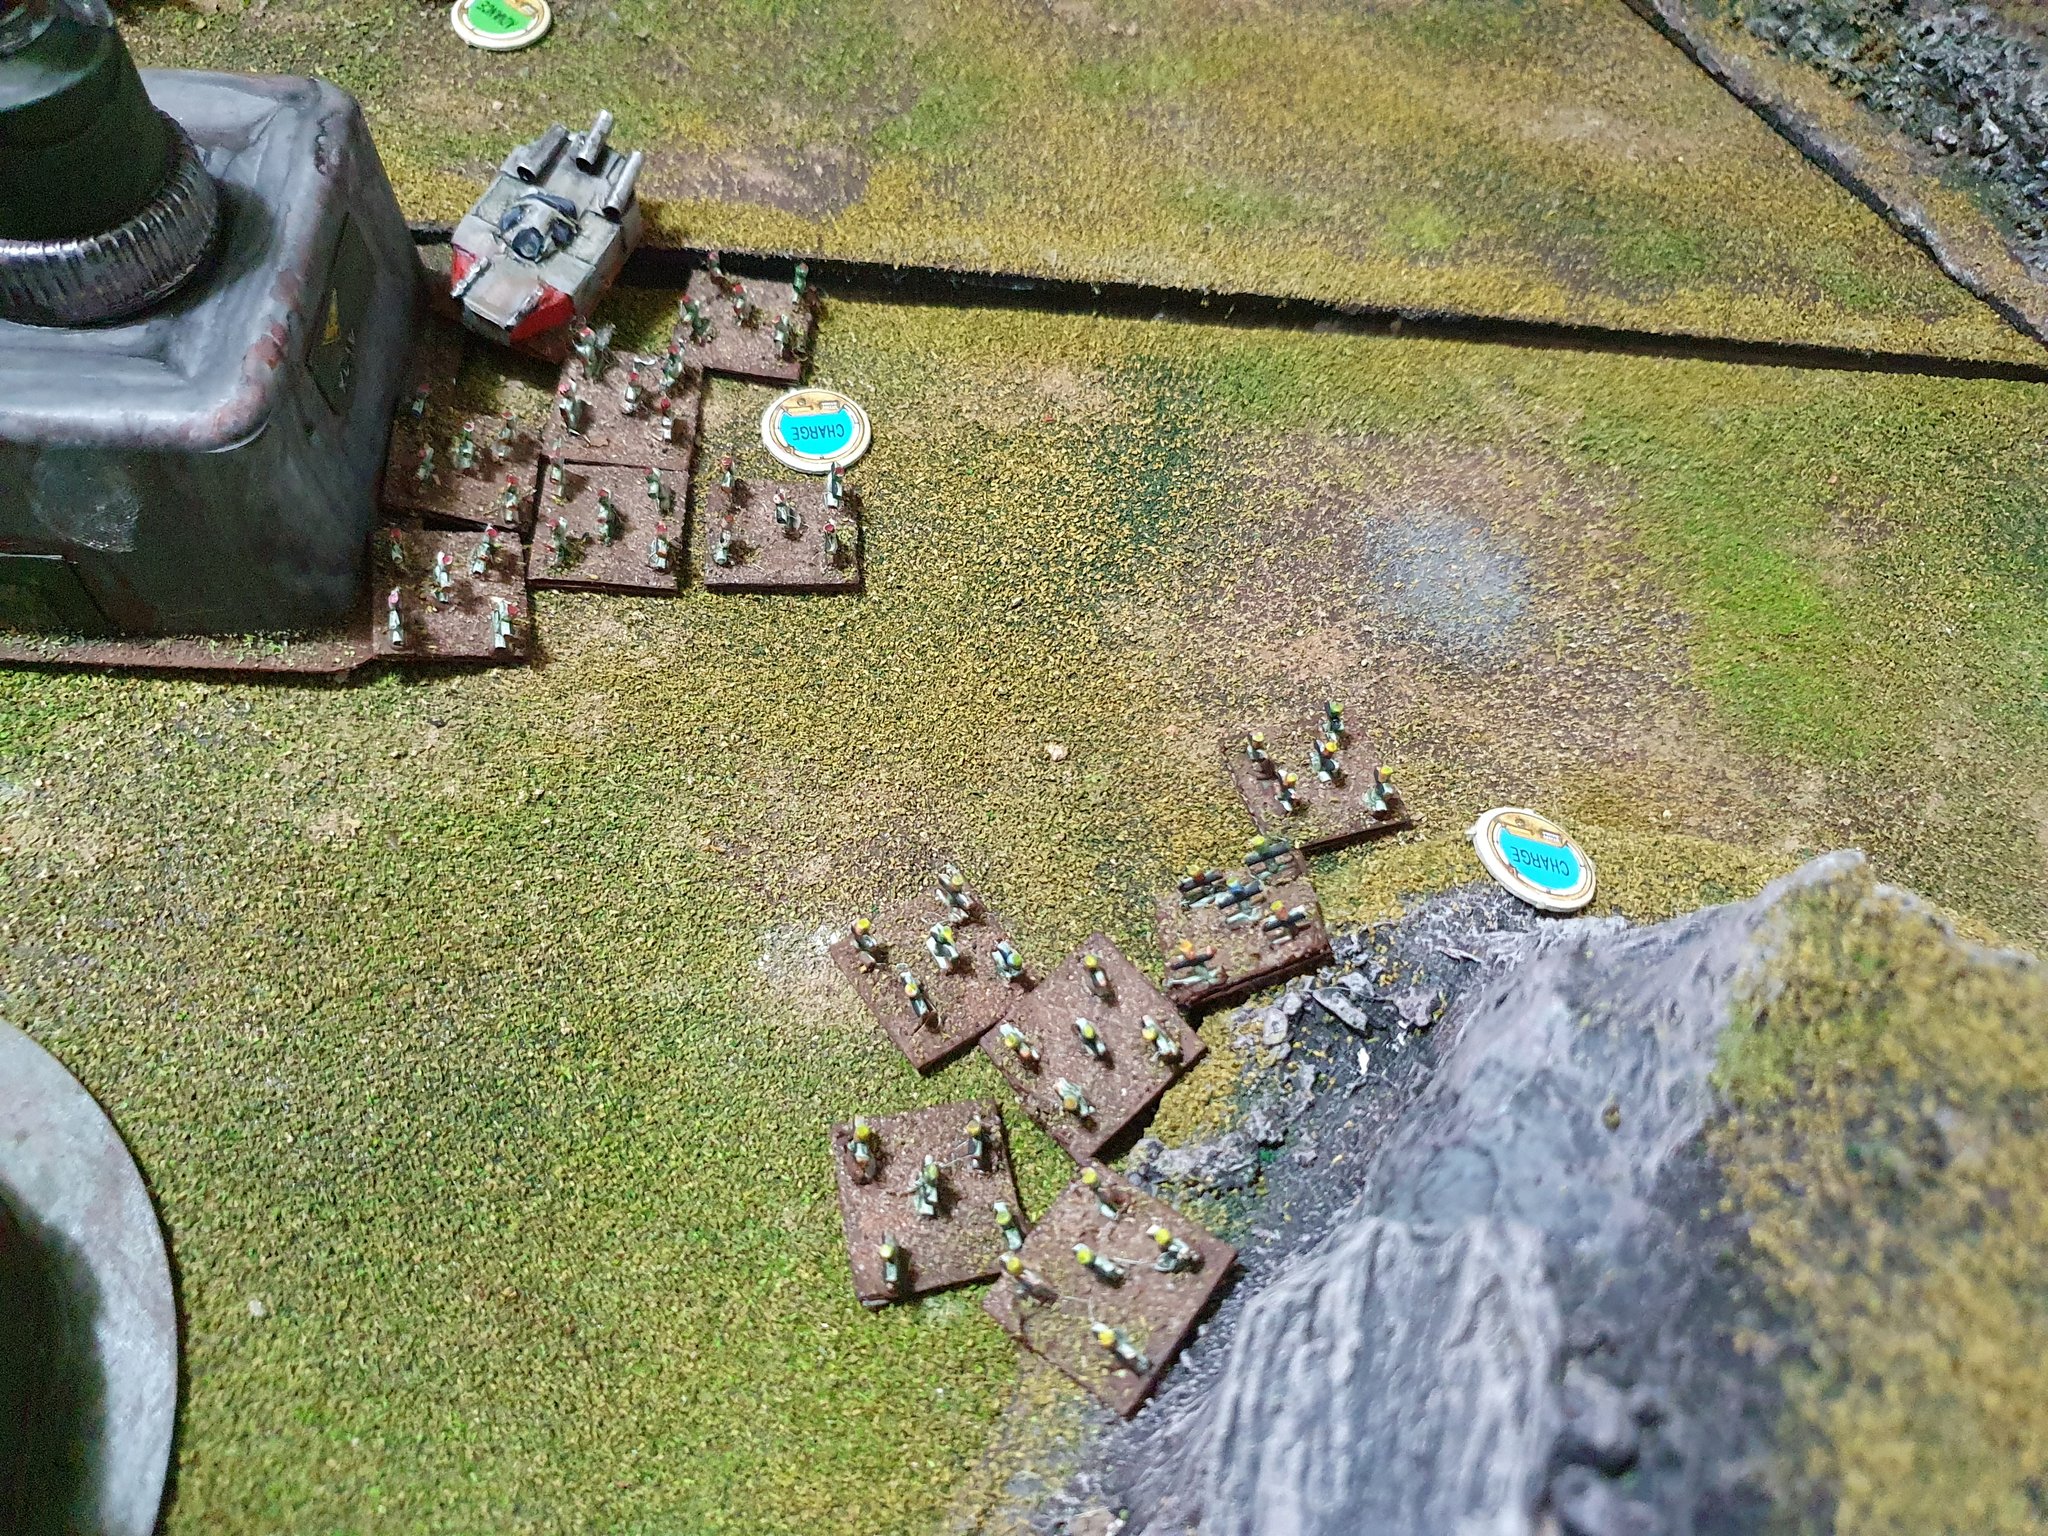
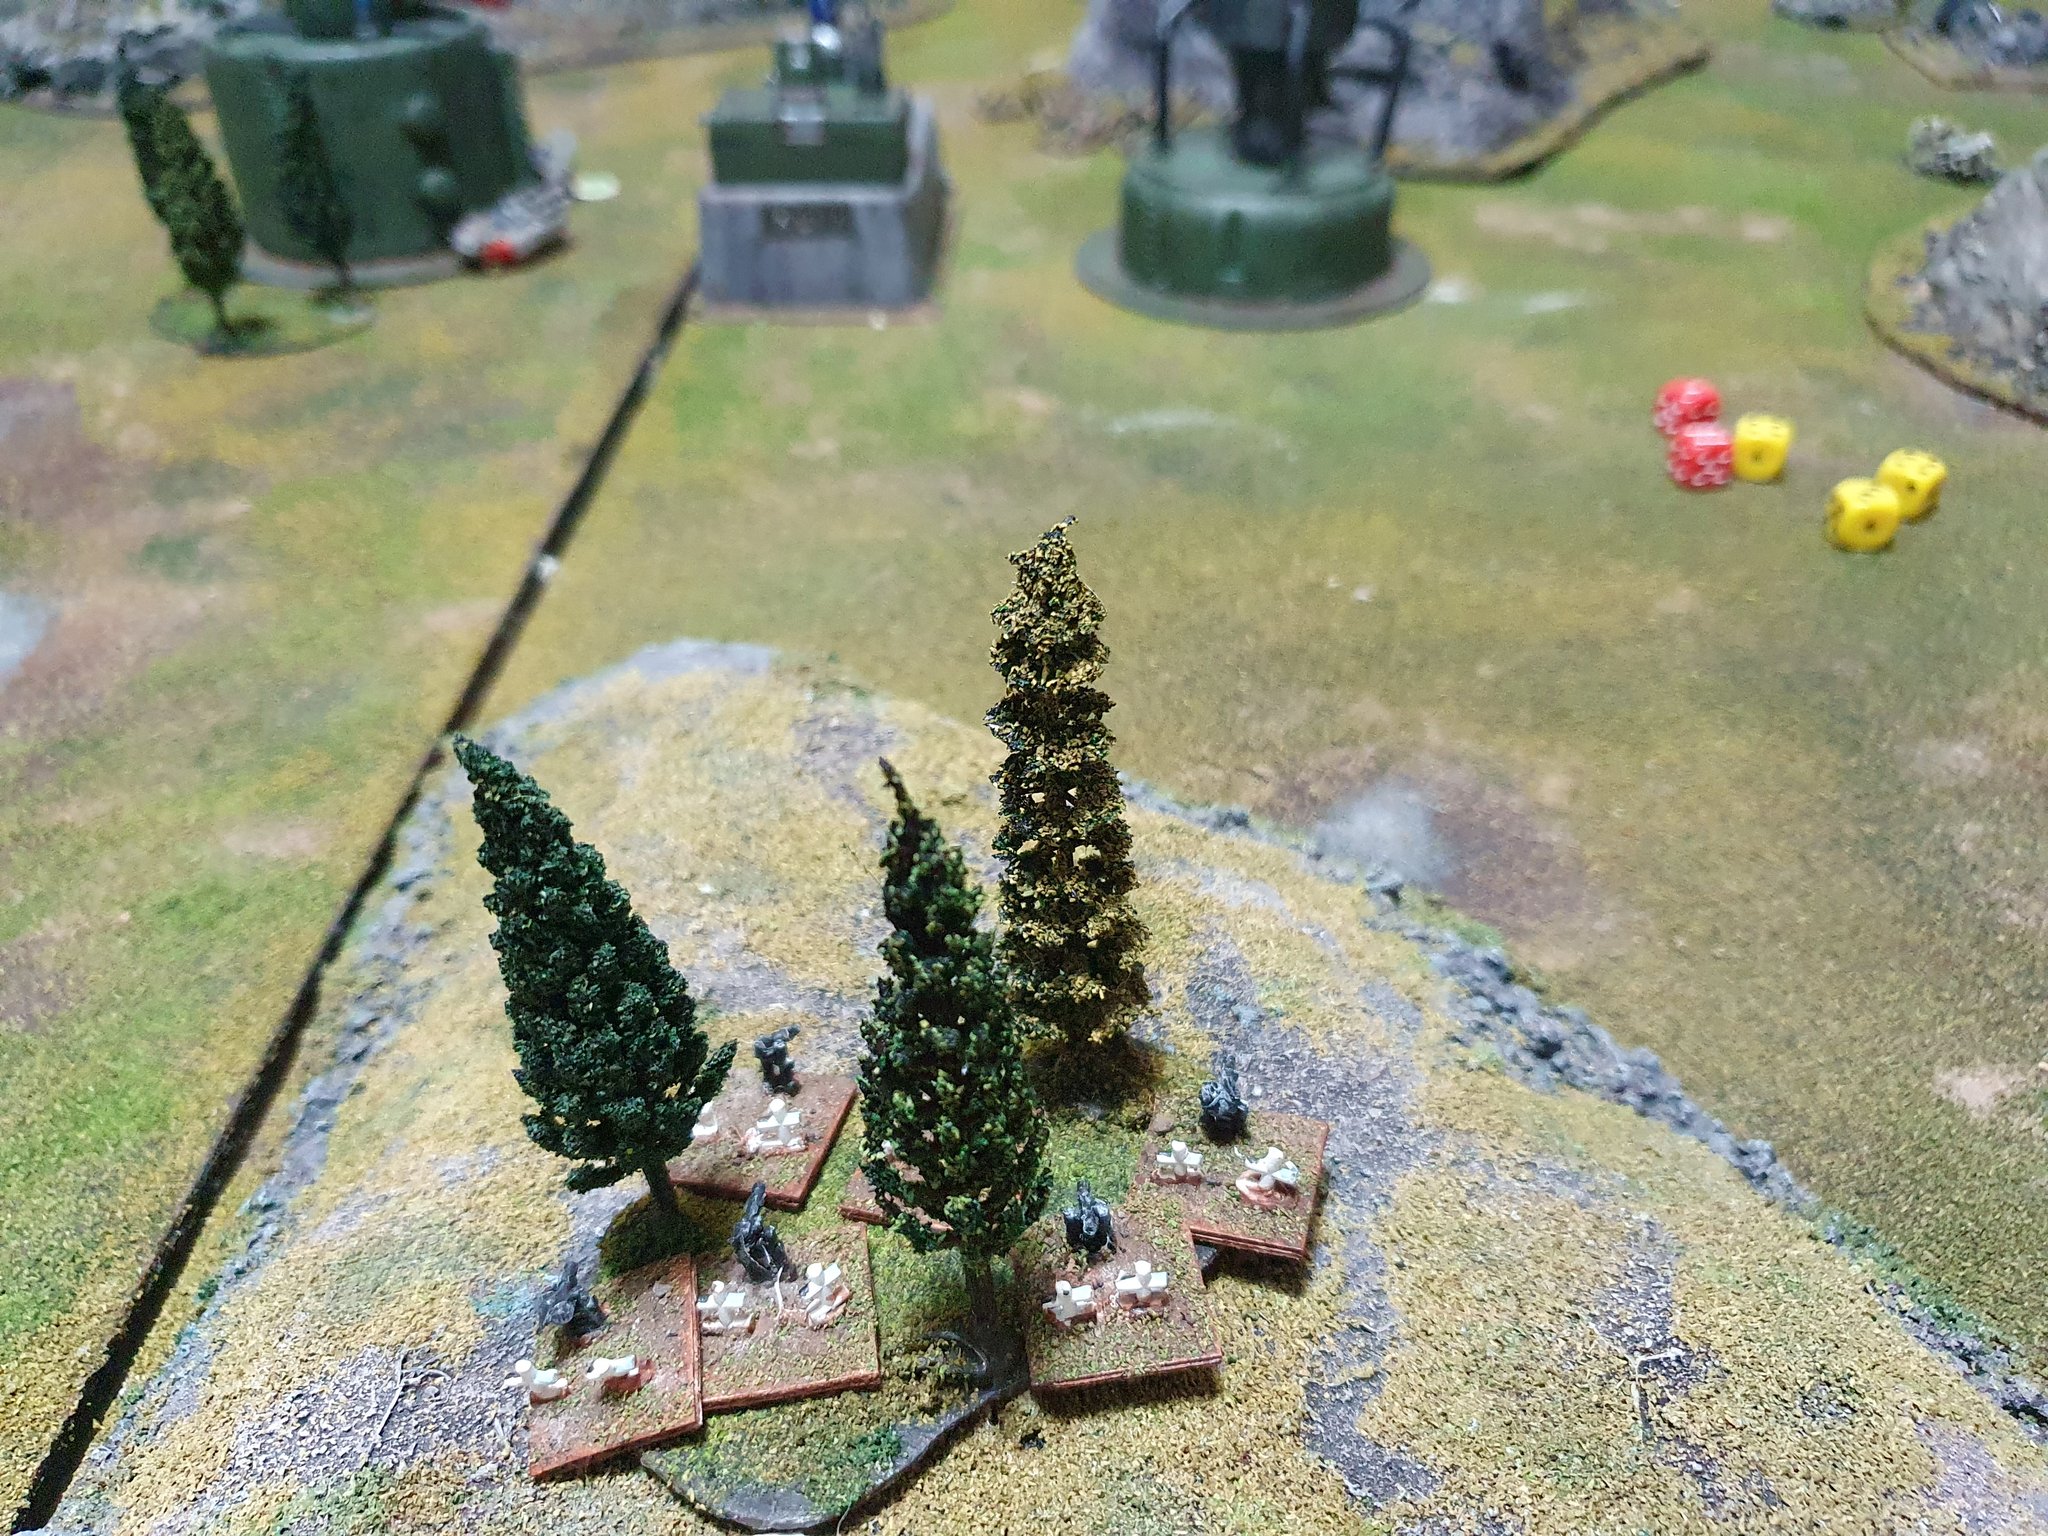
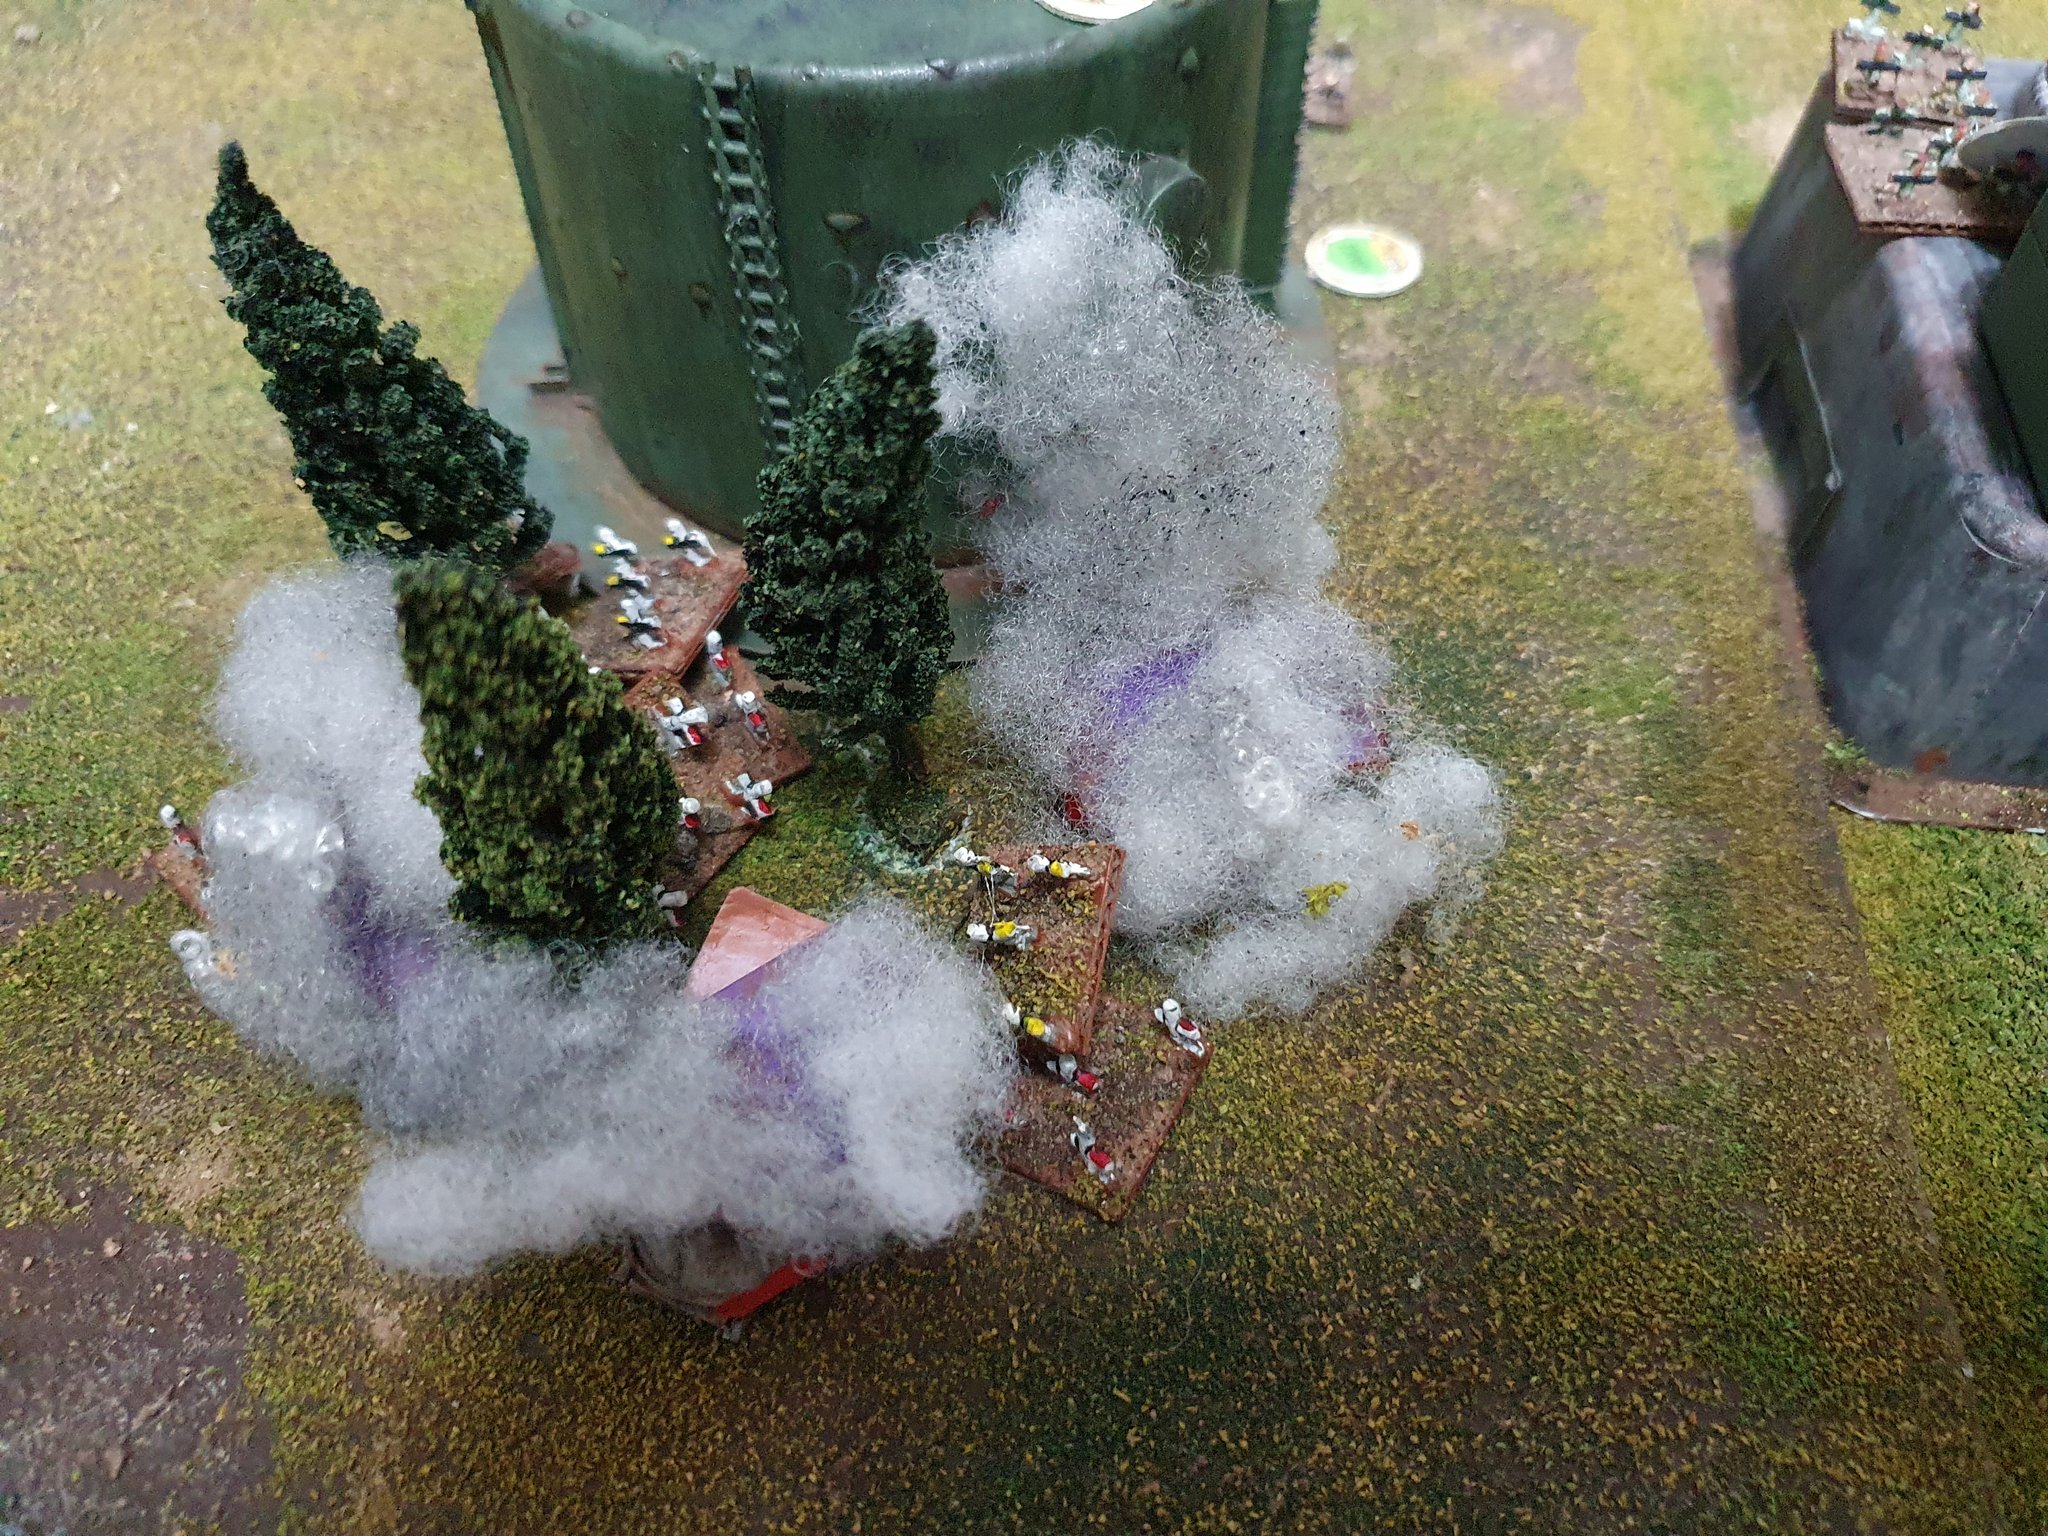
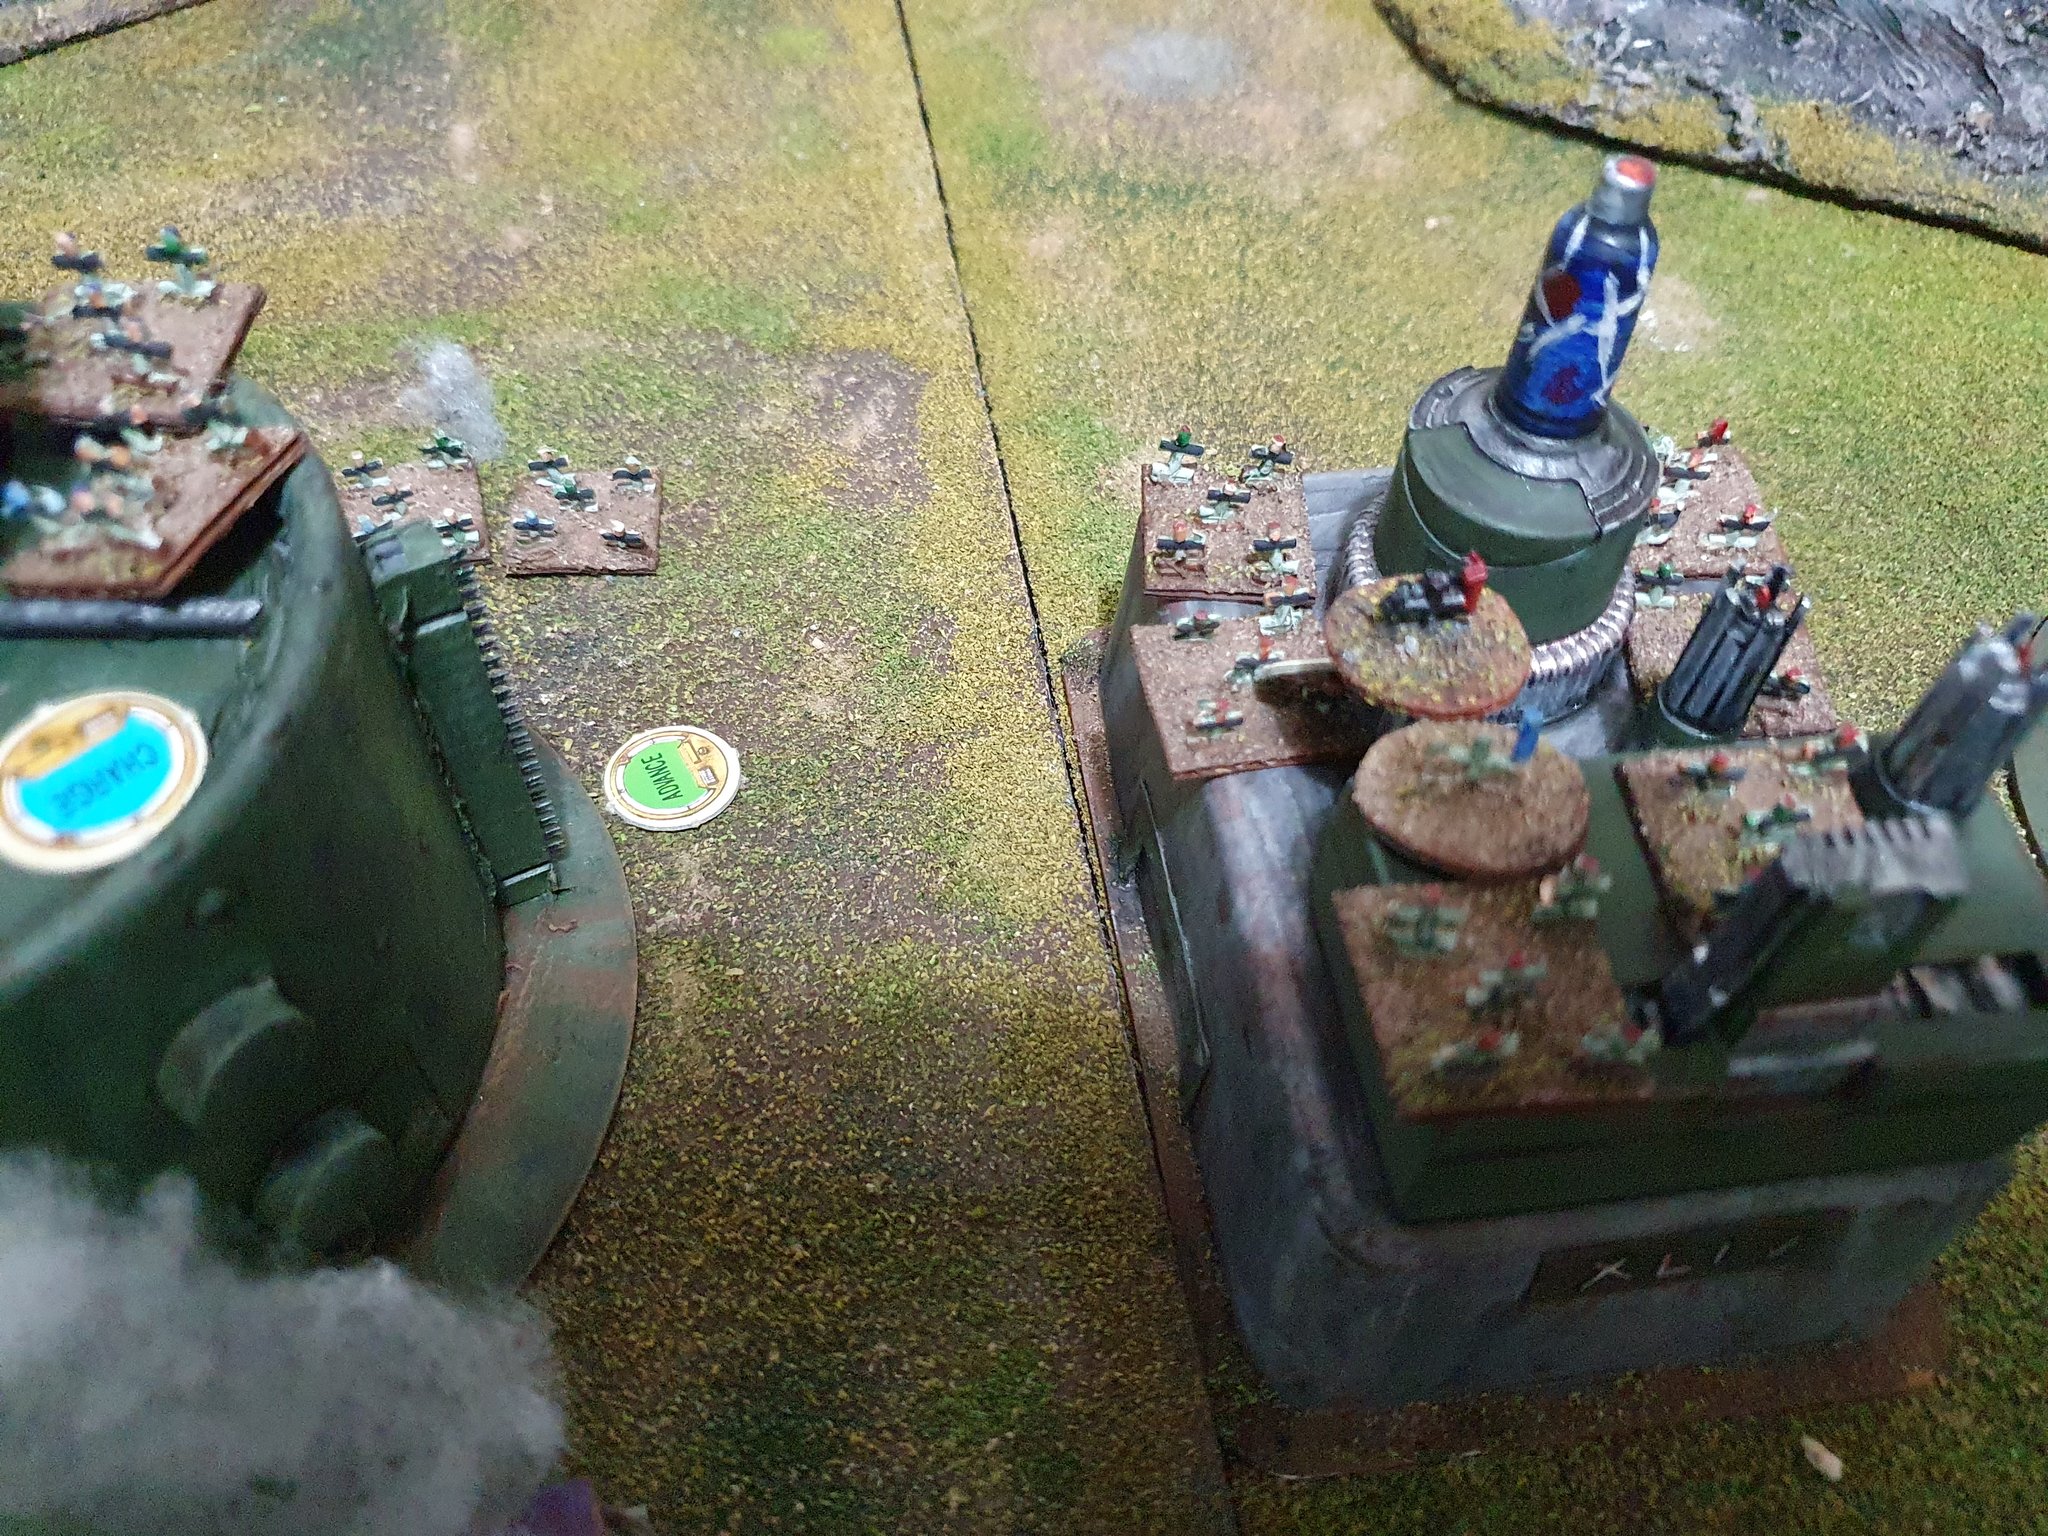
Rebels win the deployment roll off, getting to pick the side and forcing the Imperials to start deployment first. Support platoon with E-Web blasters set up shop in the woods on top of the hill towards the bottom of the pic.Rebels set up using cover to screen their infantry from Imperial fire (they hope) – mechs lurk in the rocky gulch, speeder bike team in the woods to the bottom of the picOverview of the battlefield – Rebels stage left, Imperials stage right, Outpost 44 dead centreVader leads the Imperial attack from the front – “Leave them to me!”Rebel speeders burst from cover, performing a hit and run attack destroying one AT-PT and damaging another, using a command point to move them back into cover before Imperial fire can respondFirst blood to the Rebellion!…aaand back into cover before return fire hits!Rebel infantry storm forward to consolidate the objectiveYeah, we’ve got line of sight…. (say the Imperial support platoon)Where’d Yellow platoon go?!? The Empire Strikes Back!The first turn ends with the Rebels in control of Outpost 44 but they’ve taken significant casualties and Lord Vader is marching forwards…Red platoon double time forward to capture the outpost, successfully using a command point to gun down a Stormtrooper platoon caught out in the openMarching forward into cover, Imperial AT-PTs catch a Rebel speeder in the open and damage itImperial and Rebel speeder bike teams duel at point blank range in the forestInconclusive, but definitely bloody!
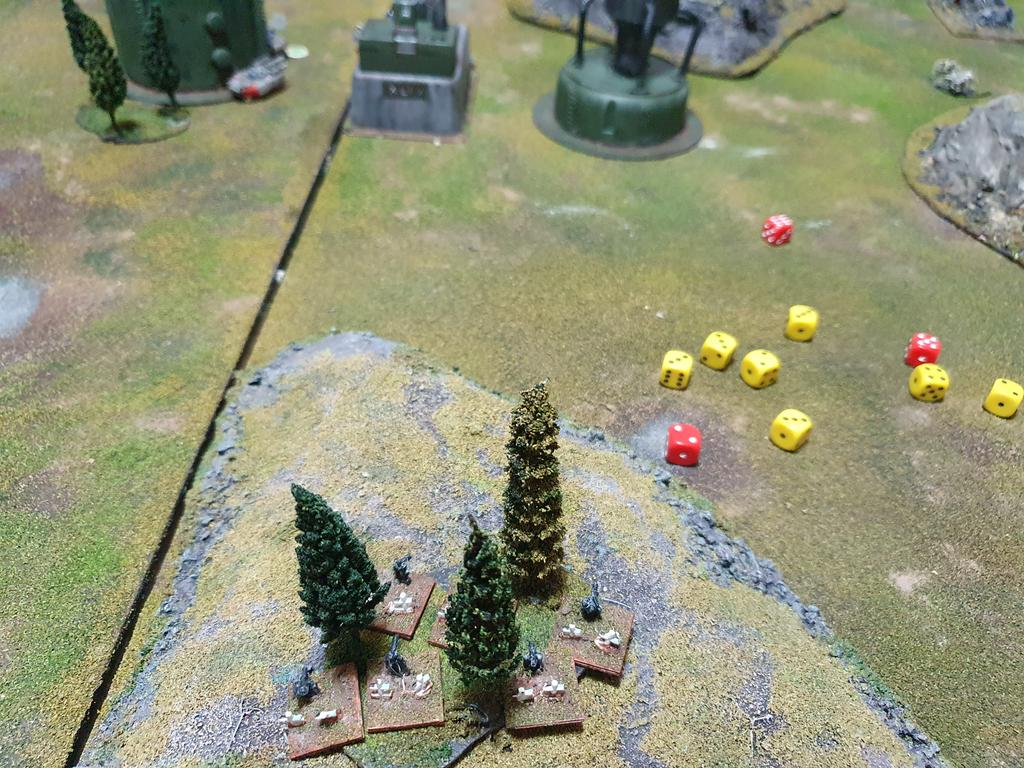
Imperial support platoon draws a bead on the exposed Rebel mechs… 6’s to hit?
That’ll do..Die, Rebel Scum!!Vader leads the remaining Stormtroopers in a last ditch attack towards the outpostThe moment we’ve all been waiting for! Vader engages Luke in close combat – “I AM YOUR FATHER!”“NOW YOUR FAILURE IS COMPLETE!” Vader fells Luke and the Rebel platoon look at each other nervously..…before annihilating him with the combined fire of a full platoon’s blasters! Actually in retrospect we should probably have done all this as close combat, maybe some form of Force shenanigans.. as it was, he took 18 hits, fluffed every Force save and every Hero save…. “NOOOOOOO!”Rebel speeder team carries the duel in the woodsWith the remaining Stormtroopers annihilated by the second Rebel platoon, the support platoon weigh up their options as the sole remaining Imperial unit and decide to retreat to fight another day… it was close, but the Rebel Alliance wins this round!
All in all, a fun little game – we need to finesse the “fighting in buildings” aspect, we were a little inconsistent with how we abstracted that, but on the whole, a solid rules engine and I think we’ve struck a good balance between alternate activation and IGO/UGO mechanics, as well as the range abstraction that dogs wargames… Till next time, May The Force Be With You (particularly if you’re Ukrainian)!