

I’ve been wanting to do this for AGES.
I’ve long had a vision of my miniature armies fighting their way through a ruined urban battlespace, diving and weaving their way through dense cover, shattered buildings, ruined walls.. the whole bit. Stalingrad, Berlin, Hue, Fallujah.. right up to the shattered metropolises of the 41st millenium and everything in between.
Now, we redid our regular board last summer, but I couldn’t help looking at the flip side of our chipboard shelves and imagining texturing and painting it up to model the ruined city I’d always seen in my head. But I was always worried I might not be able to match up to what I saw in my head. After mentioning it to Dan over a beer for the millionth time though, he told me to “either shit or get out of the kitchen” – which I took to mean either shut up or get on with it!
We’d built a small urban board and a Deadzone board over the last couple of months and had pretty much nailed down the building/ texturing/ painting scheme – so we had a plan. The main challenge was to ensure that it was “scale independent” – whether we were doing our favoured 20mm, making forays into 28mm, or creating apocalyptic havoc in 6mm, we wanted to be able to use the same board. So it wouldn’t – couldn’t – have too many details, but at the same time we didn’t want to just paint it grey and leave it at that. So….
And with that, battle was joined:
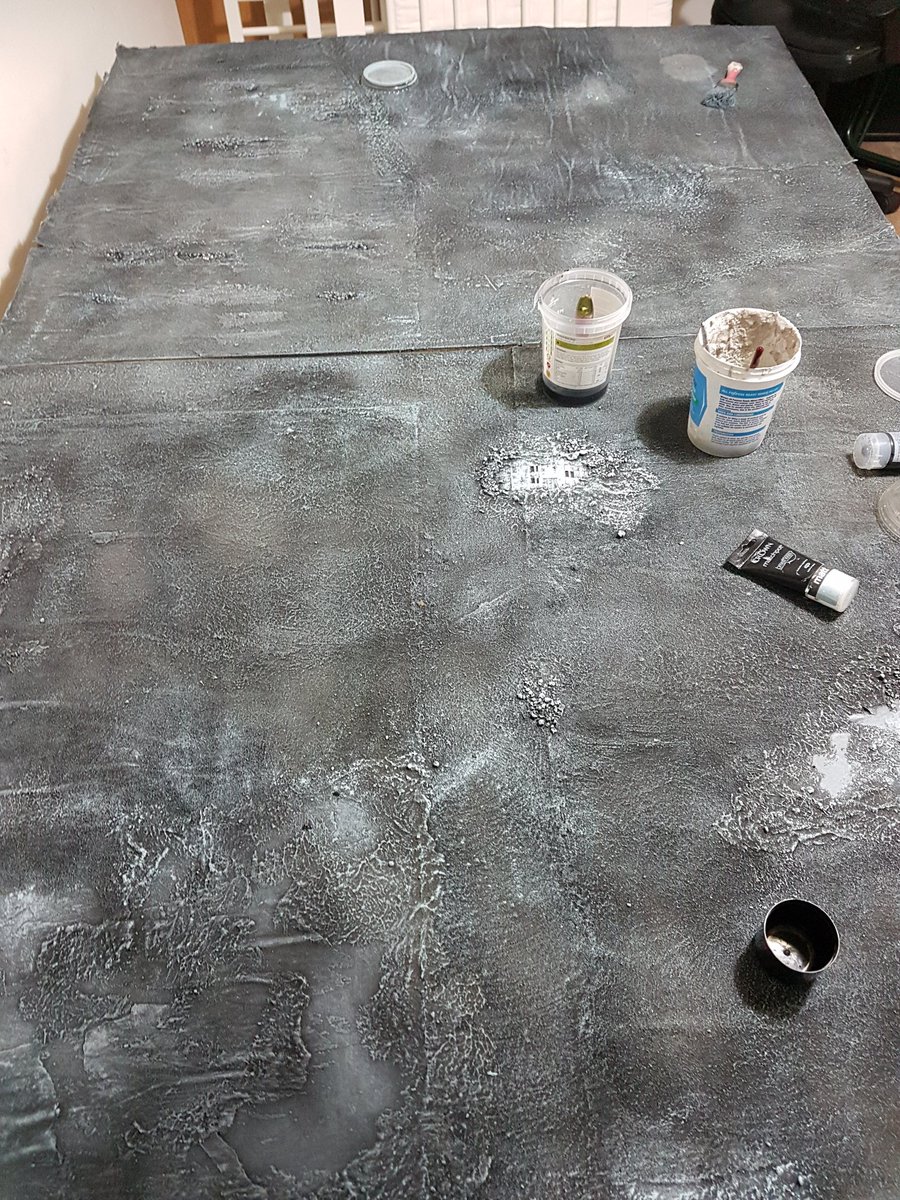
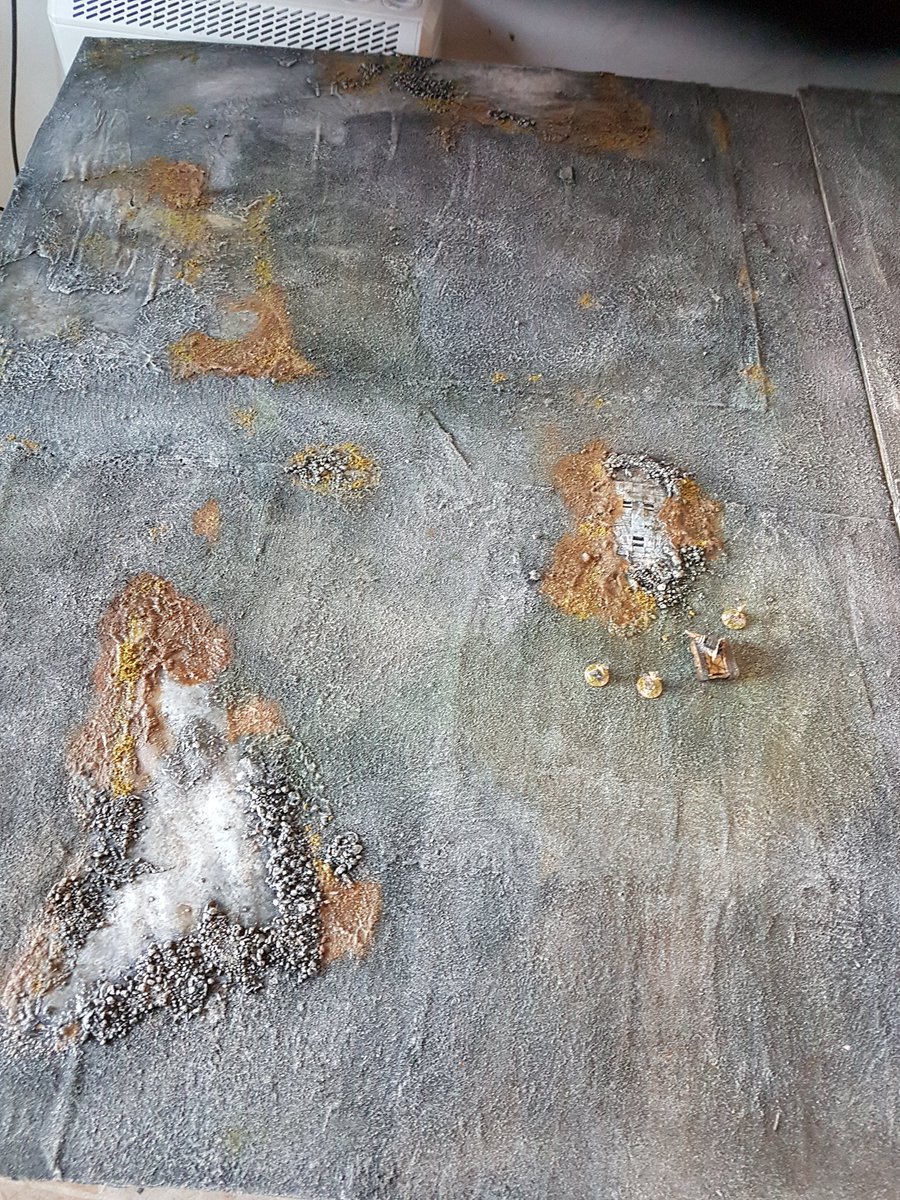


Between the multiple drybrushes, washes, flocks, dust and everything on there blending nicely, I’m really pleased with this, it looks almost exactly like what I’d visualised. The next trick is going to be building the ruins to go with it, I’m really looking forward to having a truly 3D absolutely epic battlefield for Dan to paste me on!
So, to sum up –
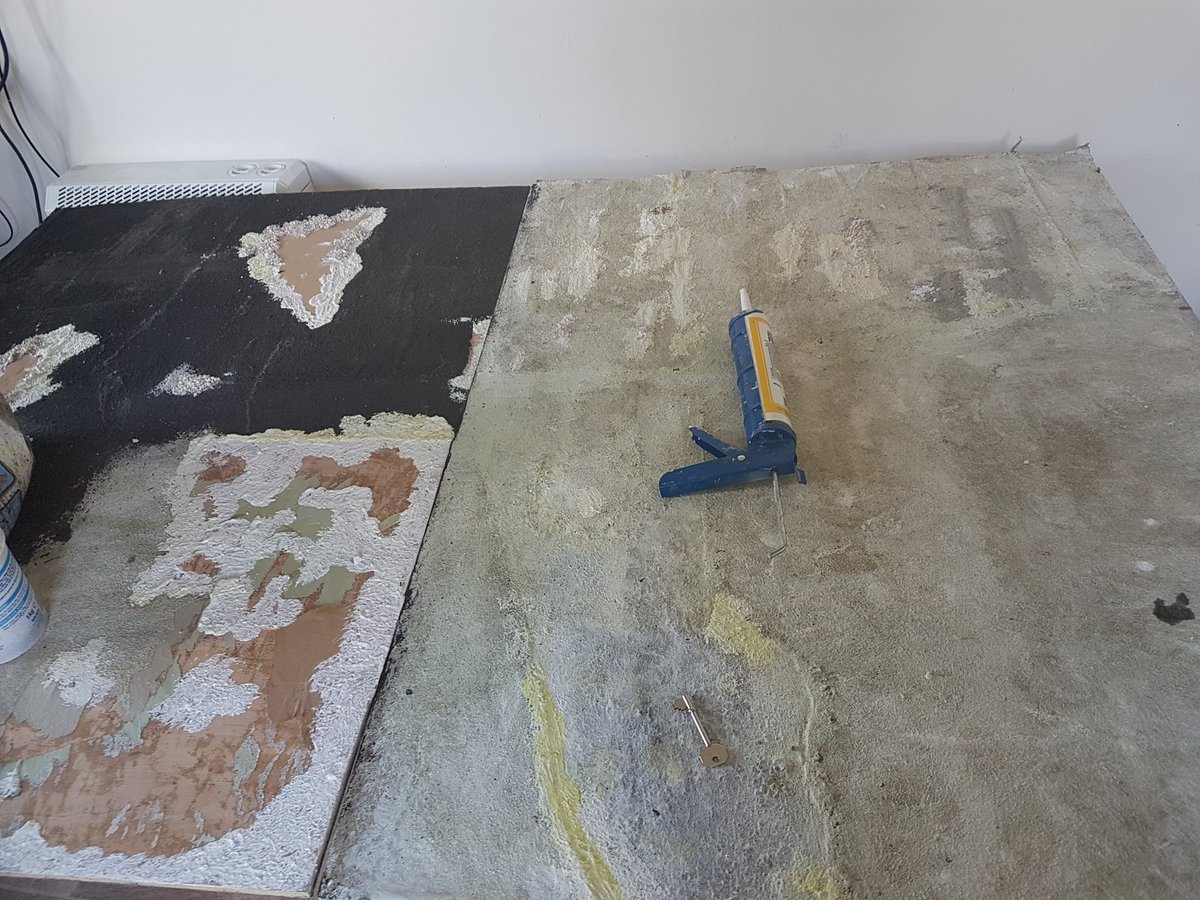
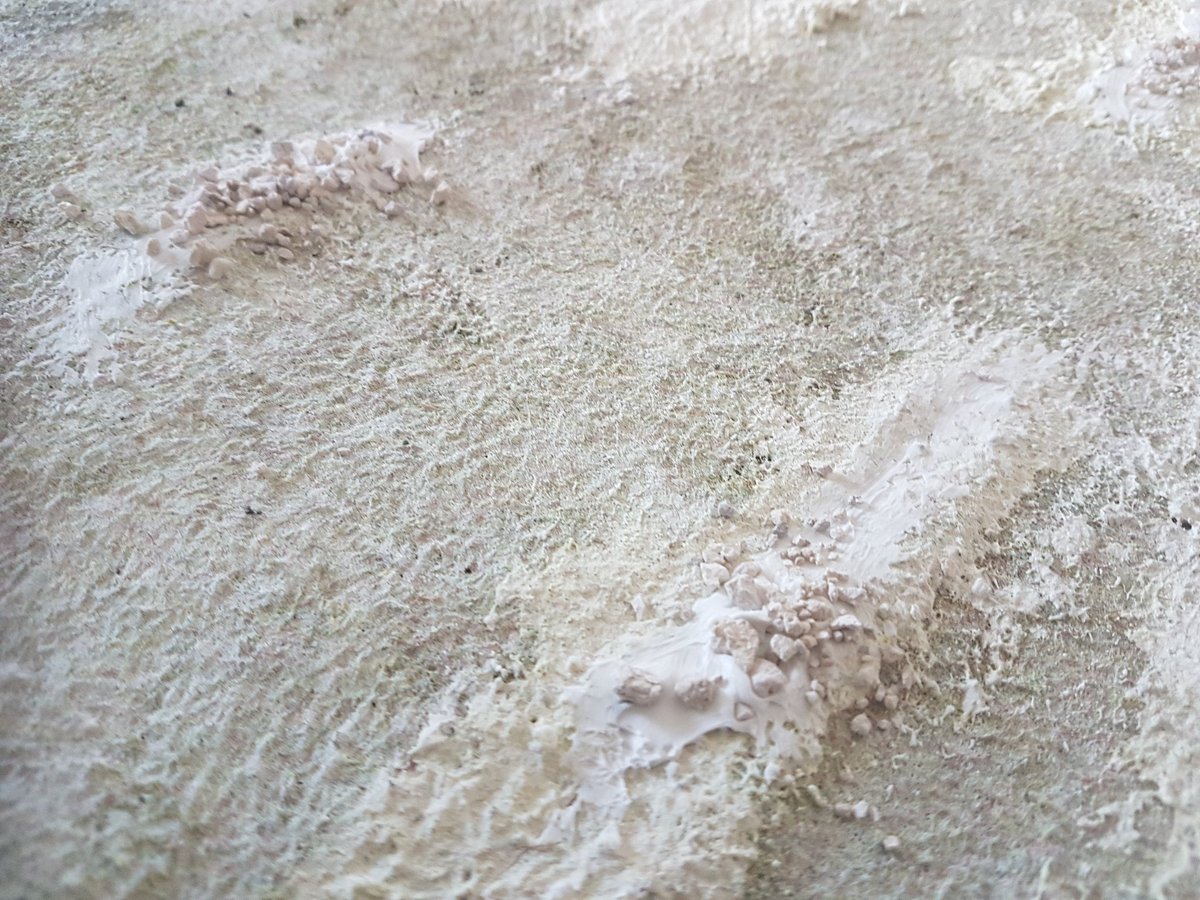
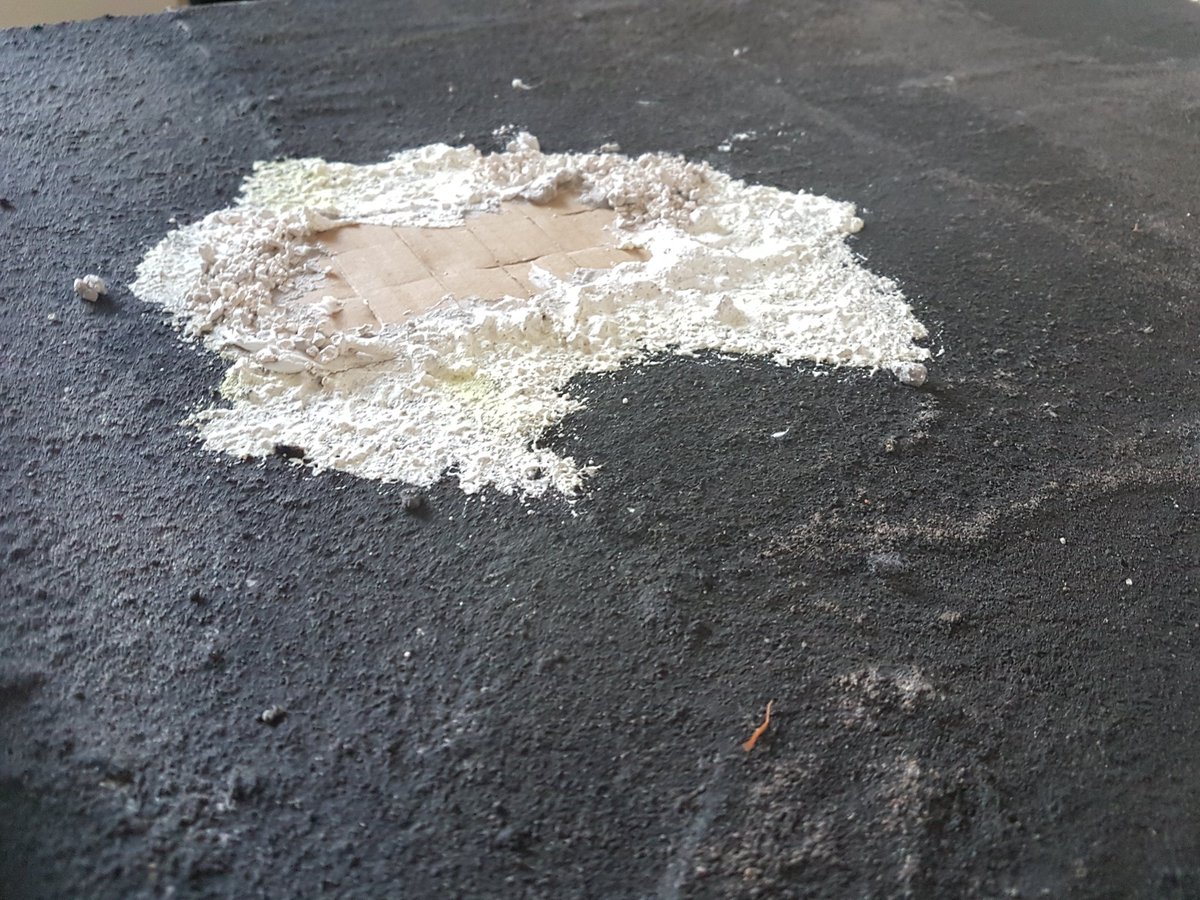
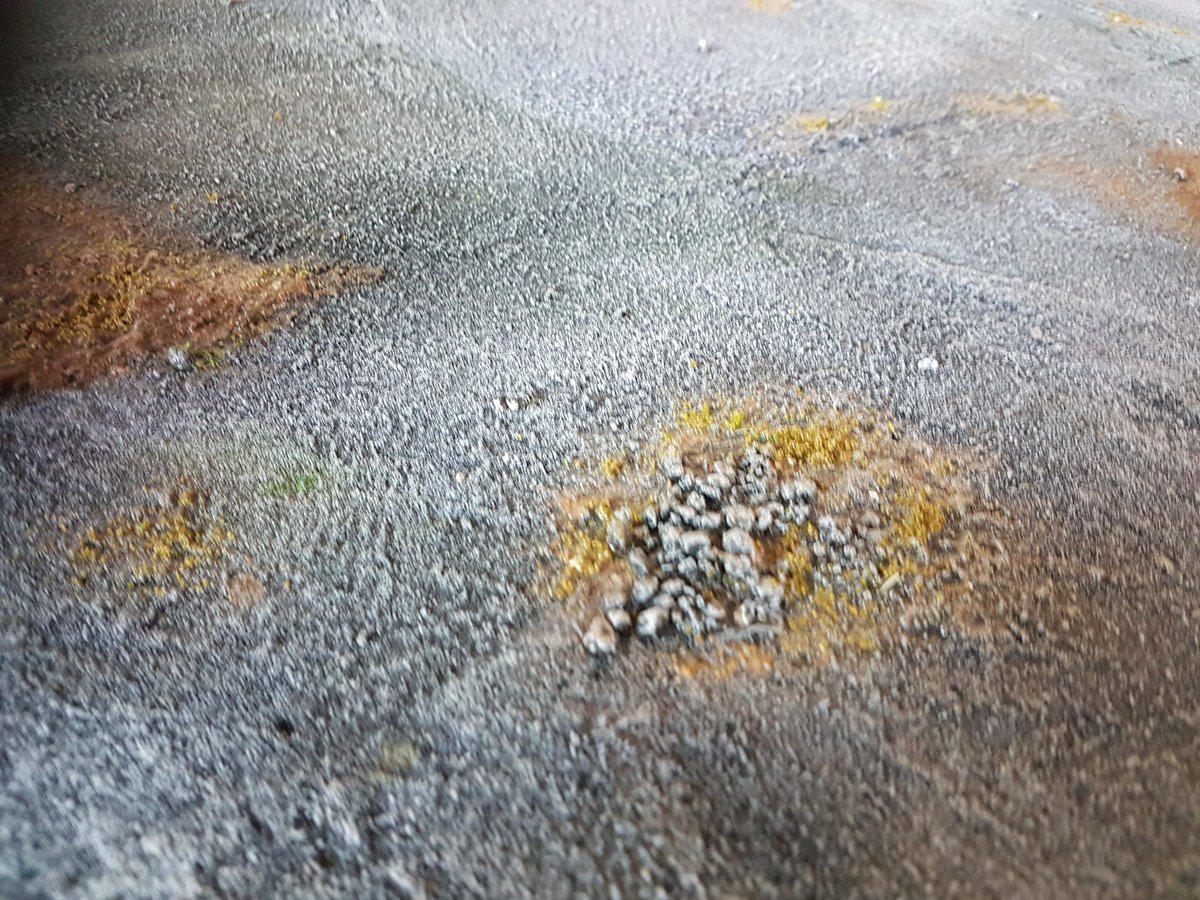
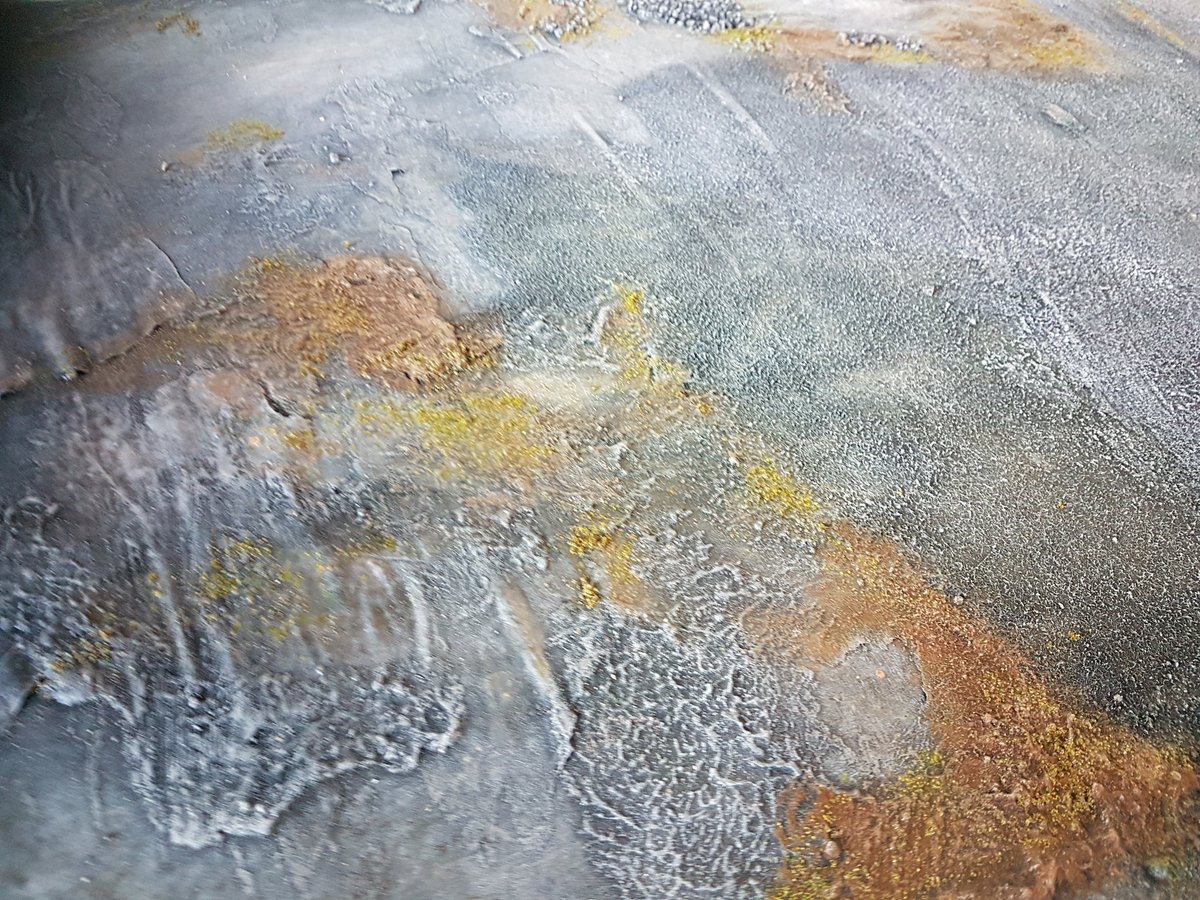
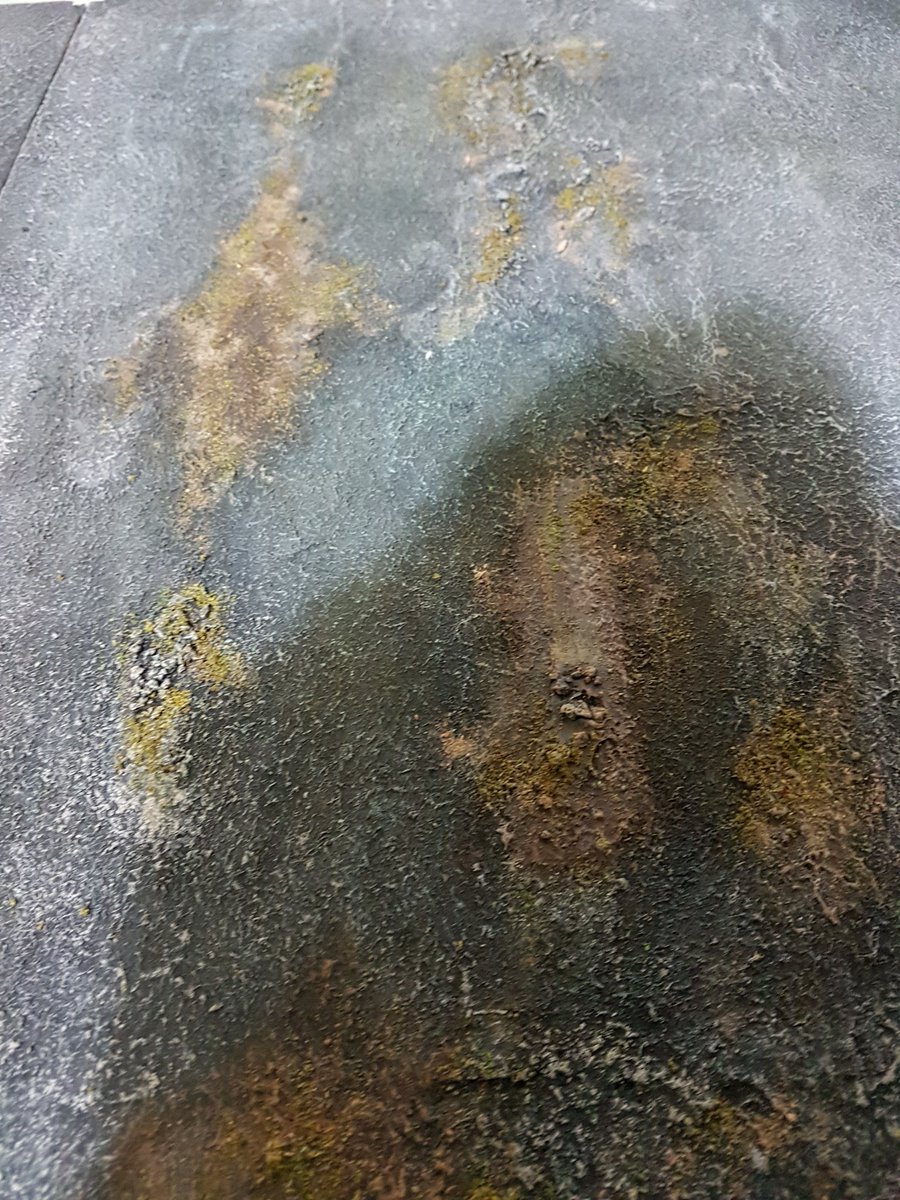
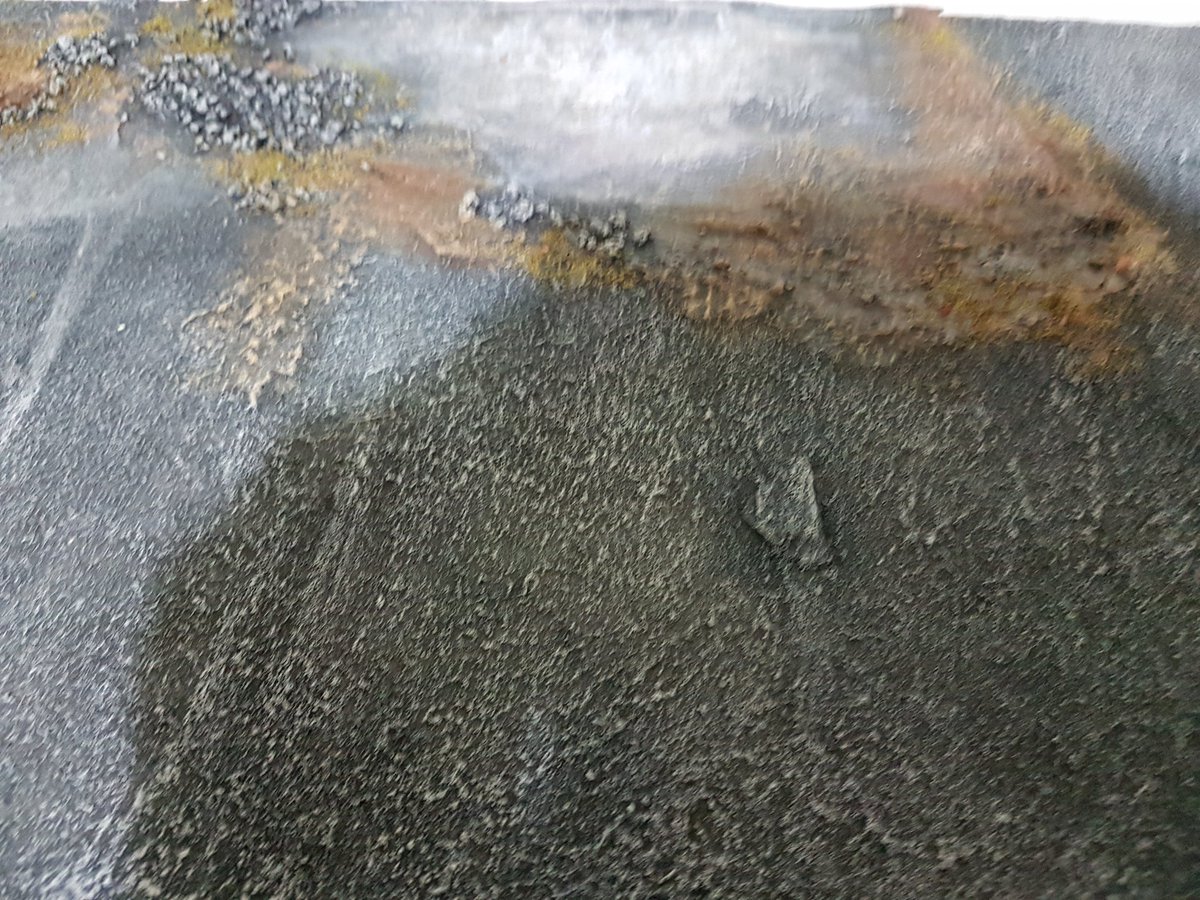
Step 1 – texture paste, acrylic caulk (aka flexible filler) and kitty litter, cardboard paving slabs – basically, all your texture goes down at this stage.
Step 2 – prime black. Cheap black spray paint or craft acrylic applied with a big brush.
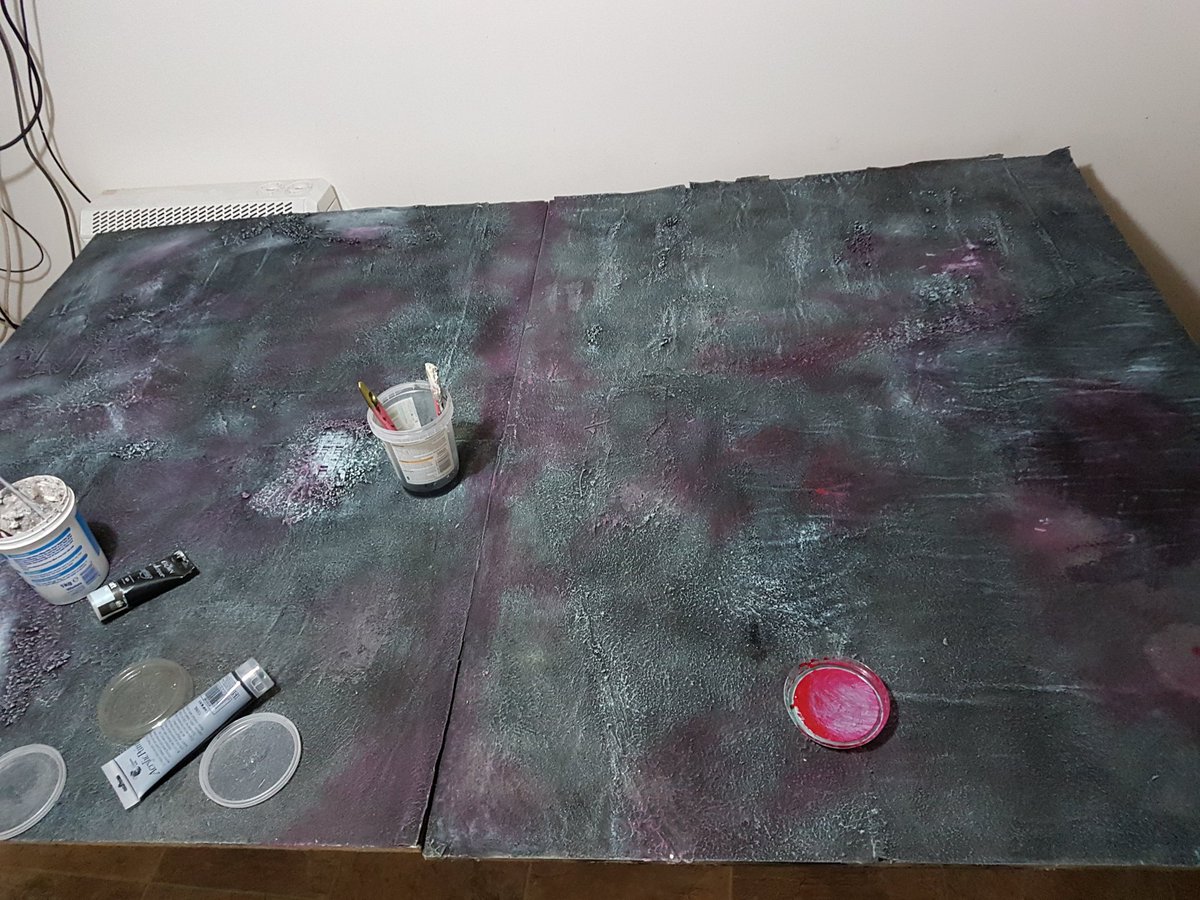
Step 3 – drybrush blue grey, over everything. We used Crown house paint tester pots.
Step 4 – drybrush red (in certain areas) – go light here, but don’t worry, it’ll work out!
Step 5 – Greys! Drybrush up with Wilkinson City break, followed by Granite Dust and Cloud Burst in gradually lighter stages.
Step 6 – Washes – splodge on VERY watered down greens, browns and chestnut tones.
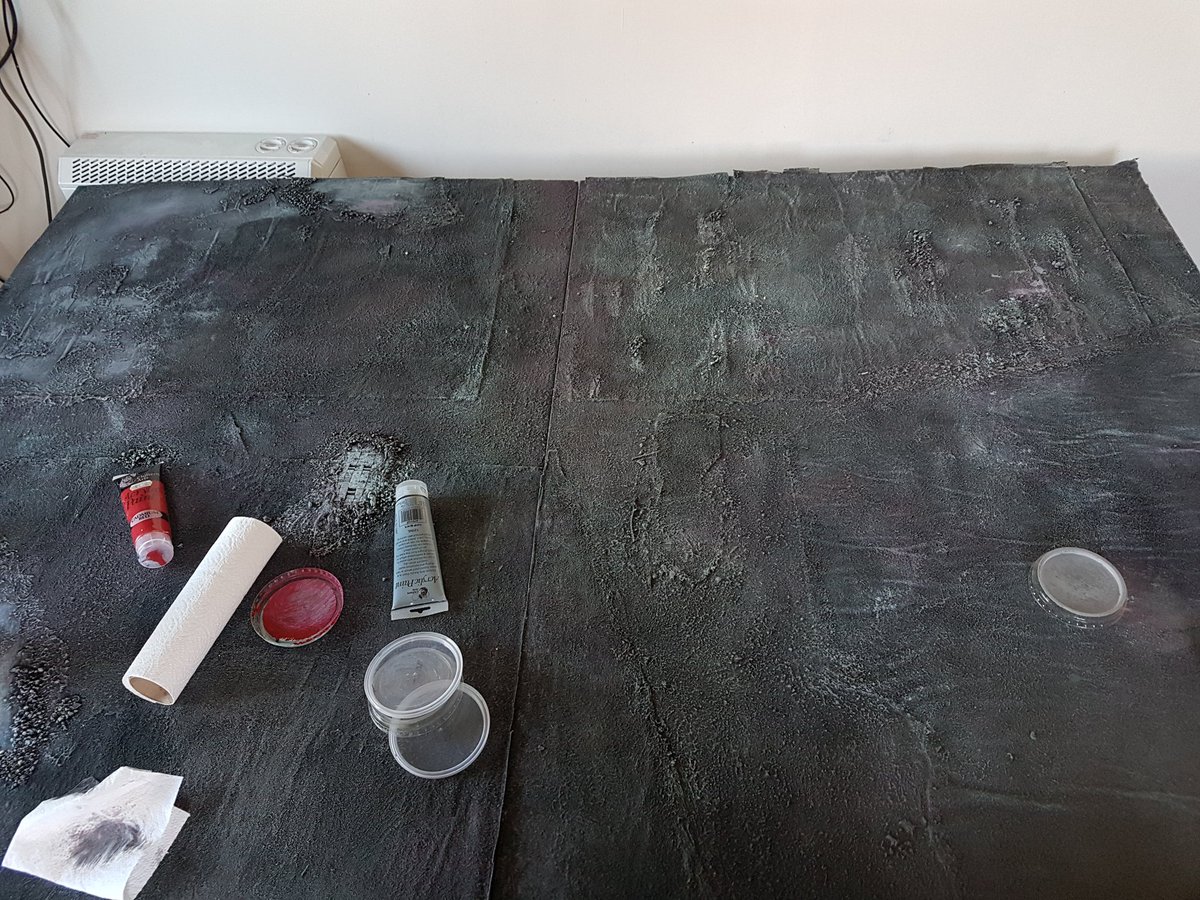
Step 7 – Mud. Stipple on the burnt umber and drybrush up with lighter browns
Step 8 – Flocking – paint on watered down PVA and daub on strategically. Then drizzle – very sparingly – flock and dust.
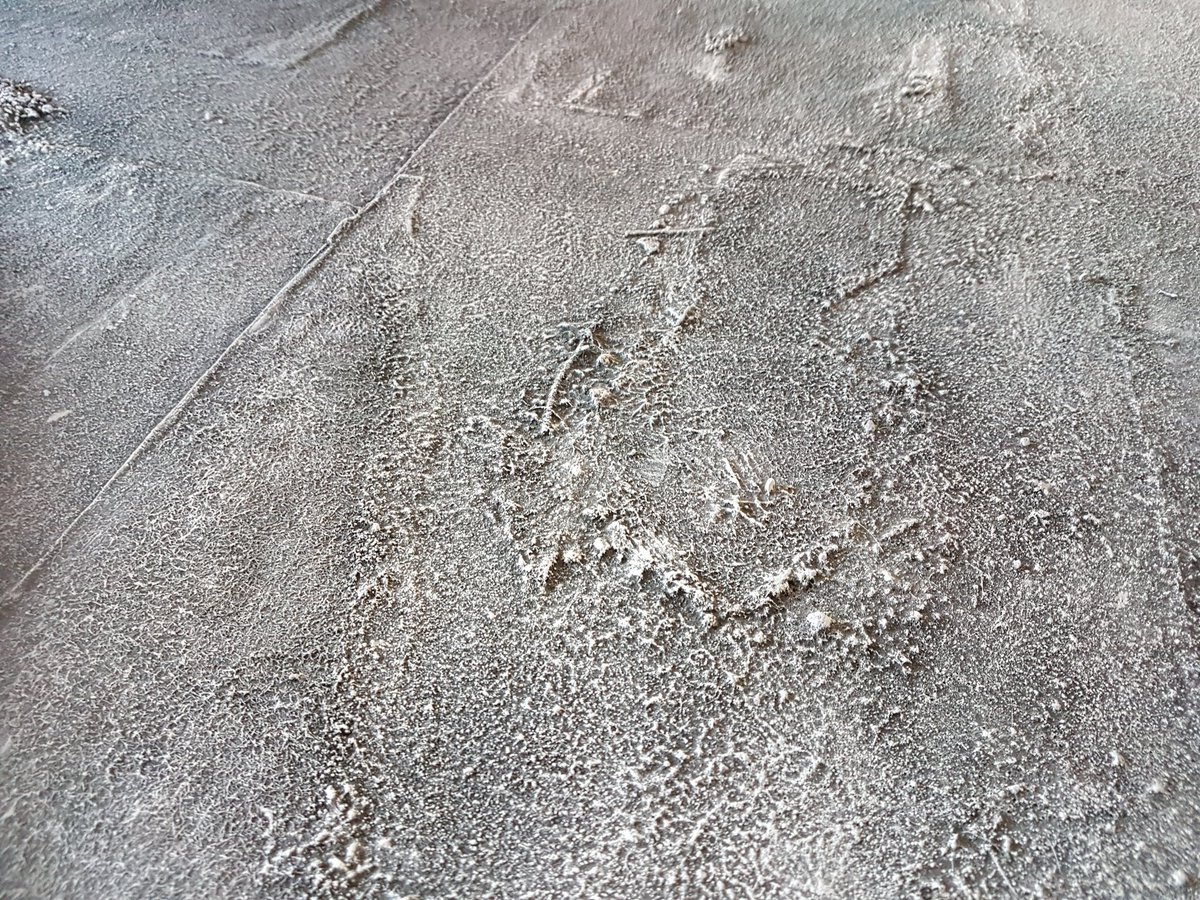
Step 9 – Seal. PVA and water, 1 – 10 mix. Slosh this stuff on at least three times
Step 10 – Varnish – cheap £1 matt varnish.
Done!
We also added a couple of girders and a tiled floor, done in the same way as our previous smaller board. So now, the planned 40k 2nd ed mini campaign set on Armageddon will have somewhere authentic to fight over, not green fields on a planet famed as a harsh, overdeveloped Hive World! Can’t wait 🙂

That looks absolutely brilliant! Really does! Looking forward to seeing terrain and figures on it!
LikeLiked by 1 person
Thanks man! Will be playing some serious 2nd edition 40k on this bad boy, and lots more 😉👍
LikeLiked by 1 person
That looks lovely. I hope you get many fun hours gaming on it.
Cheers,
Pete.
LikeLiked by 1 person
Cheers Pete, so do we! Just need to make some ruins now, hills and trees don’t really fit 😂😂
LikeLiked by 1 person
That’s an awesome table. Between the varied textures, colors, and tones, you’ve really nailed it. Great job!
LikeLiked by 1 person
Thanks man! Looking forward to christening it 👍😎
LikeLiked by 1 person