

Honestly, if I hear the words “edge highlighting” coming from Dan one more time…. 😉 While my comrade in arms readies the remainder of his Deathwatch Space Marines for our showdown climax game, I’ve been looking at getting my ladz something a bit heavier – now, the original 2nd Ed boxed game (and our inadvertant eBay purchase) included this little fella:

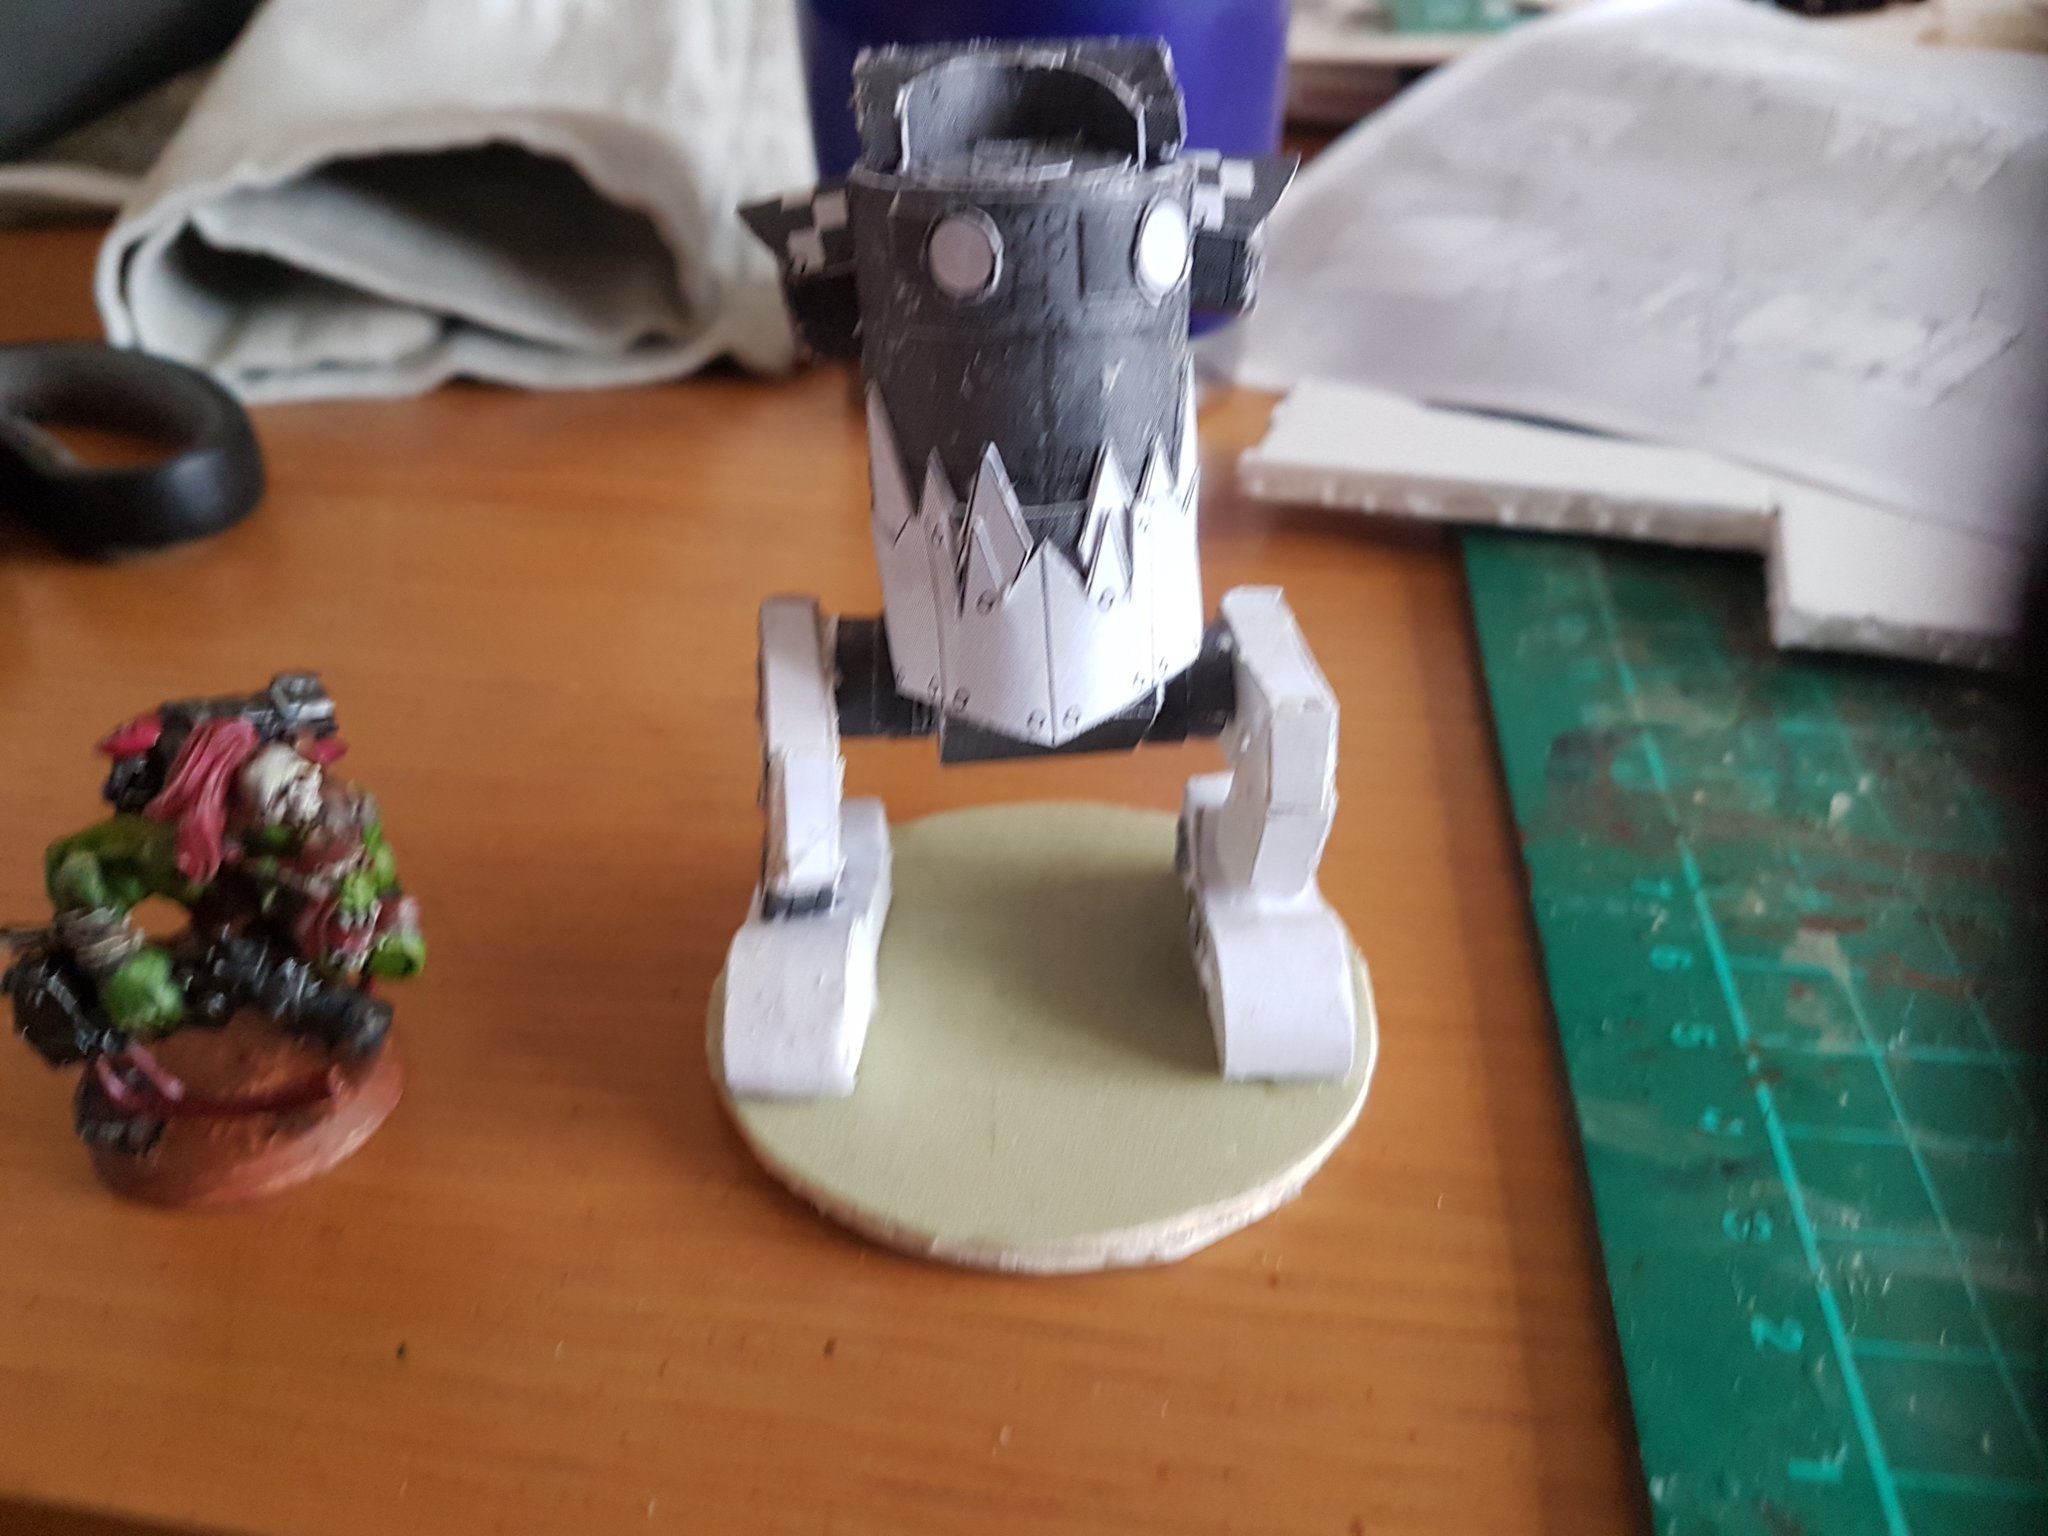
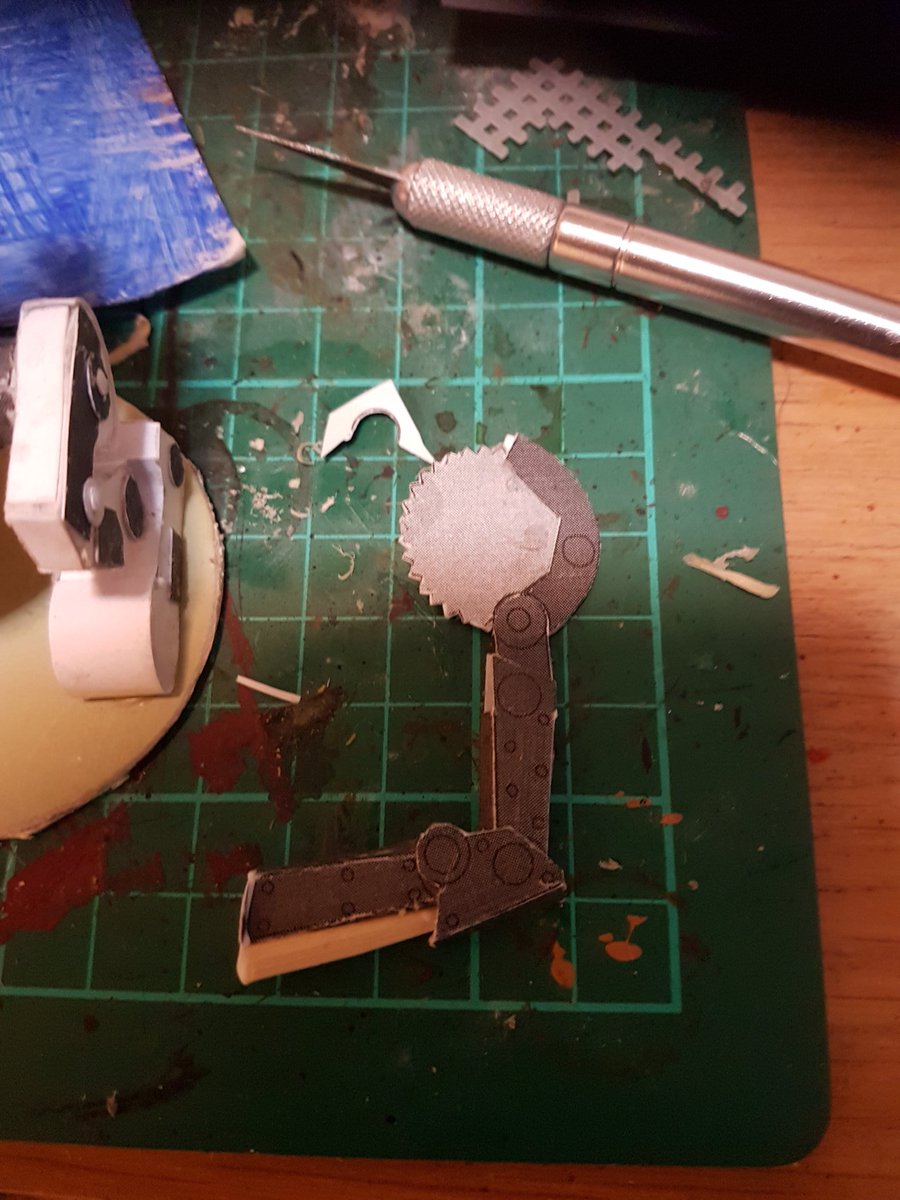
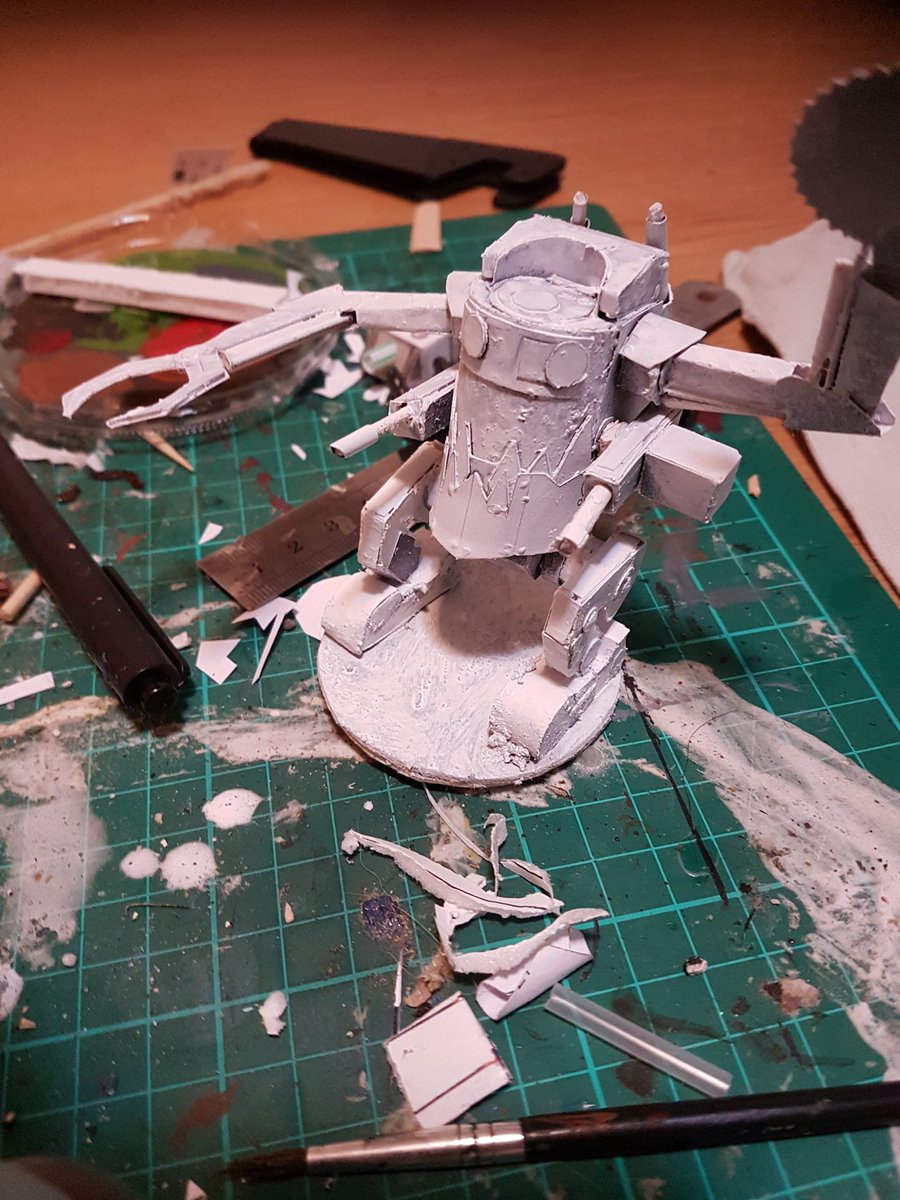
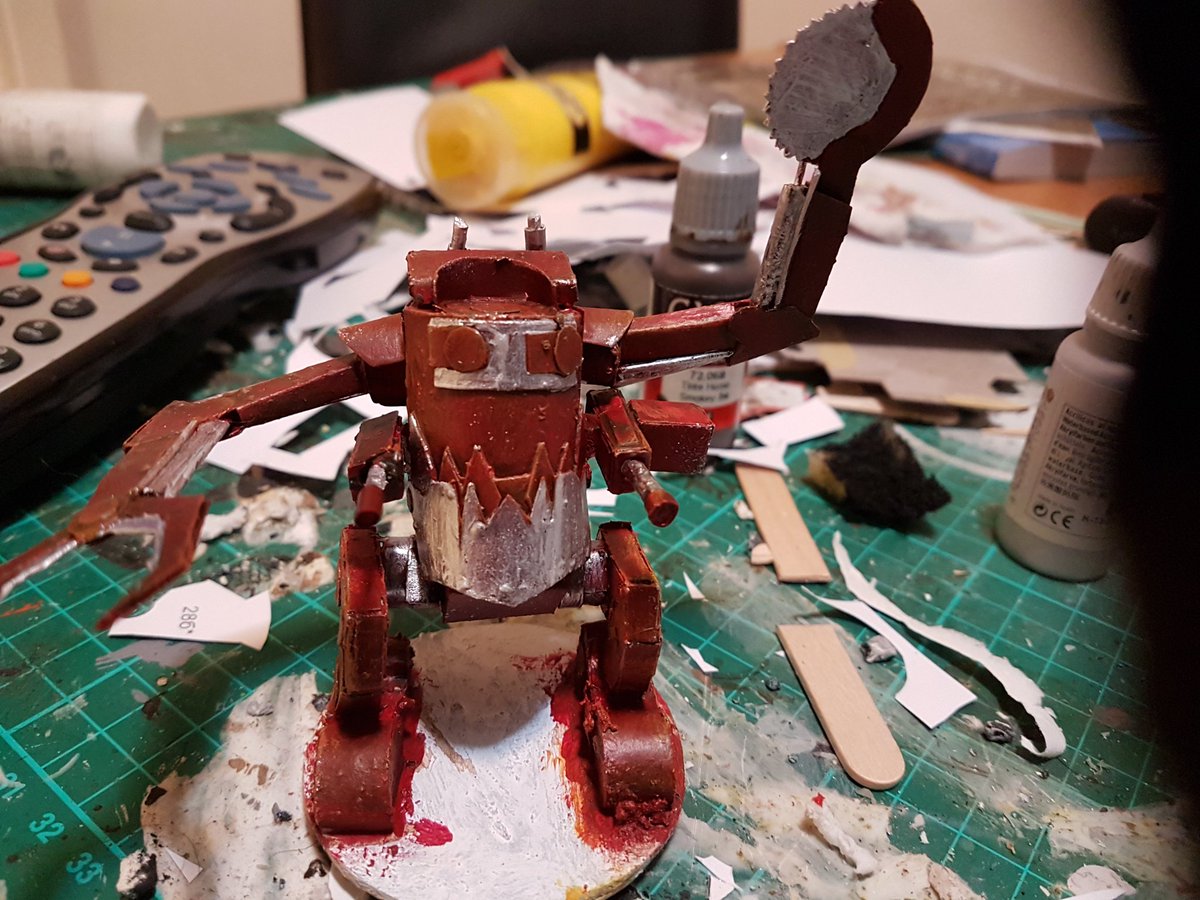
But it wouldn’t be right to rock up to our final battle with a bit of cardboard with a picture on it, so I did a bit of digging and found the genius Eli Patoroch’s Facebook group, and amongst the many amazing papercraft template kits, sure enough there was an Ork dreadnought – printed out onto card stock and off I went!

 )
)
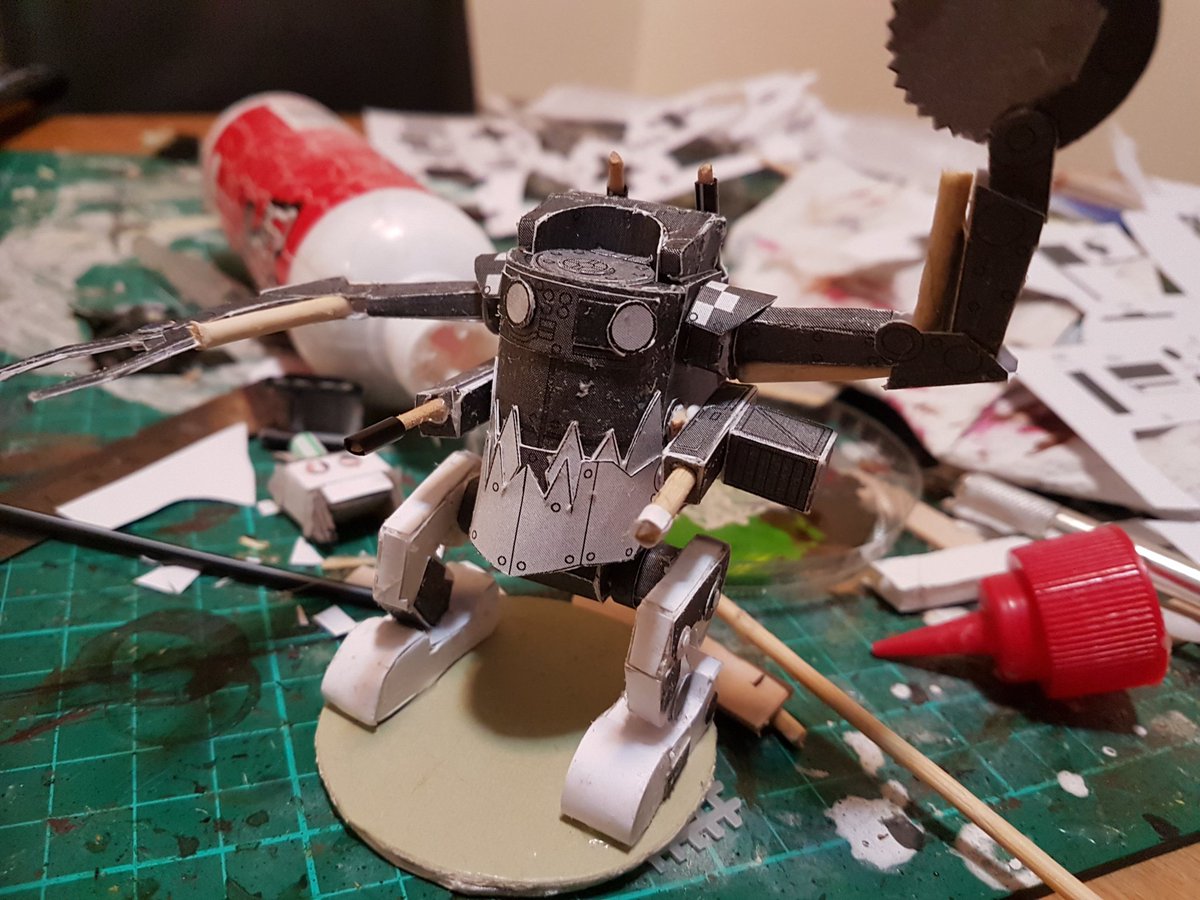
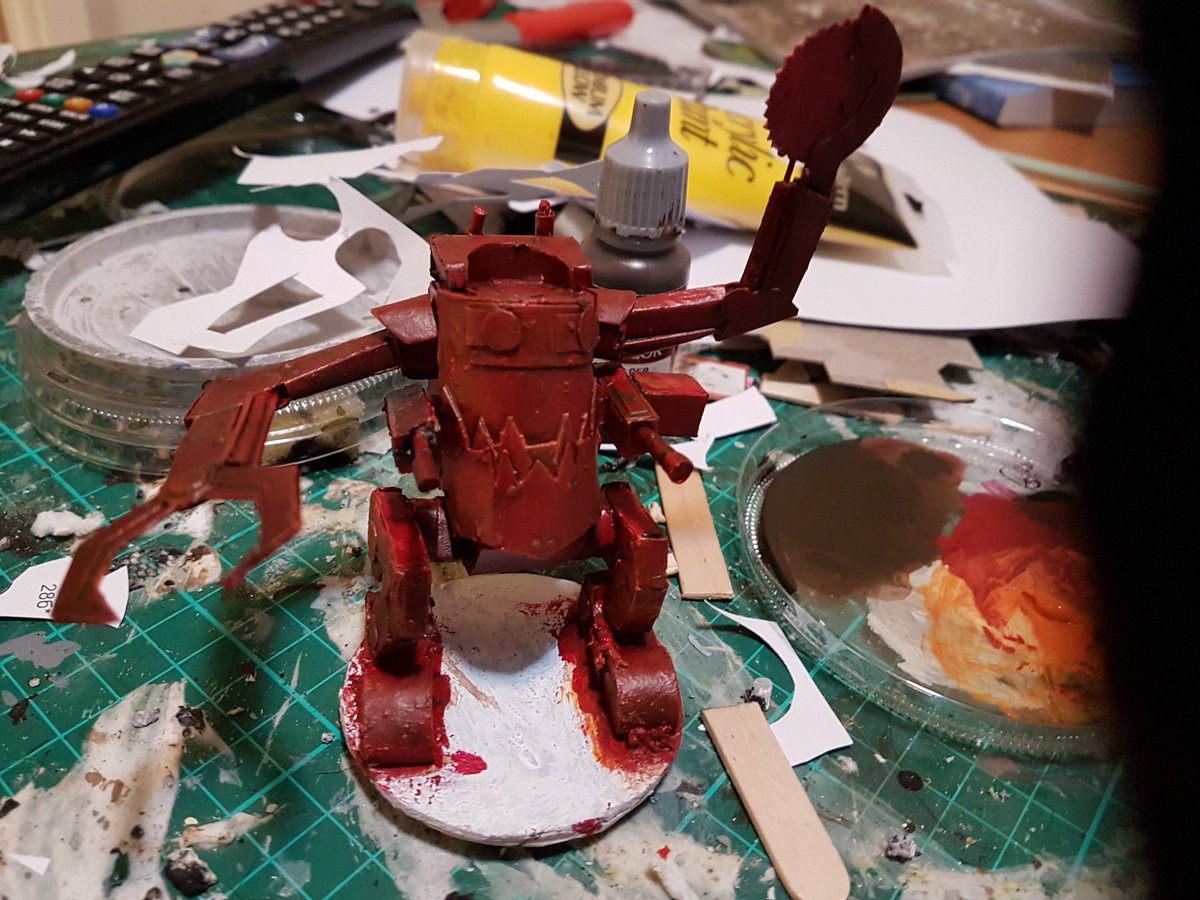
I finished the lenses yellow, green ink wash, and gem highlighting technique building up to pure white. The “tusks” were undercoated white, then layered with tan, building up to bone, and a light brown ink wash. Basing was the same as the rest of the force – home made texture paste painted brown and drybrushed up, a smattering of flock added and then a spray of matt varnish… and done! All for a grand total cost of somewhere around £1- not too shabby!
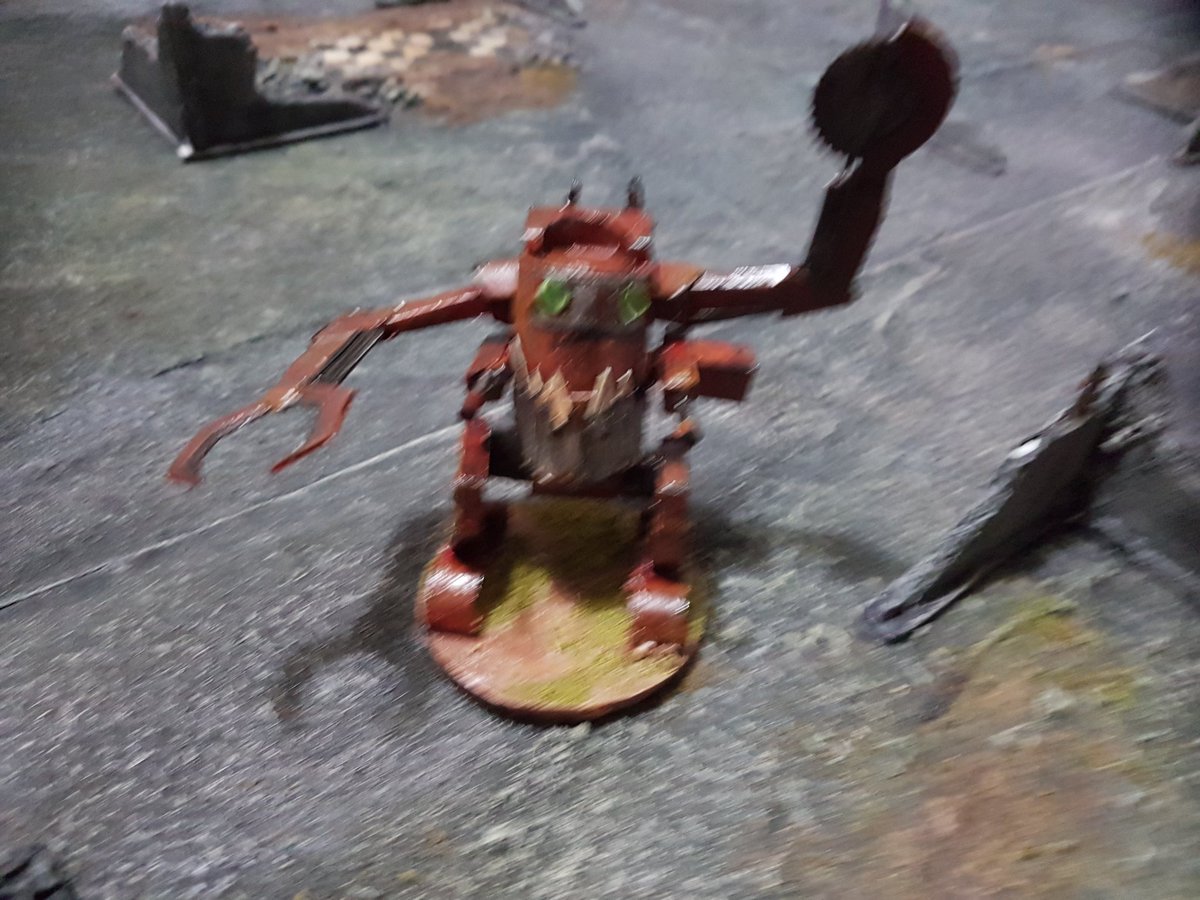
Of course, if you want to do things properly, you want a real GW model – they ain’t cheap, but they are lovely. However, if you can’t afford £31 for something that has no practical application (despite being, as I mentioned, extremely pretty) – this isn’t a bad way to go. And there’s always a nice feeling about creating something from nothing, isn’t there?
Stay tuned, stay thrifty, we’ll see you again soon!

Great model! I have fond memories of building Gobsmasha’s and Lungburstas from the templates/instructions in an issue of White Dwarf. Scratch built vehicles should be encouraged! If your Orks need back up I can scan the pages for you! 🙂
Cheers
Chris
LikeLiked by 1 person
Oh yeah, I remember them! I may take you up on that if it’s no trouble? 😀👍
LikeLike
No problem. Email me at chriswalkley [at] hotmail [dot] com and I’ll see what i can do!
LikeLiked by 1 person
Legend, thanks my friend!
LikeLike
That is absolutely spot on! Really does look the part. Will be good to see it in action, sorry, akshun! 🙂
LikeLiked by 1 person
Thanks man, got a few bits to paint up first but it should be quite a fight!
LikeLiked by 1 person
That thing just *exudes* 2nd edition flavor. Well done!
LikeLiked by 1 person
Thanks man, was a fun build 😀
LikeLike
Cheers John, just sorted the banner pole for it and we’ll have the proper “1st gen” look going! No school like the old school 😉
LikeLike